I have set up more than 200 home offices, and the same pattern shows up in nearly every one. The monitor is fine. The desk is fine. The setup still looks unfinished. The fix is almost always monitor arm and cable management work, and it has to happen in that order. Get the screens off their factory stands and floating at eye level, then run the cables somewhere nobody can see them. Skip either half and you have spent money on a desk that still looks temporary.
This comparison covers four products that solve different parts of that problem: one dual monitor arm, one single monitor arm, and two cable management kits at very different price points. They are not competitors in the usual sense. They are the four pieces I end up recommending together, and the interesting question is which one you buy first.
The short answer: the WALI dual monitor arm is the biggest single upgrade for a two-screen desk, the suptek single arm is the budget answer for one screen, and the two cable kits are what make either arm look intentional instead of improvised. Everything below explains where each one wins, where it loses, and which desk each one actually fits.
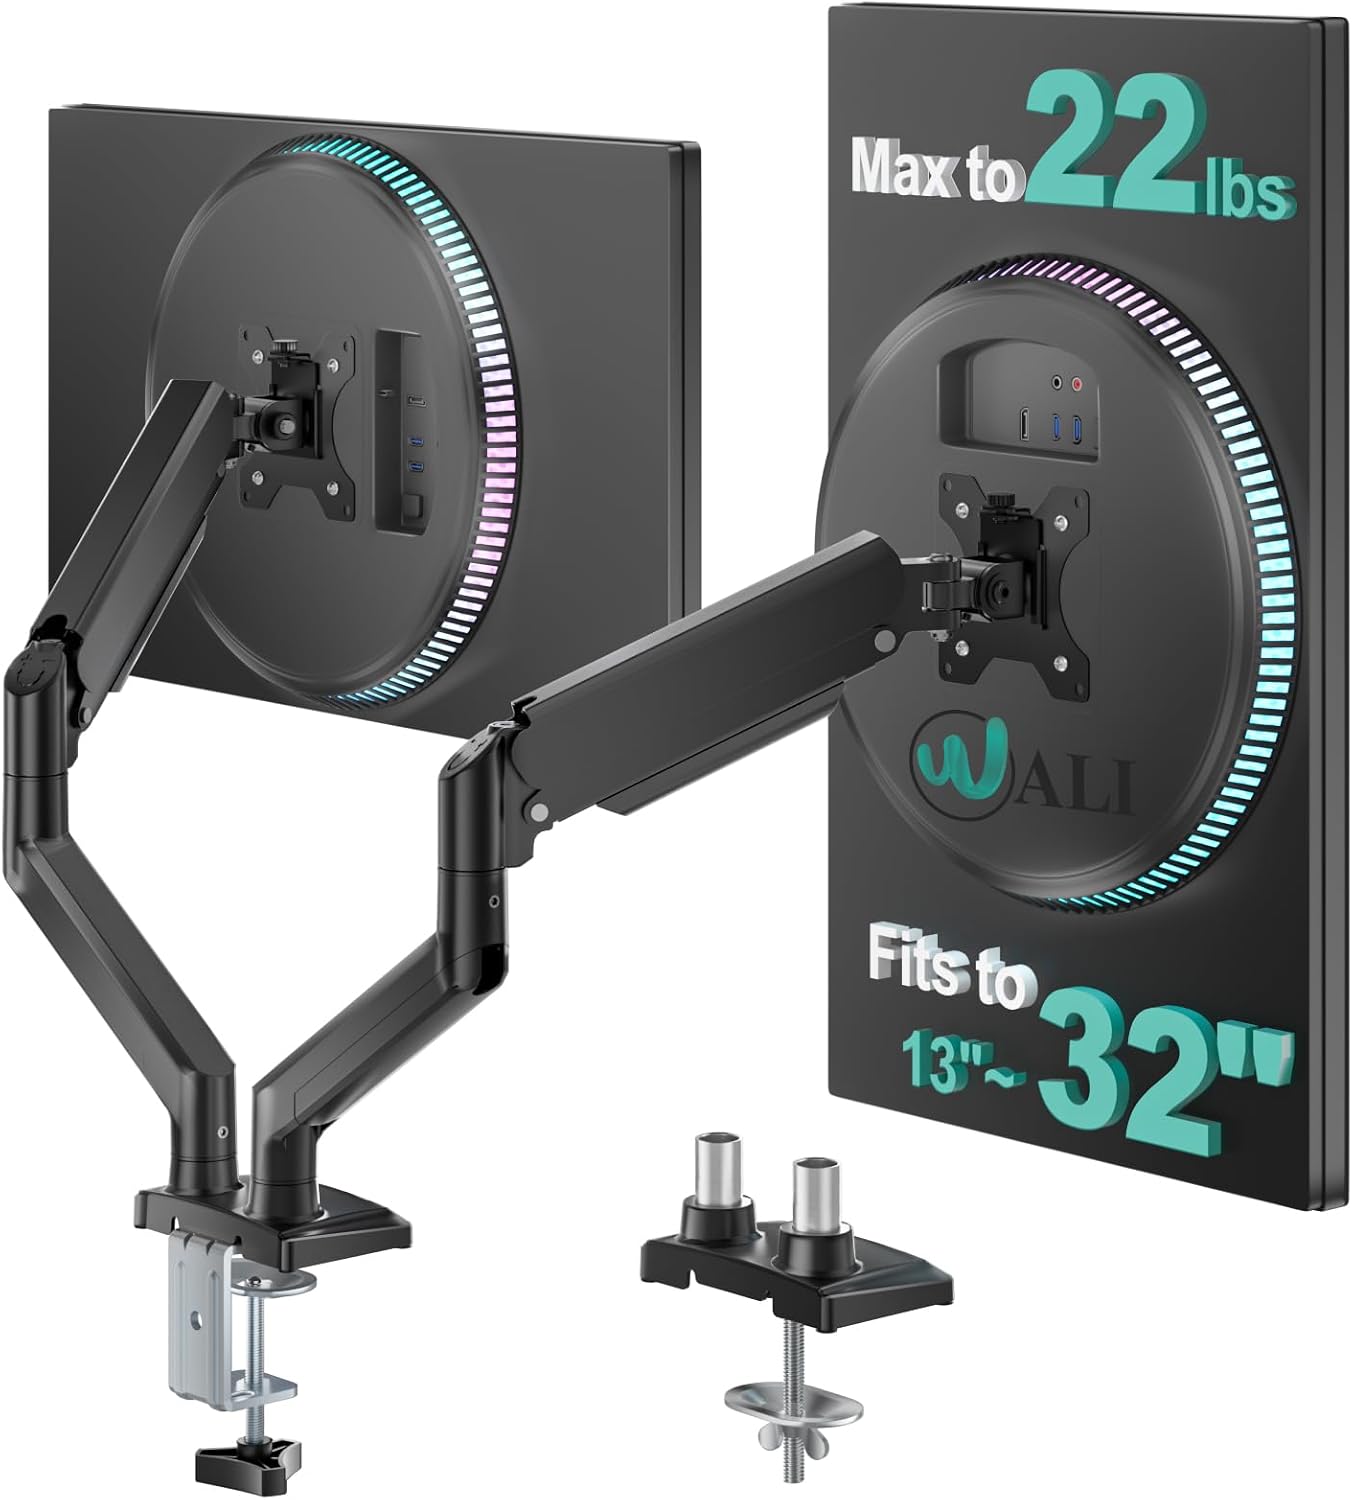
WALI Adjustable Dual Monitor Arm for 13-32 inch Screens, 22 lbs per Arm
Two arms, two 22 lb ratings, one clamp, and a 13 to 32 inch range that covers almost every desk monitor sold today
A dual arm is a commitment: you need the desk depth and the desk edge for one clamp holding two screens
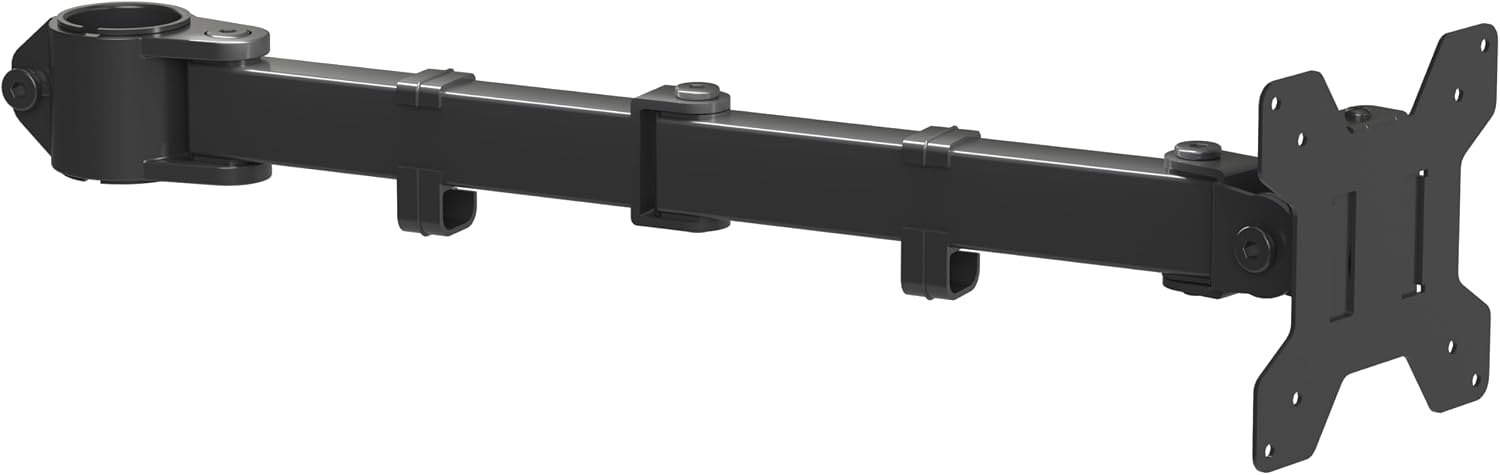
suptek Single Monitor Arm for Desk Mount Stand, 13 to 32 inch Screen, up to 22lbs, 75x75mm to 100x100mm, Black
The cheapest legitimate path to a floating single monitor, with both VESA patterns and a 22 lb ceiling
One screen only, and the low price means you should read the clamp and desk thickness notes twice
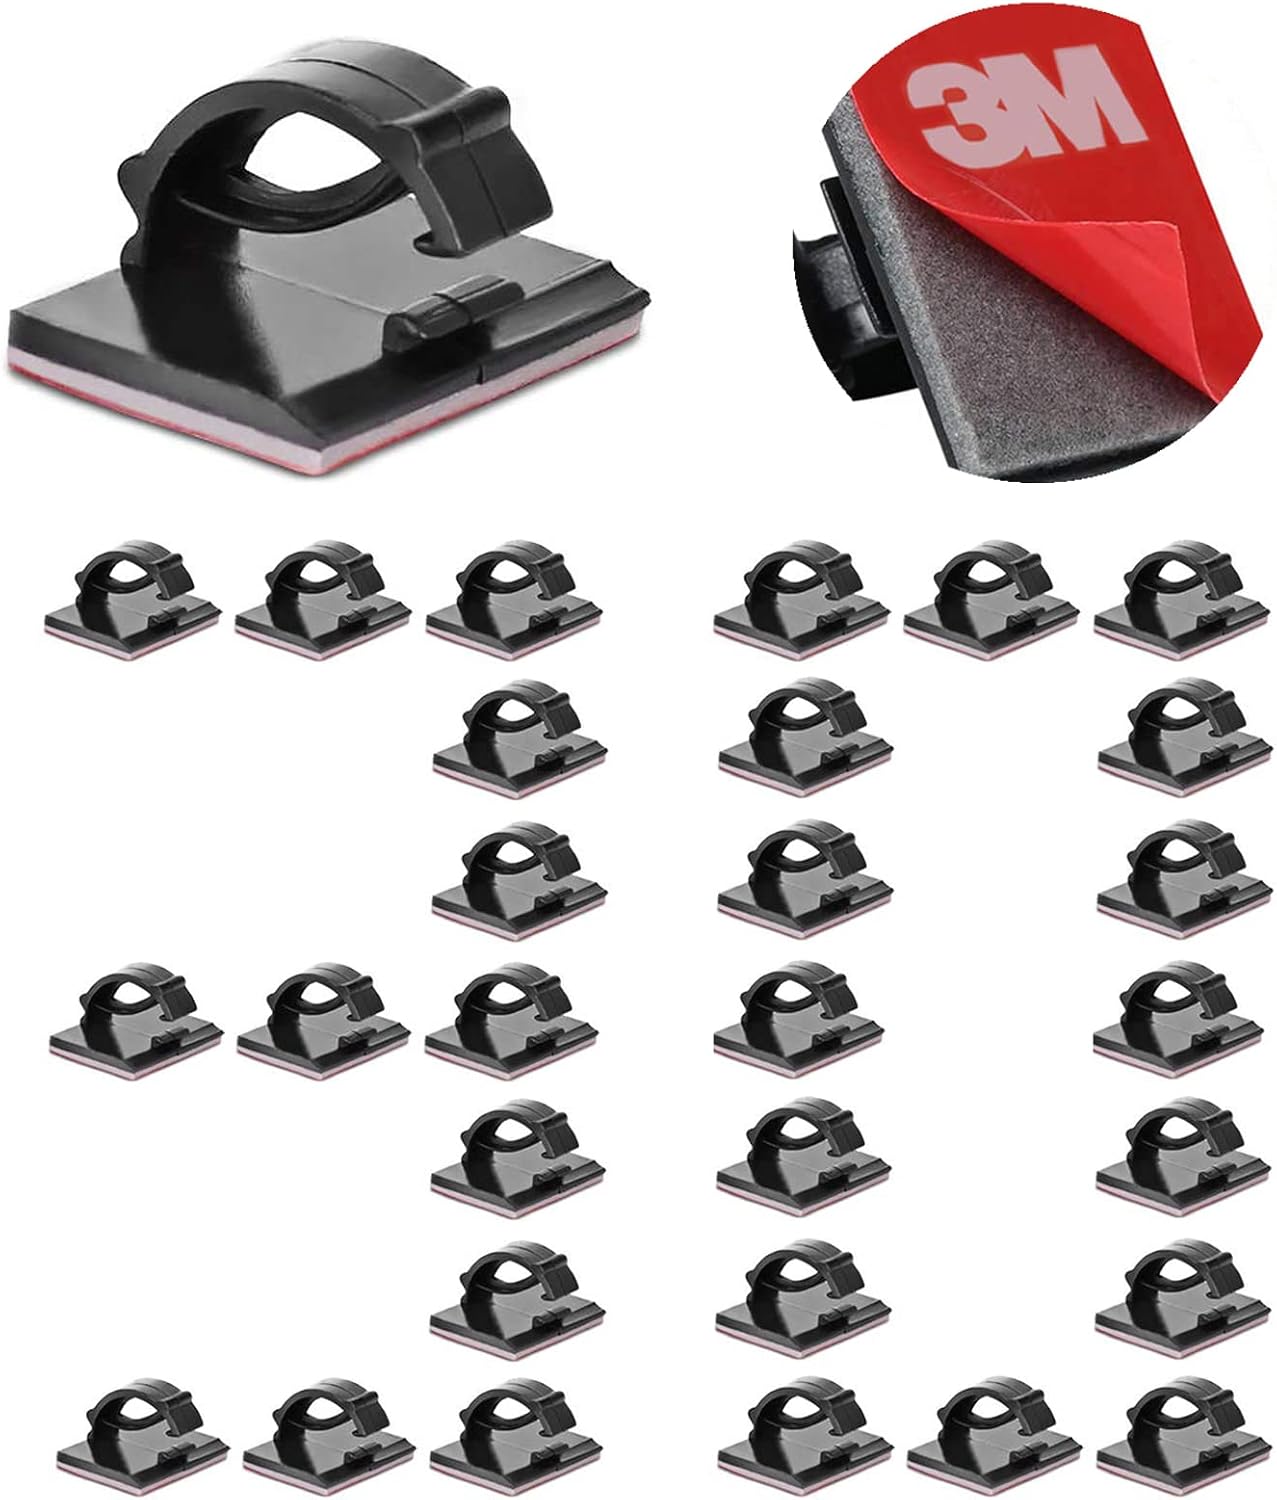
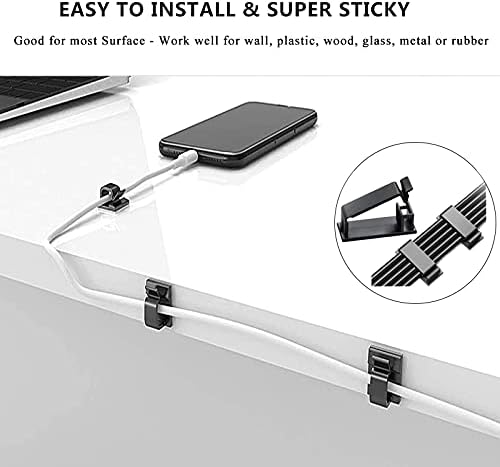
Cable Clips Self with 3M Adhesive Cord Organizer, Wire Holder Clamp Management Sticky for Desk Car Dash Cam Tables Wall, Black 30pcs
Thirty adhesive clips is enough to route a full desk without drilling a single hole
Adhesive is adhesive. On a dusty or textured surface, they are a temporary solution
Cord Management Organizer Kit 4 Cable Sleeve split 192PCS Cable Management
The full kit approach: split sleeves plus a large count of ties and fasteners for a whole desk rebuild
Overkill if you only need to tame one arm, and a kit this size rewards planning before you start
Prices and availability were captured from Amazon Creators API and may change.
How I judge a monitor arm before it touches a desk
Four specs, in this order: VESA pattern, weight rating, clamp or grommet mount, and range of motion. Paint color and marketing copy come last.
VESA is the mounting pattern on the back of your monitor, usually 100x100mm or 75x75mm. Both arms here cover both patterns, which matters more than people expect. A cheap arm that only takes 100x100mm locks you out of smaller displays and older panels that use the 75x75mm spacing.
The weight rating is the number to respect. Both the WALI and the suptek are rated to 22 lbs per arm. A typical 27 inch office monitor lands somewhere around 10 to 14 lbs with its stand removed, so a 22 lb rating is not a suggestion, it is headroom. Headroom is the entire point of buying an arm instead of trusting a plastic stand. An arm rated close to your monitor's actual weight is an arm you will be re-tightening every few weeks.
Mount type is the one that ends installs early. A desk clamp grabs the front edge of your desk and needs a lip and enough clearance underneath. A grommet mount passes through the existing cable hole in the desktop. Both arms in this comparison are desk mount designs, so measure your desk edge and check for a structural rail or a drawer box before you order. I have watched a client order an arm, wait a week, and discover the clamp had nowhere to land.
Range of motion is where the two arms differ most, and it is a size question, not a quality question. Two screens on one clamp is a different geometry than one screen on one clamp.
The dual arm: WALI for two-screen desks
The WALI dual monitor arm is the product I reach for when someone has two matching panels and wants them side by side at the same height. The 13 to 32 inch range covers basically every mainstream desk monitor, and the 22 lbs per arm rating means each side carries its own display with the same headroom as the single arm.
The appeal of a dual arm over two single arms is the clamp. One clamp, one hole in your desk's visual real estate, one point of failure. Two single arms means two clamps competing for the same desk edge, and on a 48 inch desk that gets crowded fast.
The trade-off is commitment. A dual arm sets the distance between your screens, and if you later decide you want a vertical stack or a single ultrawide in the center, you are re-buying. It also puts more load on one clamp point. That is fine on a solid wood or laminate top with a proper edge, and it is worth thinking about on a hollow-core desk or a glass top with a thin profile.
For a two-screen work-from-home setup, this is the arm that changes the most about how the desk feels. One clamp, two floating panels, and suddenly the space under the monitors is usable again.
The single arm: suptek for one screen on a budget
The suptek single monitor arm does the same core job for one display, at the lowest price in this comparison. Same 13 to 32 inch range, same 22 lb ceiling, and it explicitly covers both the 75x75mm and 100x100mm mounting patterns.
This is the arm I would put on a starter desk or a second setup. If you have a single 24 or 27 inch monitor and a desk with a clean front edge, this gets the screen off the factory stand and up to eye level for very little money. That single change, screen height, is the one that does the most for how your neck feels at the end of a workday.
What you give up at this price is refinement. Arms in this bracket tend to have simpler joints, and simpler joints mean you should set the position once and leave it alone rather than adjusting daily. The other thing to check is the clamp. A lower price often means a thinner clamp plate, so verify your desk thickness against the product listing before ordering, and avoid over-tightening on a hollow-core top.
If your plan is one screen now and two screens later, buy the dual arm once rather than this one twice. If your plan is one screen forever, this is the efficient buy.
Adhesive clips: the 30-piece quick fix
The cable clips are the least glamorous product here and the one that gets used first. Thirty self-adhesive clips with a wire holder channel, meant for desks, walls, tables, and car dashboards. The 3M adhesive backing is the whole product.
Where these earn their place is on the run between the back of the monitor and the arm. That is the section of cable that moves when you adjust the screen, and it is the part everyone forgets. Clip the cable along the arm and down the back of the desk and the floating monitor stops looking like it is tethered to the wall by a leash.
The honest limitation is the adhesive. On a clean, smooth, painted or laminate surface, these hold well. On a dusty underside, a textured wood finish, or a surface that sees temperature swings, they eventually let go, and the clip takes a little paint with it. Clean the surface with alcohol first, press for a full thirty seconds, and give the adhesive a day before you load it with a heavy cable. Also plan for the day you move the desk, because adhesive clips do not relocate well.
The full kit: 192 pieces of cable management
The cord management organizer kit takes the opposite approach. Instead of thirty clips, you get four split cable sleeves plus a large count of ties and fasteners, 192 pieces in total. Split sleeves mean you can add or remove a cable without unplugging everything, which is the difference between a cable system you maintain and a cable system you abandon.
This is the right buy for a full desk rebuild: a monitor arm, a dock or hub, a laptop, speakers, and a power strip all in one project. The sleeves bundle the runs that travel together, and the smaller pieces handle the short hops that sleeves are too fat for.
Two cautions. First, a kit this size rewards a plan. Lay the cables out on the floor, group them by direction, and decide where the bundles break before you start wrapping. Second, do not bundle power and signal cables tightly together for long runs if you can avoid it. Keep the power strip run separate from the video and USB runs, and you sidestep a class of problems that are annoying to diagnose later.
If you only need to tame one monitor arm, this kit is more than you need. If you are rebuilding the whole desk, buying the kit once beats buying clips three times.
The order I would buy these in
Start with the arm that matches your screen count. Two screens means the WALI dual arm. One screen means the suptek. Do not buy cable management first, because the cable route depends on where the arm puts the monitor, and you will end up redoing it.
Then buy cable management. If your desk is otherwise simple, the 30 adhesive clips cover it. If you are running a dock, a laptop, speakers, and a power brick, go straight to the 192-piece kit and use the clips for the moving sections on the arm itself.
The last step is the one people skip: set the arm height once, sit down, and adjust it against your actual posture rather than against what looks level from the doorway. A monitor arm that is set too high is just a stand with extra steps.
Trade-offs worth naming
A dual arm is cheaper than two single arms but less flexible. A single arm is flexible but doubles your clamp count if you add a second screen. Adhesive clips are fast and reversible but temporary on the wrong surface. A full kit is durable and clean but takes an afternoon to do properly.
None of those are dealbreakers. They are the reason the right answer depends on your desk, not on a spec sheet. Measure your desk edge and thickness, count your screens, count your cables, and buy for the setup you will have in a year rather than the one you have today.
Bottom line
For a two-screen desk, the WALI dual monitor arm is the centerpiece and the purchase that changes the most. For one screen on a tight budget, the suptek single arm gets you floating for the least money. Back either one with the 30-piece adhesive clip set for a simple desk, or the 192-piece organizer kit if you are rebuilding the whole thing. Buy the arm first, route the cables second, and the desk stops looking like a pile of parts and starts looking like a workstation.