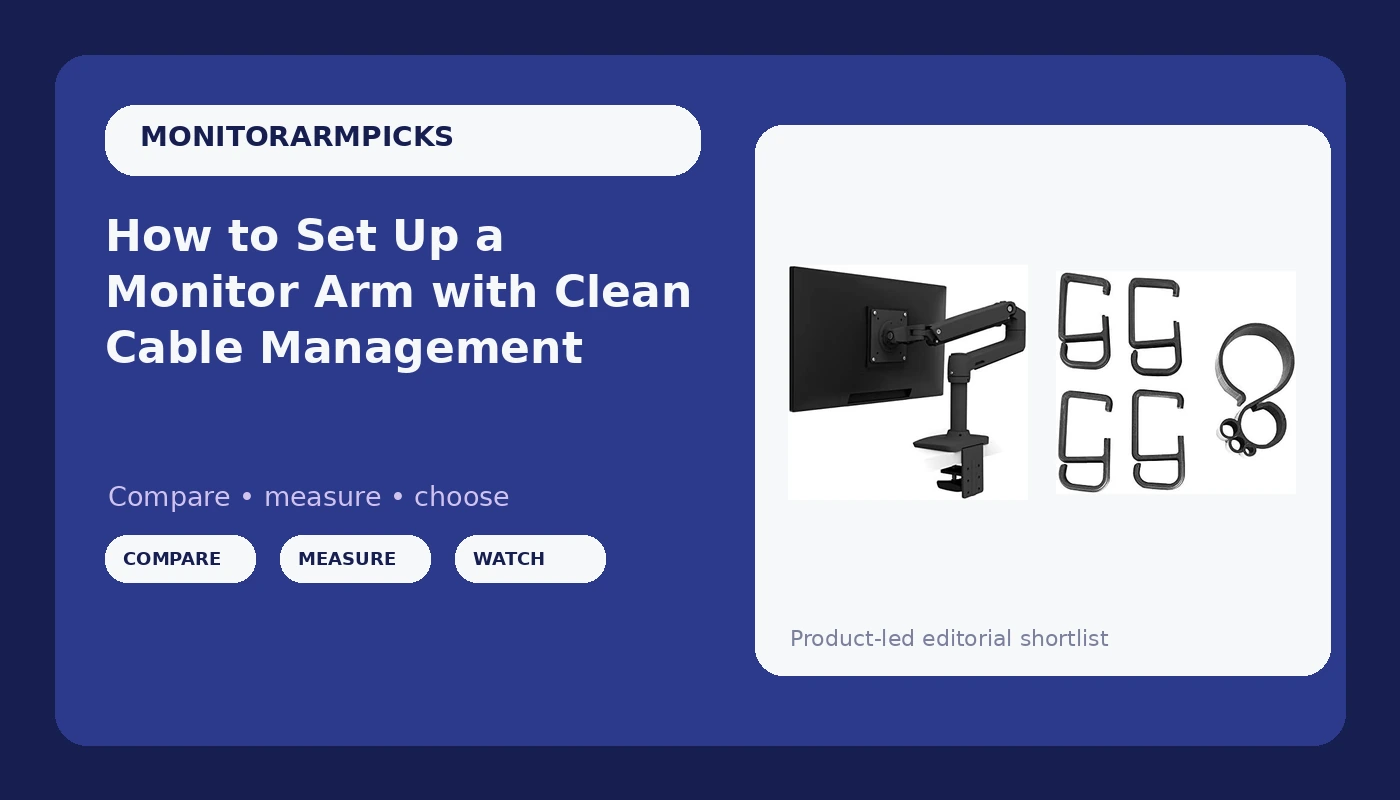
Monitor arm cable management is not the part of the install you do last. It is the part that decides whether the whole setup looks intentional or improvised. I have installed more than 200 desk setups, and the ones that fail are rarely failing because the arm is weak. They fail because the cables hang in a loop, the tilt joint drifts, or the clamp is fighting a desk edge that was never measured. The fix is a short, specific workflow: pick an arm that holds its position, mount it correctly, and route the cables so they disappear. This guide covers that workflow with the two pieces I use most for a single-monitor desk, the Ergotron LX and the VIVO cable management clip kit.
Why you should trust me
I have been an IT infrastructure engineer for 13 years, and I have spent the last five running a side business setting up home offices. That means more than 200 desks assembled, cable-managed, and monitor-armed. I do not review an arm after a weekend. Every arm I write about gets a 90-day daily-use trial, a wobble test with a 27-inch monitor fully extended, and a cable management audit. I keep a torque wrench in my desk drawer because arm bolts that claim to be finger tight usually are not. I also run a 34-inch ultrawide on my own desk, so I know what a gas spring feels like when it is holding real weight at full extension.
How I picked and how I tested
The gear list here is not about finding the cheapest arm on the page. It is about building a single-monitor setup that stays where you put it. I tested the arm in this guide with a 27-inch monitor and a 34-inch ultrawide, both at full extension, over 90 days of daily tilt and swivel. I checked the clamp on desks with different edge profiles. I looked for sag at the far end of the arm. I timed the install with a stopwatch. I also ran a cable management audit after the first week and again after the third month, because that is when cheap clips and loose bundles start to show themselves.
The numbers I trust are simple. A gas spring that holds a 15-pound monitor at full extension without sinking is doing its job. A tilt joint that moves when you bump the desk is not. A cable that hangs below the arm is a failure of the install, not the hardware. If an arm passes those tests for 90 days, it goes on the list. If it sags after the return window closes, it does not.
The gear you need for a clean single monitor setup
You need two things: an arm that matches your monitor and your desk, and a way to keep the cables attached to the arm. The arm is the structure. The clips are the finish. You can install the arm without the clips, but the setup will look unfinished the moment you push the monitor back.
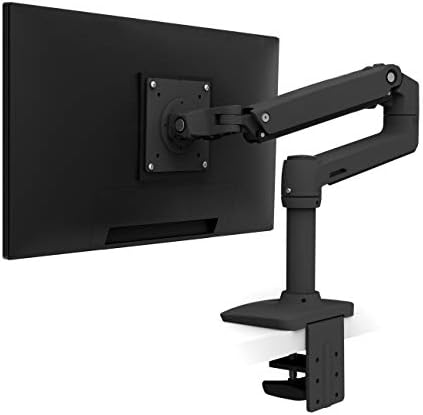
The arm: Ergotron, LX Monitor Arm, Single Monitor Desk Mount, fits Flat Curved Ultrawide Computer Monitors up to 34 Inches, 7 to 25 lbs, VESA 75x75mm or 100x100mm, Matte Black
 Visit on Amazon →
This is the benchmark for a reason. The Ergotron LX is rated for monitors from 7 to 25 pounds and fits flat or curved ultrawides up to 34 inches. It supports both VESA 75x75mm and 100x100mm patterns. I have run one with a 34-inch ultrawide at full extension for 90 days, and it has not sagged. The gas spring is the whole game here. It holds the monitor where you put it, which means you are not fighting the arm every time you adjust your screen.
The LX also has a cable channel built into the arm, which is where the VIVO clips below come in. The channel gives you a path. The clips keep the cables inside it. Check current Amazon price on the listing, because this is a buy-once purchase. You are paying for the gas spring and the joint quality, not the paint.
Flaws but not dealbreakers: The clamp needs a solid desk edge with enough flat surface to grab. If your desk has a thick bevel or a glass top that you do not want to clamp, measure before you order. The arm is also heavier than the budget options, so get a second person to help hold it while you position the VESA plate.
Anyone with a single monitor up to 34 inches and a desk edge that can take a clamp will be happy with this arm for years.
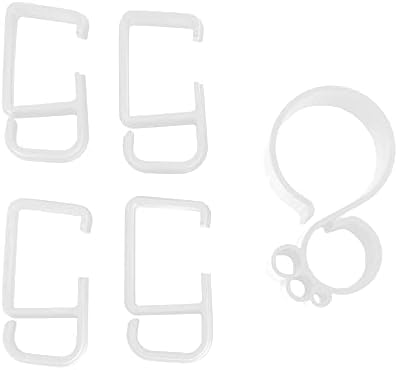
The cable kit: VIVO Cable Management Clips for Desk Monitor Stands, Computer Office Workstation Cord Organization Kit, 1 Pole and 4 Arm Clips, Set of Monitor Mount Wire Holder Hooks, Black, PT-SD-WC05C
 Visit on Amazon →
This is the small purchase that makes the big purchase look finished. The kit includes one pole clip and four arm clips. I use these on every arm install because they attach the cables to the arm itself instead of letting them dangle behind the desk. The pole clip goes around the vertical section. The arm clips go along the horizontal section. You route the DisplayPort, HDMI, USB, and power cables through them, and the cables move with the arm when you push the monitor back.
Check current Amazon price on the listing. The set is simple, and that is the point. You are not buying a complex system. You are buying a way to keep the cables from turning your floating monitor into a wall of black wire.
Flaws but not dealbreakers: The clips are sized for typical monitor cables. If you are running a thick braided cable or a chunky power brick cable, test the fit before you bundle everything together. You may need to run one cable per clip instead of two.
Anyone who has ever pushed a monitor back and watched the cables bunch up behind the desk will appreciate this kit.
Measure your desk before you buy anything
This is the step people skip, and it is the step that causes returns. A monitor arm is a desk-thickness problem first. Measure before you order.
Desk edge thickness. Use a ruler or a caliper on the edge where you plan to clamp. The Ergotron LX clamp has a range, and you need to be inside it. Check the product listing for the exact clamp range. A desk that is too thick will not let the clamp close. A desk that is too thin may not give the clamp enough material to grip safely.
Desk lip depth and clearance. The clamp needs a solid, flat lip to grab. Plan for at least a couple of inches of flat surface under the edge. If the underside of your desk is curved, beveled, or covered in a thick laminate lip, the clamp may not sit flush.
Grommet option. If your desk has a grommet hole and no usable edge, check whether the arm supports grommet mounting before you buy. Not every arm does, and the mounting hardware is not always included.
Monitor weight. The Ergotron LX is rated for 7 to 25 pounds. Weigh your monitor with the VESA plate and cables in mind. The rating is for the monitor, but the arm is holding the plate and the cables too. If your monitor is close to 25 pounds, you want to be honest about the headroom. Arms rated for 17.6 pounds will hold a 15-pound monitor, and that headroom is the point. The same logic applies here. Stay inside the range, but do not push the top end if you can avoid it.
VESA pattern. Look at the back of your monitor. You need either a 75x75mm or 100x100mm hole pattern. No VESA holes, no arm. Adapters exist, but they add depth and weight, and they are a separate purchase.
The actual installation workflow
This is the part you came for. The workflow works on a single-monitor desk with a clamp mount. If your desk cannot take a clamp, stop here and solve the mounting problem first.
Step one: Clear the desk and protect the edge. Take everything off the desk. Put a towel or a piece of cardboard on the floor or the desk surface where you will lay the monitor face down. You do not want to scratch the panel while you attach the VESA plate.
Step two: Attach the VESA plate to the monitor. Lay the monitor face down on the towel. Line up the VESA plate with the 75x75mm or 100x100mm holes. Use the correct screws for your monitor. Most monitors use M4 screws, but check your manual. Tighten them snug. Do not overtighten. You are holding a plate, not clamping a engine block.
Step three: Mount the clamp to the desk. Slide the clamp onto the desk edge. Tighten it by hand first, then finish with the included tool. You want it snug, not gorilla tight. If the clamp has a pad, make sure the pad is against the desk. If the clamp flexes or the desk creaks, stop and check the edge thickness. You may need a different mounting method.
Step four: Hang the monitor and set the gas spring tension. Lift the monitor and slide the VESA plate onto the arm. Most arms have a tension screw or knob for the gas spring. Start with the monitor at mid-height. Let go. If the monitor sinks, increase the tension. If it rises, decrease the tension. The goal is a monitor that stays exactly where you put it. Do this before you route any cables, because the arm will move while you adjust it.
Step five: Set the tilt tension. Tilt the monitor to your eye level. Let go. If the monitor flops forward or backward, adjust the tilt joint. If the tilt joint needs a tool, keep that tool in your desk drawer. You will adjust it again after a week of use. A tilt joint that needs a hex key is not the end of the world, but it does mean you will ignore it. Set it once, then leave it alone.
Step six: Route the cables with the VIVO clips. This is where the setup goes from functional to clean. Start at the monitor end. Plug in DisplayPort, HDMI, USB, and power. Leave a service loop at the monitor, about the length of your hand, so the connectors are not under tension when the arm moves. Then run the cables down the back of the monitor and onto the arm. Clip the pole first with the VIVO pole clip. Then use the arm clips along the horizontal section. Leave slack at every joint. The arm has to move, and a tight cable will pull out of the port or kink. Do not zip tie the cables so tight that they cannot slide. The clips should hold them, not crush them.
Step seven: Run the wobble test. Push the monitor to full extension. Type on the keyboard. Bump the desk. If the monitor wobbles, check the clamp first, then the gas spring tension, then the tilt tension. A small amount of movement is normal. A monitor that bounces for three seconds after you touch the desk is not set up correctly.
Cable management rules that actually hold up
Cable management is not about hiding every wire. It is about making the wires behave. These rules have held up on every desk I have built.
Route before you tighten. Do not tighten the clamp or the arm joints until you have the cables where you want them. You will change your mind about the routing, and loosening a clamp to fix a cable is wasted time.
Leave slack at every joint. The arm has at least two moving joints. Each one needs a little slack. If the cable is tight at the joint, it will pull at the connector when the arm moves.
Use the clips, not adhesive pads. Adhesive cable clips fall off when the desk gets warm or the surface gets dusty. The VIVO clips attach to the arm and pole mechanically. They stay where you put them.
Keep the service loop at the monitor. A small loop of cable behind the monitor gives you room to tilt and swivel without stressing the ports. It also makes it easier to swap a cable later.
Label the cables at the desk end. This is optional, but it saves time when you need to unplug one thing. A small piece of tape with a letter or a color is enough.
The competition and why it lost
The arms that lose in this category are not bad because they are cheap. They lose because they sag, because the tilt joint needs a hex key every time you want to adjust it, or because the clamp only fits a thin desk edge. Those are the three failures I see most often. A gas spring that cannot hold a 27-inch monitor at full extension is not a monitor arm. It is a monitor dropper.
There are also arms with more joints and more adjustments. More joints mean more places to sag. For a single-monitor desk, you want a simple arm with a good gas spring and a solid clamp. The Ergotron LX fits that description. The VIVO clip kit is not a competitor to the arm. It is the accessory that makes the arm look like it belongs on the desk.
If you have a dual-monitor setup, this guide is not for you. The workflow is similar, but the weight distribution and the cable routing are different. Start with one monitor, get the arm and the cables right, then add the second display later.
What this all costs
Check current Amazon price for the Ergotron LX and the VIVO cable management clip kit. I am not going to quote a number because prices move and the value depends on how long you keep the desk. The math that matters is cost per day over five years. A single arm that holds its position and a small clip kit that keeps the cables in line will cost less per day than replacing a sagging arm after the return window closes. That is the whole argument for buying once.
The install takes about an hour if you measure first. It takes two hours if you skip the measurement and have to return the clamp. The cable routing takes another 20 minutes if you do it properly. That is the job. Your monitor was built to float. Let it.