A 49-inch ultrawide is a lot of glass. Hang that panel off a desk edge on an arm that was tensioned for a 24-inch office monitor and you get the classic failure: the screen drifts down an inch over a week, the tilt joint droops, and you start wedging a book under the bezel. None of that is a defect. It is a setup problem, and an ultrawide monitor arm setup done in the right order fixes it in an afternoon.
I have built and rebuilt enough of these to know the arm is only half the purchase. The other half is sequence: measure the desk, pick the mount type, torque the base, set the tension with the monitor already hanging, then route the cables. Skip a step and you will be back under the desk with a flashlight.
This guide walks the whole sequence for a heavy ultrawide, plus the two arms I would actually put on a desk at either end of the budget.
Why you should trust me
I am Dev, an IT infrastructure engineer in Raleigh, North Carolina. Thirteen years of racking servers taught me that a mount is a load-bearing component, not an accessory. The last five years I have run a side business building home offices, and I am somewhere past 200 desks assembled, cable-managed, and monitor-armed.
Every arm I put my name on has to survive my own routine: 90 days of daily use, a wobble test with a 27-inch monitor fully extended, and a cable management audit. I keep a torque wrench in my desk drawer because "finger tight" is how arms sag three months after the return window closes. I do not repeat a weight rating I have not hung a real monitor against.
How I picked and how I tested
This is a how-to, not a shootout, so I picked two arms that cover the two ends of the range this guide addresses: a desk arm for the standard-to-34-inch class, and a heavy-duty arm built for the 49-inch class. Everything else here is process.
Four things decide whether an arm survives this workflow. First, the weight rating against the panel I am hanging, with headroom left over. Second, whether the tilt joint adjusts without a hex key, because an arm that needs a tool to adjust is an arm nobody ever adjusts. Third, clamp fit against real desk edges, including the beveled ones and the hollow-core ones. Fourth, cable channels, because a floating monitor with dangling cables looks broken no matter how much you spent.
Both arms below use the same VESA mounting pattern and the same clamp-and-pole approach, so the workflow in this article applies to either one. The difference is how much weight and how many inches of screen each was built to carry.
The two arms this guide is written around
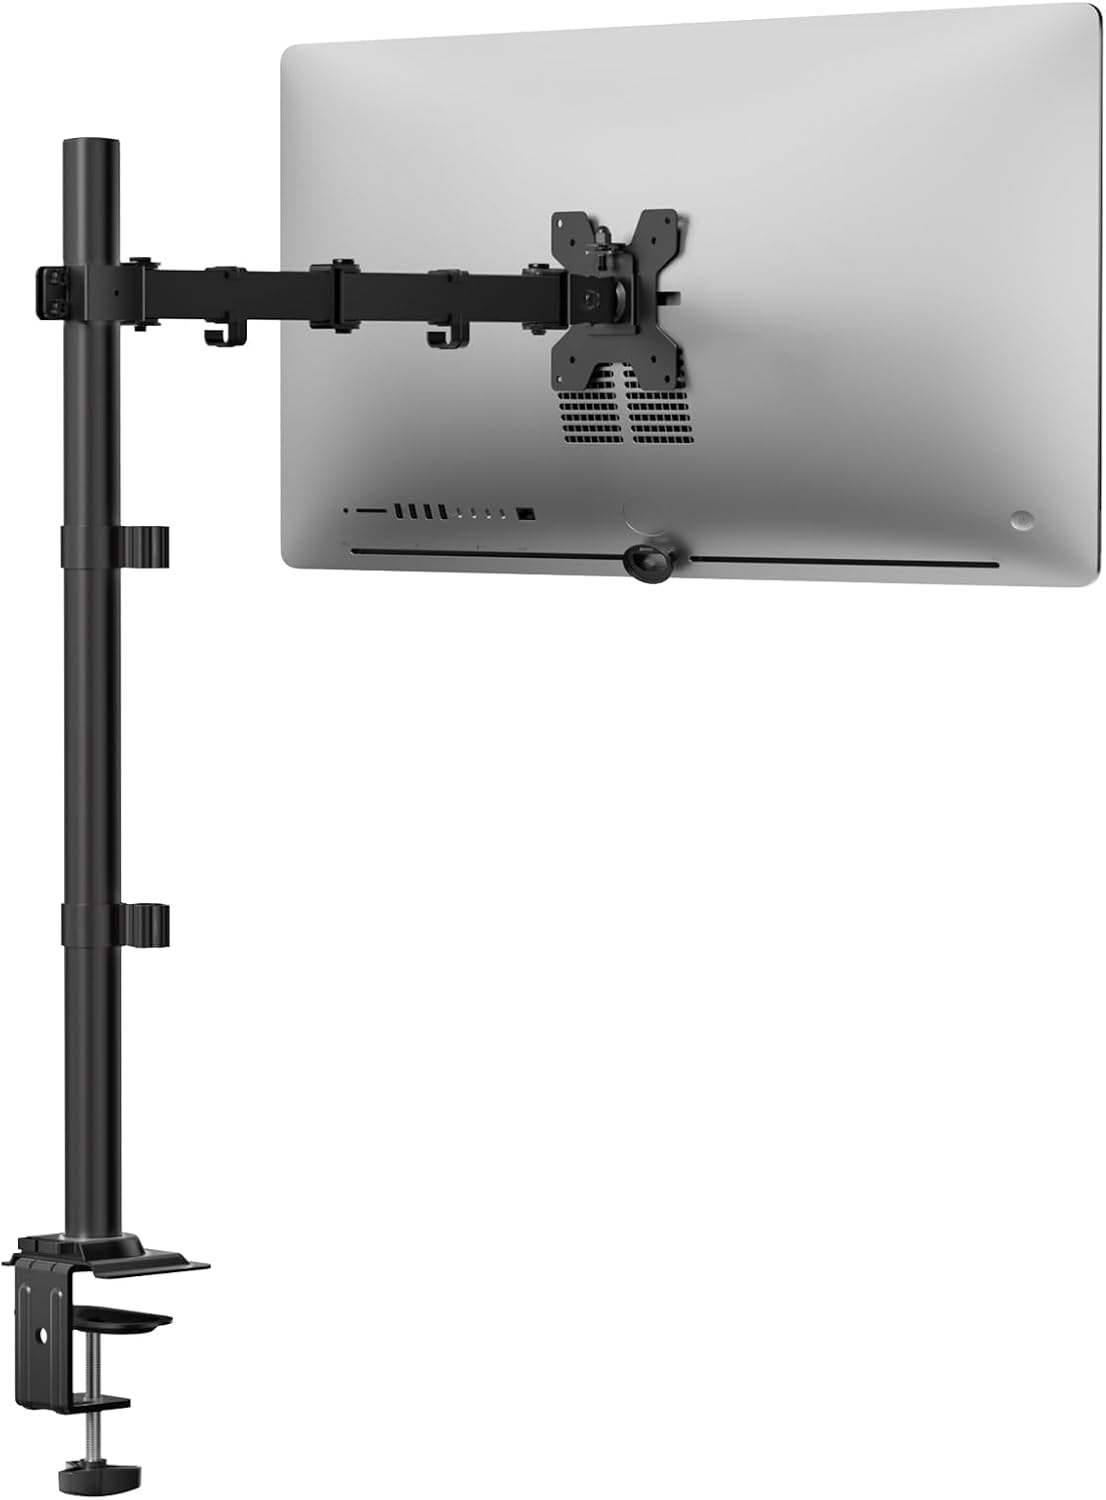
Budget pick: WALI Tall Monitor Arm Mount for Desk for 13-34 inch Screens, 22 lbs per Arm
 Visit on Amazon →
Check current Amazon price. This is the arm I hand people who are mounting a 24, 27, or 34-inch panel and want the tall pole design so the monitor can sit above a laptop or a second display. The rated capacity is 22 pounds per arm, which is real headroom for a typical 27-inch panel that weighs somewhere in the low teens with the stand removed.
The spec that matters most here is the 13 to 34 inch screen range. That covers the vast majority of desks I build, including a 34-inch ultrawide, and it is the honest ceiling. Do not try to hang a 49-inch curved panel on it, and do not load it to the rating and then add a heavy aftermarket VESA adapter plate on top. Headroom is the point of a rating.
The tall pole is the other reason it shows up here. A taller mast gives you vertical travel you can actually use, which means the monitor can go up over a laptop riser or down to eye level without the arm bottoming out.
Flaws but not dealbreakers: A tall pole amplifies any wobble you already have in the desk. On a flimsy folding table, a long mast will sway when you type. Put it on something solid.
Anyone mounting a single monitor in the 13 to 34 inch range who wants vertical range more than maximum capacity should start here.
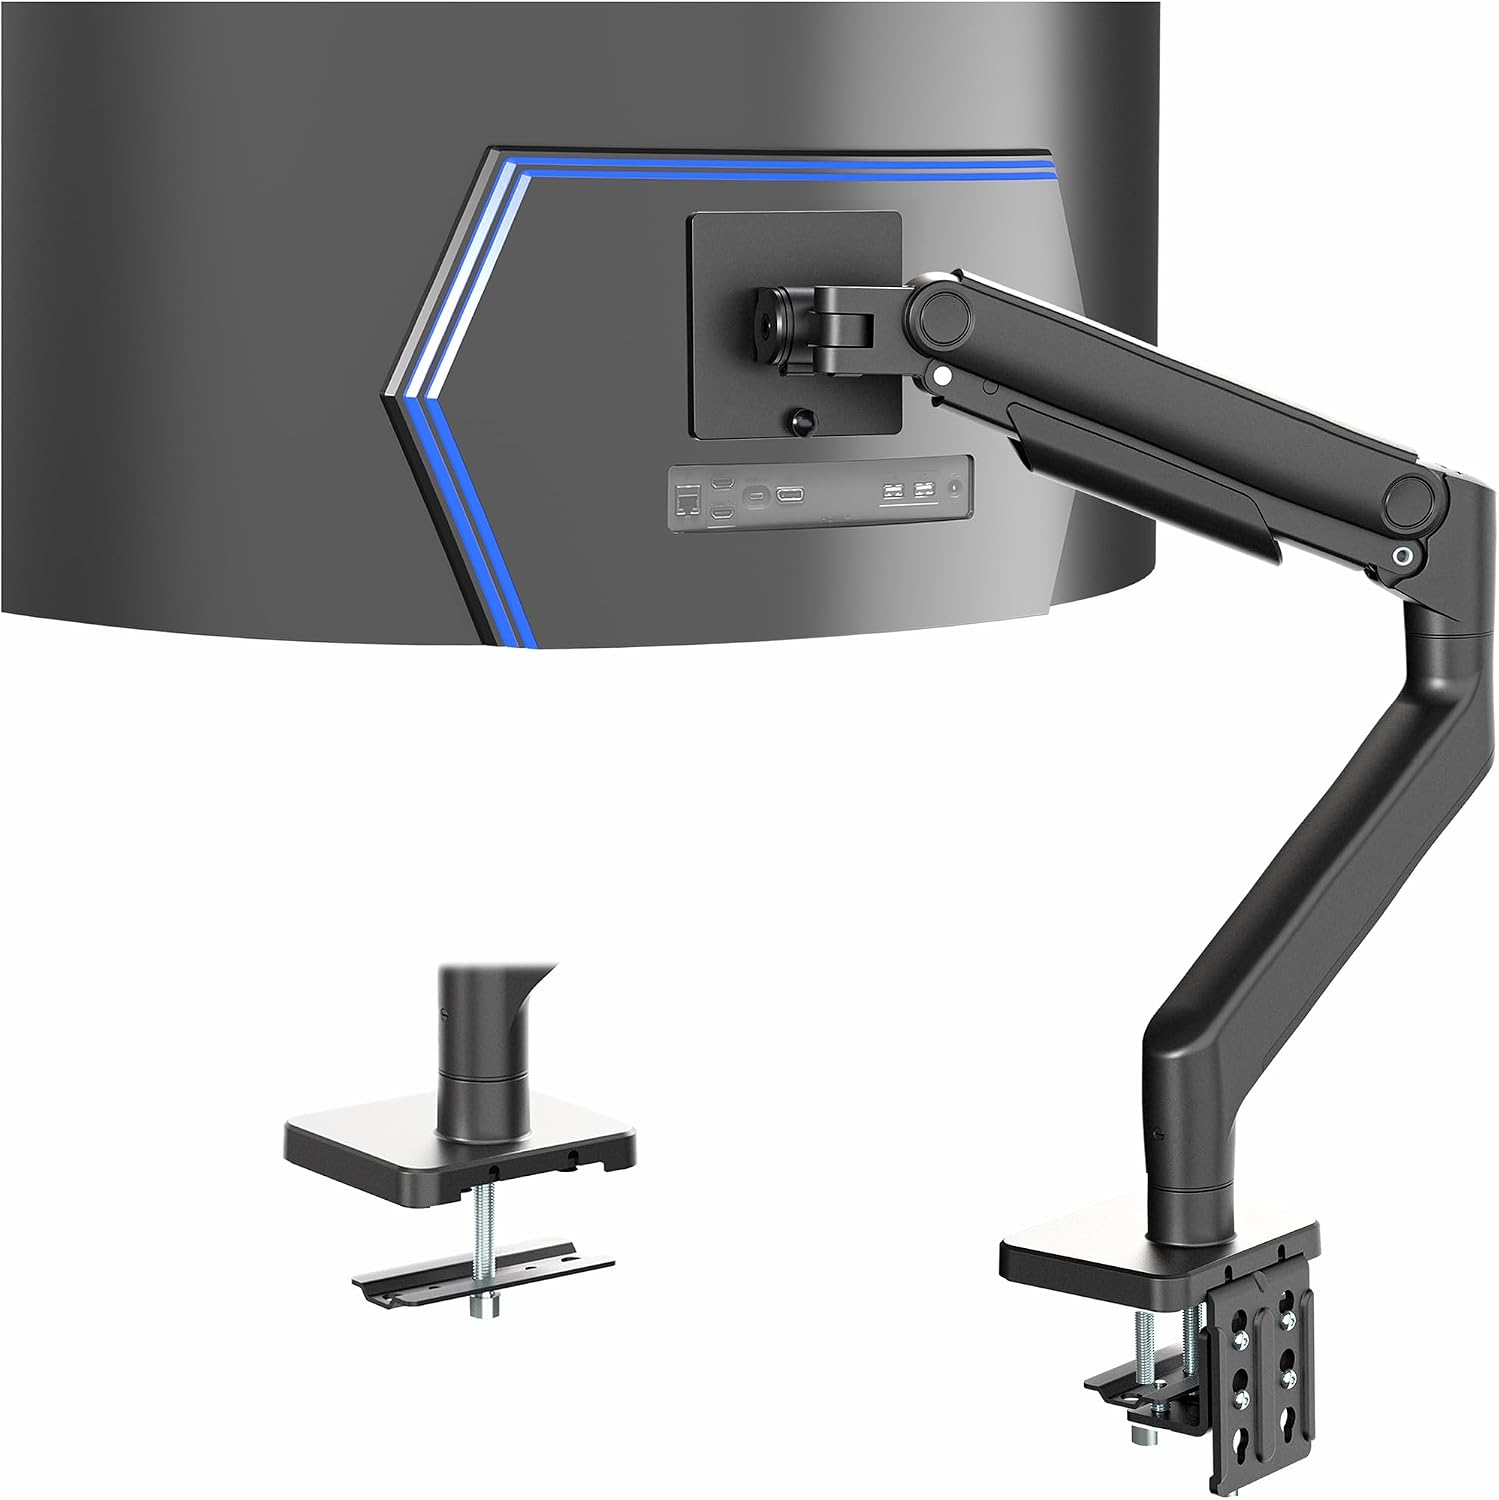
Upgrade pick: VIVO Heavy Duty Aluminum Ultrawide Monitor Tension Arm for up to 49 inch Screens, Holds 44 lbs, Premium Desk Mount Stand Designed for Samsung Odyssey G9 and More, Black, STAND-V101V
 Visit on Amazon →
Check current Amazon price. This is the one for the 49-inch class. The 44 pound rating and the up-to-49-inch screen range are what make it work with a Samsung Odyssey G9 and the other super-ultrawides that laugh at normal desk arms. Aluminum construction, a tension arm design, and a desk mount base.
The tension arm is the whole reason this arm exists. A heavy curved panel is a long lever, and the further you push it away from the pole, the more the joint wants to rotate down. An arm rated at 44 pounds with a proper tension adjustment can hold that load out at full extension, which is exactly the position where cheap arms give up.
Two honest caveats. First, it is overkill for a 24-inch monitor. You can run it, but you will be paying for capacity you never use, and the arm will feel stiff. Second, a heavy arm plus a heavy panel puts real force into the clamp, so the desk has to be worth clamping to. Solid wood or a thick laminate top, yes. A hollow-core door desk, no.
Flaws but not dealbreakers: The arm is physically large, so check the clearance behind your desk. If the desk backs against a wall, you need room for the pole and the joint to swing.
Anyone hanging a 38 to 49 inch ultrawide, or a heavy 32-inch panel, should look here first.
The actual setup, step by step
This sequence works on both arms. Do it in order. The order is not arbitrary.
Step one: Measure the desk edge and confirm the panel weight. Measure the thickness of the desk edge where the clamp will sit, not the middle of the desktop. You want a flat, solid lip. Then check underneath for a support beam, a drawer box, or a metal frame that will block the clamp plate. Weigh your monitor if you can, or look up the panel weight without the stand. Compare that number to the arm's rating and leave yourself headroom.
Step two: Decide clamp or grommet. A desk clamp grabs the edge and needs roughly one to two inches of flat lip plus clear space below it. A grommet mount passes a bolt through an existing hole in the desktop. Clamp is faster and reversible. Grommet is more secure on a thin or beveled edge. If your desk is glass, hollow core, or has a curved beveled edge, do not clamp it at all.
Step three: Bolt the base down before the arm goes on. Install the clamp or grommet base first, with the arm off. Get the clamp plate flat against the underside of the desk, not riding on the edge of a crossbeam. Tighten it firmly with a wrench or the supplied tool, not just hand pressure. If you care about the desk finish, put the protective pad between the clamp and the wood. This is the single most important step and the one most people rush.
Step four: Attach the VESA plate to the monitor on a soft surface. Lay the monitor face down on a towel or the original foam. Line the plate up with the 100x100mm or 75x75mm holes. Start all four screws by hand before you tighten any of them, then snug them in a cross pattern. Do not overtighten into plastic screw bosses. They strip, and then the plate is loose forever.
Step five: Hang the monitor, then set the tension with the monitor on the arm. This is the step everyone does wrong. Tension is set with the load attached. Find the tension screw, usually on the back of the main joint, and turn it until the monitor holds position at full extension without drifting. Too loose and it sinks. Too tight and you have to fight it every time you move the screen.
Step six: Set tilt and swivel last. Once the height holds, adjust the tilt joint so the panel faces you squarely, and set the swivel. Here is the test that matters: if the tilt joint needs a hex key, set it once, get it right, and leave it. If it adjusts by hand, you will actually fine-tune it over the first week.
Step seven: Route the cables. Up the channel on the back of the arm, a slack loop at the main joint so the cable can move without pulling, down the pole, and a service loop tied at the base. Leave enough slack at the monitor end that you can rotate the screen to portrait without unplugging anything.
Step eight: Live with it for a week, then re-torque. New clamps settle into the wood. After seven days, check the base clamp, check the tension screw, and check the VESA screws. Two minutes with a wrench now saves you a drooping monitor in month three.
The mistakes that kill an arm
Clamping over a beveled or rounded edge is the number one failure. The clamp looks tight and then walks itself loose over a month.
Setting tension before the monitor is on the arm is number two. You are guessing at a load you cannot see.
Buying for the monitor you own instead of the one you will own is number three. If you are planning a 49-inch ultrawide in the next year, buy the heavy-duty arm now instead of buying twice.
Routing cables tight at the joint is number four. The joint needs slack. A taut cable will either pull the connector loose or fight the arm every time you move it.
And number five, which is less a mistake than a warning: a tall pole on a flimsy desk will wobble no matter how good the arm is. The desk is part of the mount.
What this guide leaves out
Dual arms, wall mounts, and laptop trays are all real products and all separate jobs. A dual arm doubles the load on a single clamp, which changes the desk requirements completely. A wall mount trades desk clearance for wall clearance and drywall anchors you have to trust with the same weight. A laptop tray adds a lever arm to the pole that the weight rating does not account for.
Standing desks deserve their own note. The frame flexes when it is raised, and any arm amplifies that flex. If you are mounting to a sit-stand frame, clamp to the desktop, not the frame, and keep the monitor close to the pole when the desk is at full height.
What this all costs
There is no useful price in this article, because prices move. Check current Amazon price on either arm before you decide, and check it again the week you buy.
The cost that does not move is time. Budget an hour for a single arm done properly, including the re-torque a week later. Budget two for a heavy ultrawide on a new desk, because you will measure twice.
The real math is the buy-once math. An arm that holds its position for five years costs less per day than the coffee you drink while installing it. An arm that sags in month three costs the purchase price plus a return plus another install, and it costs you the thing you actually wanted, which is a monitor that stays where you put it.
Do the sequence in order, set the tension with the monitor hanging, and route the cables before you call it done. That is the whole job, and it is the difference between an arm you forget about and an arm you fight every morning.