Most people blame the arm when a big panel starts to droop. The arm is rarely the problem.
A 34 inch ultrawide is a lever, not a picture frame. The panel's mass sits an inch or two in front of the VESA plate, so every inch of that offset multiplies the load the gas spring and the tilt joint have to fight. Hang a curved panel on a single arm, skip the tension setup, and you get a monitor that settles a degree or two a month until you look up one morning and realize you have been reading the top of the screen at an angle for weeks.
I have built and rebuilt enough home office desks to know that a floating ultrawide monitor arm either holds its position for years or starts drifting inside a season, and the difference almost never comes down to the price on the box. It comes down to four decisions you make before you tighten a single bolt: how the arm grabs the desk, whether the weight rating has real headroom, whether the spring and tilt get tensioned with the monitor already attached, and whether the cables are quietly pulling the arm down.
This is the process I walk clients through, in the order that avoids redoing work.
Why you should trust me
I am an IT infrastructure engineer in Raleigh. I have spent 13 years building the desks other people work at, plus five years of side work setting up home offices, which adds up to more than 200 desks assembled, cable-managed, and monitor-armed.
The way I judge any arm is simple: does the gas spring hold a 27 inch panel at full extension without sag, is the tilt adjustable without hunting for a hex key, does the clamp fit the desks I actually see in the field, and would I install it in a paying client's office. I keep a torque wrench in my desk drawer because finger tight is not a specification, and I would rather spend ten minutes measuring a desk than an hour returning an arm.
Four measurements to take before you shop
Everything downstream depends on these numbers. Write them down.
Desk thickness at the clamp point. Most C-clamps open to about 2 inches, and a lot of standing desks have a frame rail or a control box in the way. Measure the underside where you plan to clamp, not the front edge where it looks clean.
Underside clearance. A clamp needs a flat lip. If your desk has an apron, a beveled front edge, or a drawer unit running the width of the desk, the clamp will sit crooked or not at all. That is a grommet problem, not a clamp problem.
Grommet hole size. If your desk has a cable hole, measure the diameter. Grommet mounts want a hole small enough that the plate still has surface to press against on both sides, and they need a flat underside to sit square.
VESA pattern and monitor weight. Look at the back of the monitor. You are looking for four threaded holes in a 75x75mm or 100x100mm square. Then weigh the panel without its stand. An arm rated for 22 pounds will hold a 15 pound monitor, and that headroom is the point: a spring run near its ceiling has nothing left to give when the joint settles.
The two arms I would start with for an ultrawide
Both of these are single-arm mounts with the reach and the rating to carry a wide panel. Which one you want depends on your desk height and how much your monitor weighs.
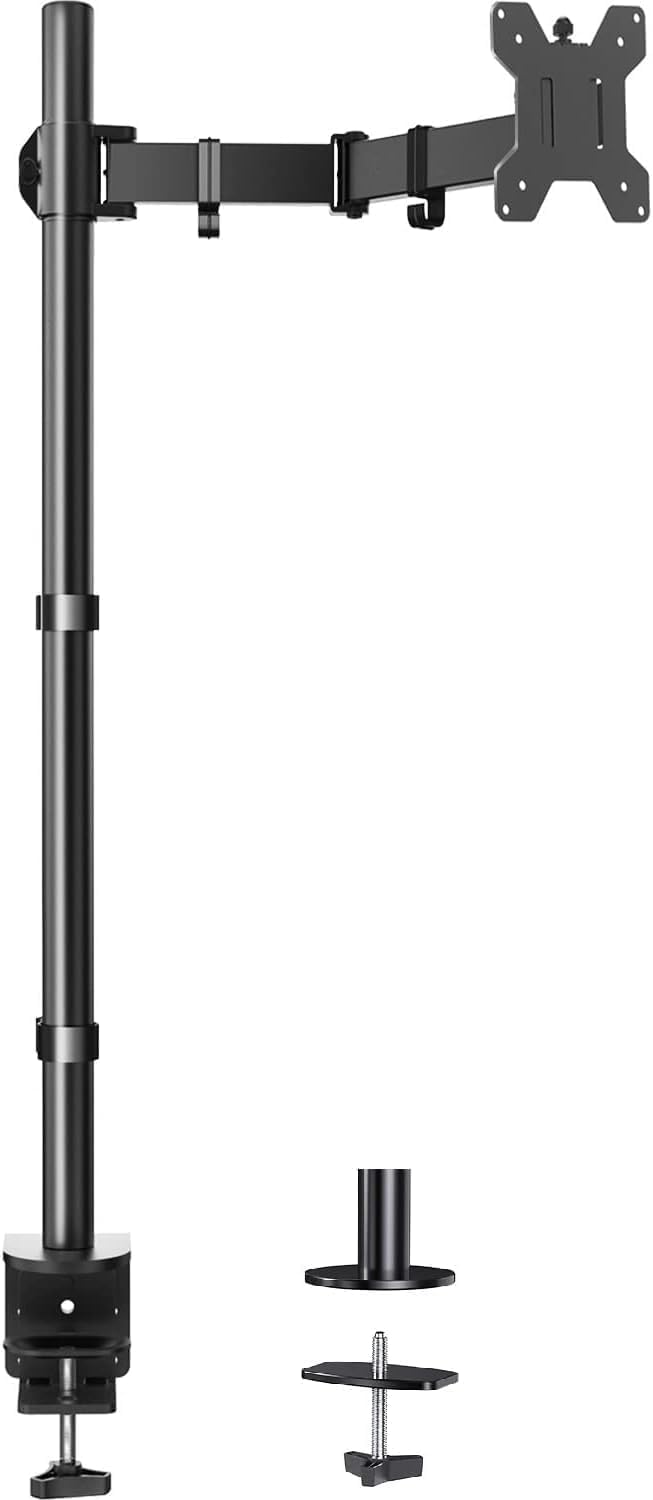
The tall-pole pick: HUANUO Single Monitor Arm with 39 inch Extra-Tall Pole, Adjustable Computer Desk Mount for 13-32 inch Screens and up to 38 inch Ultrawide Screens, Hold 22 lbs, Monitor Stand with C-Clamp & Grommt Base
 Visit on Amazon →
The 39 inch pole is the reason to pick this one. It gets the arm above a monitor riser, a laptop stand, or a shelf, and it gives you vertical travel a short pole cannot. It ships with both a C-clamp and a grommet base, so you can decide after you have measured instead of ordering a second part. The 22 pound rating covers 13 to 32 inch screens and ultrawides up to 38 inches.
The part to watch on a heavy curved panel is the tilt joint. Keep the load in the middle of the rating rather than at the ceiling, and check the tension after the first week. Do that and this arm handles a normal desk setup without drama.
Worth knowing: a tall pole means more leverage against the base, so the clamp or grommet has to be genuinely tight and the desk has to be solid. A hollow core desk and a 39 inch pole are not a good pair.
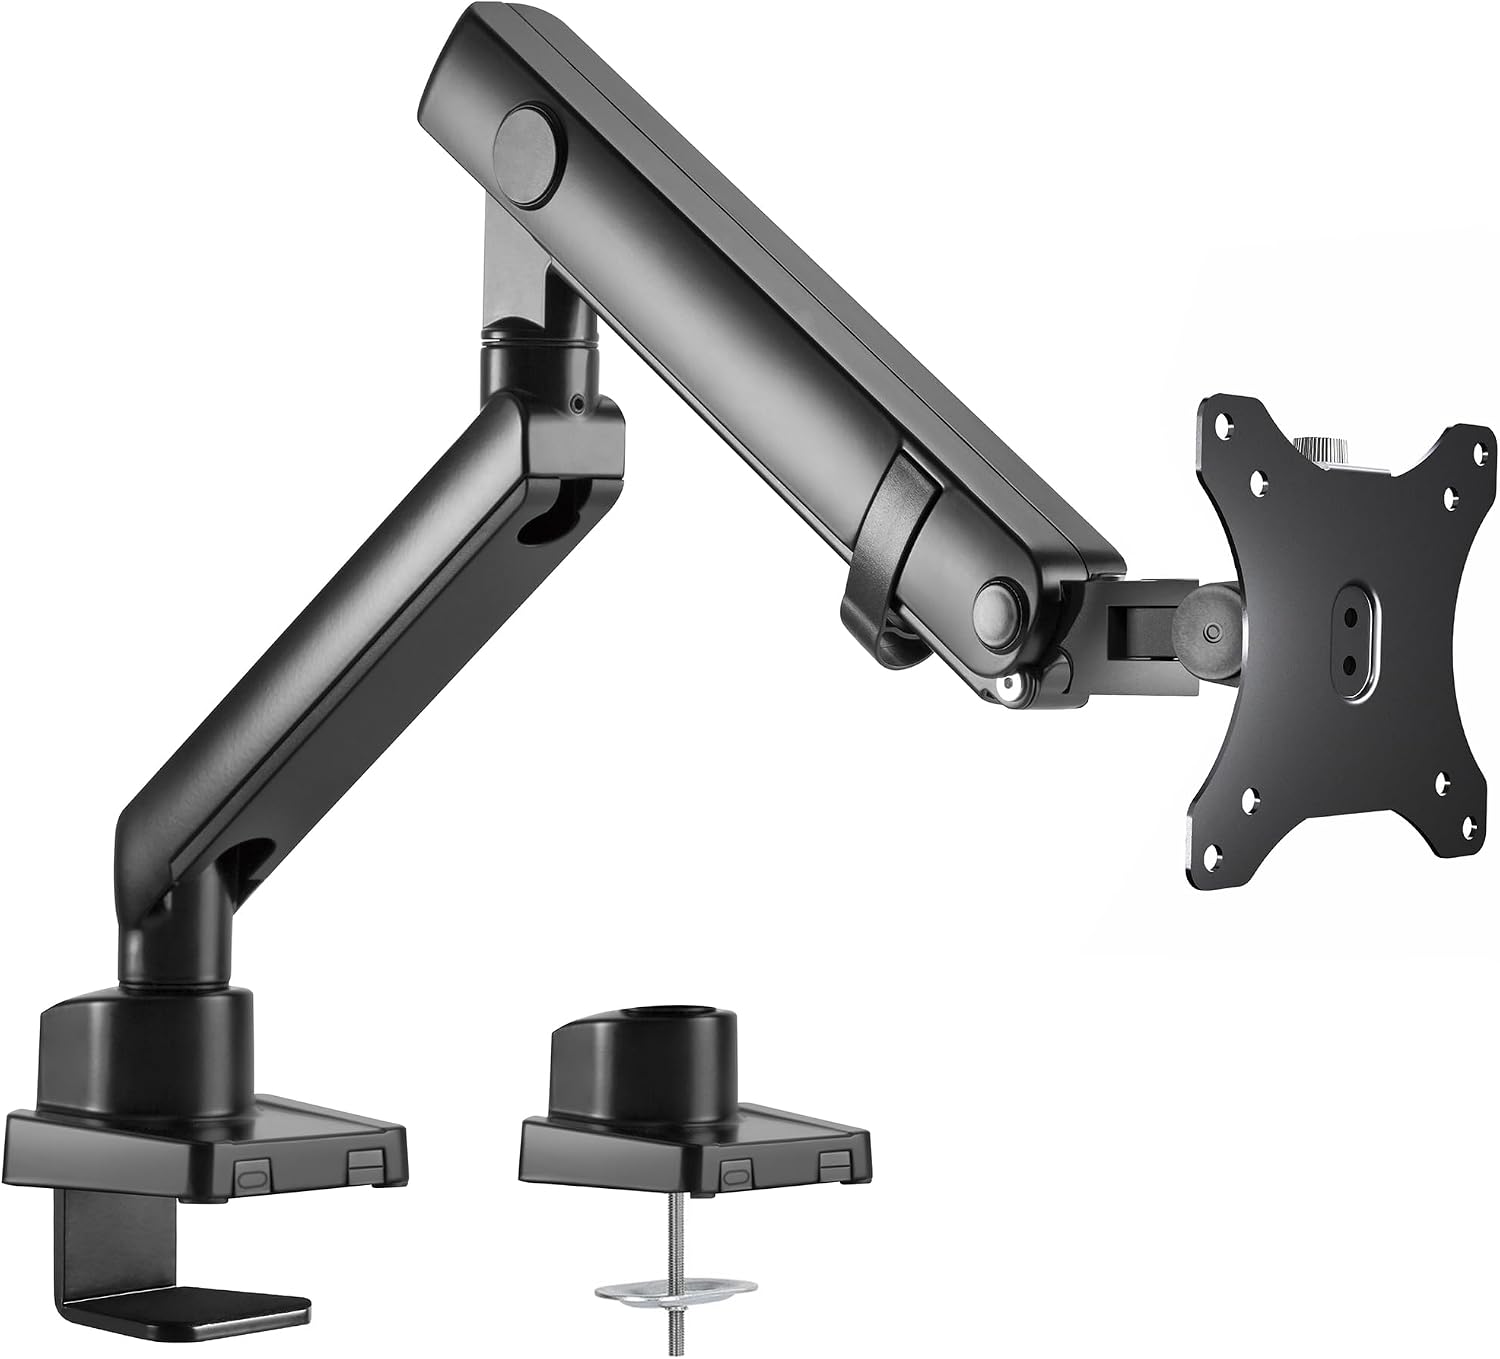
The heavy-panel pick: VIVO Premium Aluminum Full Motion Single Ultrawide Monitor Desk Mount Stand with Lift Engine Arm, Fits Screens up to 40 inches, STAND-V101BB
 Visit on Amazon →
Aluminum instead of steel and plastic, and a lift engine arm rated for screens up to 40 inches. That is the pick when your panel sits at the top of the ultrawide range and you want the arm to feel like furniture instead of a bracket. Full motion means height, extension, tilt, swivel, and rotation, so you can go from landscape to portrait without pulling the monitor off the plate.
The install note I give everyone on VIVO arms: the VESA plate is the fiddly part. Attach the plate to the monitor first, on a towel, with the screws snug but not crushed, and hang the whole assembly on the arm as one piece. Trying to bolt the plate onto the monitor while the arm is already clamped to the desk is how people cross-thread screws.
Worth knowing: aluminum arms are stiffer, which means they transmit more of a desk bump straight to the screen. If you type hard or your desk wobbles, fix the desk first.
The install, step by step
Step one: clear the desk and lay the monitor face down on a towel. Remove the factory stand. Keep those screws in a bag, because they are often the right length for the VESA plate if the arm's hardware is too long.
Step two: confirm the VESA pattern. 75x75mm and 100x100mm are the two you will see. Most arms include both sets of standoffs. Use the shortest screw that fully engages the threads. A screw that bottoms out inside the monitor housing is how people crack a panel.
Step three: mount the VESA plate to the monitor before the arm goes anywhere near the desk. This is the step people skip and regret. Plate on the back of the monitor, screws snug, then set the monitor aside.
Step four: install the base. For a clamp, slide it onto the desk edge, put the pad where the clamp meets the underside, and tighten until the base does not move when you push it side to side. For a grommet, drop the bolt through the hole, add the plate underneath, and tighten from below. If the base moves now, it will move more with a monitor on it.
Step five: assemble the arm and set the spring tension with nothing hanging on it. Set the gas spring to roughly the middle of its range so you have room to adjust in both directions once the weight is on.
Step six: hang the monitor and set the spring tension properly. Support the panel with one hand, adjust the spring, then let go slowly and watch what happens. Too little tension and the monitor sinks. Too much and it climbs. Do this at the height you actually work at, not at the bottom of the travel.
Step seven: set the tilt last. Tilt tension should be tight enough that the monitor holds its angle when you nudge it, and loose enough that you can move it with one hand. If your arm needs a hex key for tilt, set it once and leave the key in a drawer you will actually open.
Step eight: route the cables before you call it done. More on that below.
Step nine: re-check everything after 48 hours, then after a week, then after a month. New hardware settles. Springs find their resting point. A quarter turn on the spring and a snug on the clamp at the 48 hour mark is the difference between an arm that holds for five years and one that droops by spring.
Clamp or grommet, decided by your desk
A C-clamp is the default because it needs no modification: a clean edge, a flat underside, and no apron in the way. It is also the wrong choice on a glass desktop, where point pressure can crack the panel, and on a thin hollow core desk that will crush before the clamp is tight.
A grommet mount spreads the load over a wider plate, which is better for heavier monitors and taller poles, and it frees up the desk edge. It needs a hole, either one that already exists for cable management or one you drill. Drilling a desk is a five minute job with a hole saw and a miserable job with a hand drill and no plan, so measure twice.
If you have neither a usable edge nor a hole, a freestanding mount or a wall mount is the honest answer, not a clamp squeezed onto a bevel.
Cable management is part of the install, not a finishing touch
Route the display cable and the power cable through the arm's channels as you assemble it, not after. You cannot feed a connector through a channel that is already closed around three other cables.
Leave a service loop at the monitor end, long enough to pull the monitor forward and rotate it to portrait without tugging. Leave slack at the base too, and anchor the run to the desk with a velcro tie a few inches from the clamp. A cable that hangs tight from the monitor to the floor is a constant downward pull on the arm, and it is the most common reason an arm that was fine in week one is sagging in month three.
The mistakes that cause sag after the return window
Tensioning the spring before the monitor is on the arm. You are guessing at a weight you have not applied yet.
Running a curved ultrawide at the top of the arm's weight rating. Headroom is not a suggestion. A panel plus a heavy VESA adapter plus a webcam clip adds up faster than you think.
Clamping onto a beveled edge or an apron so only half the clamp face makes contact. The clamp holds, then the desk flexes, then the arm leans.
Buying an arm with a hex key tilt joint. You will set it once, hate it, and never adjust it again, and then you will lean your neck forward for two years.
Ignoring the screws. The right length VESA screw matters more than the brand of the arm.
What this all costs
Check current Amazon price for both arms before you decide, because the gap between a tall-pole steel arm and an aluminum lift engine arm is usually the difference between two tiers of gas spring, not two tiers of paint.
The real cost of a monitor arm is rarely the arm. It is the desk you cannot clamp to, the grommet hole you have to drill, or the second arm you buy after the first one turns out to be rated for a panel lighter than yours. Measure first and you pay once.
Run the numbers per year rather than per purchase. An arm that holds its position for five years costs you very little per day. An arm that sags in month three costs you the full price plus your Saturday.
The short version
Measure your desk edge, your grommet hole, your VESA pattern, and your monitor's weight. Pick an arm with weight rating headroom. Tension the spring with the monitor attached, set tilt last, route cables with slack, and re-check everything at 48 hours. Do those things and your ultrawide will still be floating where you left it next year.
That is the whole job. The arm is furniture. Install it like furniture.