Most monitor arm advice starts with a clamp. Grab the desk edge, tighten the jaws, done. That works until it does not: a glass top, a drawer unit sitting directly under the work surface, a rounded lip, or a built-in cabinet where the nearest edge is four inches of solid oak. A tall monitor stand pole solves the problem a different way. It stands on its own mounting base, rises 32 inches when you need the height, and carries the monitor on a head that slides up and down the shaft. No jaws, no edge, no desk thickness limit.
I have built and rebuilt more than 200 desks for clients around Raleigh, most of them in home offices that started life as a spare bedroom. The pole setups are the ones that surprise people on install day, and the surprise is never the pole itself. It is the base, the desk surface, the monitor weight, and the cable routing, in that order.
This guide covers the whole job: what to measure before you order, how to assemble and level a two-section pole, how to set the height so your neck agrees with it, and how to kill the wobble that shows up the first time you type with any force.
Why you should trust me
I am Dev, an IT infrastructure engineer in Raleigh with 13 years in the field and a side business building home offices. I have assembled, cable-managed, and monitor-armed more than 200 desks, which means I have made most of the mistakes this article is designed to help you skip. My rule for anything I write about here is simple: a mount has to hold a 27-inch monitor at full extension through 90 days of daily use without sagging, and the tilt joint has to be adjustable without hunting for a hex key. I keep a torque wrench in my desk drawer because "finger tight" is a claim, not a spec.
What a tall monitor stand pole actually solves
A clamp arm and a pole solve different problems, and picking the wrong one costs you a return.
A clamp arm grabs the desk edge. It needs 1 to 2 inches of clear, solid lip and enough under-desk clearance for the C-jaw. When that exists, a clamp is the more rigid and more space-efficient choice. When it does not exist, the clamp is a paperweight with a gas spring.
A tall pole stands on its own. That buys you three things:
- No desk edge requirement. Any flat, stable surface works, including a cabinet top or a dedicated riser.
- Height. A 32-inch pole reaches well above what most clamp arms manage, which matters if you run a monitor in portrait or you like the top of the screen at eye level while sitting upright.
- Repositioning. You can slide the whole assembly sideways without unclamping anything, which is useful in shared or rotating setups.
The tradeoff is honest: the base occupies desk space, and a freestanding pole is only as stable as the surface under it. A pole on a bouncy desk is a bouncy monitor, no matter how good the steel is.
Measure these four things before you order
One: the height you actually need. Sit at the desk, look straight ahead, and mark where your eyes land. The top third of the screen should sit at or slightly below that line. A 32-inch pole covers most seated setups with room to spare, but measure rather than guess.
Two: the surface the base will sit on. The base needs a flat area roughly the size of its footprint, and it needs that surface to be rigid. A thin hollow-core desk flexes under a pole. A solid-core or butcher block top does not.
Three: the monitor. Write down the weight and the mounting pattern. Almost everything modern is 100x100mm, some smaller panels are 75x75mm, and if your monitor has no mounting holes at all, no pole will help you until you buy an adapter plate.
Four: the cable path. A pole setup means cables travel from the monitor, down the shaft, and off the back of the desk. If the base sits in the middle of the desk, that path is longer than you think.
The parts that matter
Two pieces do the work in a pole setup: the pole itself and whatever else you hang on it. Here is what I would put on the list.
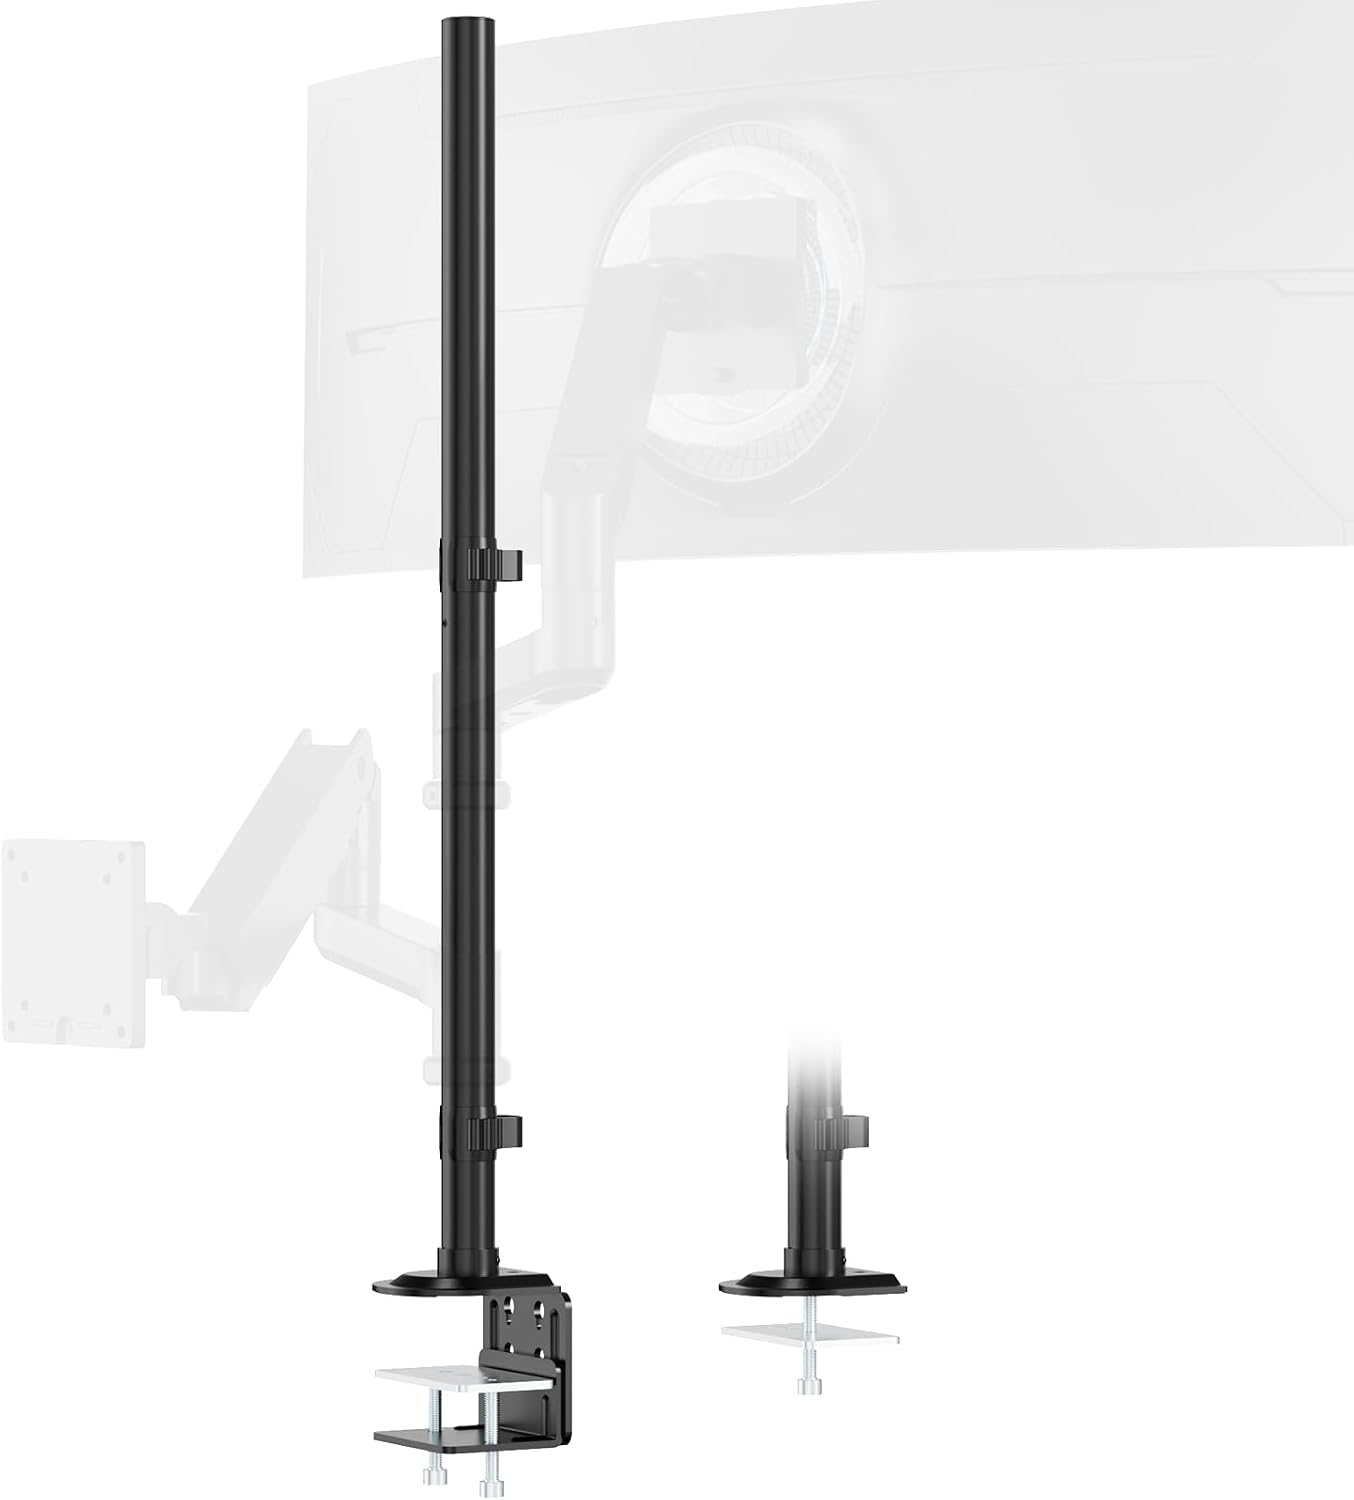
Our pick for tall desks: Steel Extra Tall 32 Inch 2-Section Monitor Stand Pole with Mounting Base
 Visit on Amazon →
This is the piece that makes a pole setup possible: a steel column that ships in two sections, reaches 32 inches, and stands on a mounting base instead of clamping anything. Steel matters here because the failure mode of a weak pole is not a snap, it is a slow lean that shows up around month four when the joint starts to give. Two sections mean a joint, and that joint is the one thing you have to tighten properly during assembly.
The 32-inch height is the reason to pick this over a shorter riser. It puts the mounting head above the desk line, so a monitor can float with clear space underneath for a keyboard tray, a small speaker, or just air, which is the entire visual point of a pole setup.
Flaws but not dealbreakers: A freestanding base uses desk space, and a two-section pole needs a firm hand on the joint. If your desk surface is thin or springy, fix the desk first, because no pole fixes a flexing top.
Anyone who has no usable desk edge, or who wants the monitor higher than a clamp arm reaches, is the right buyer for this.
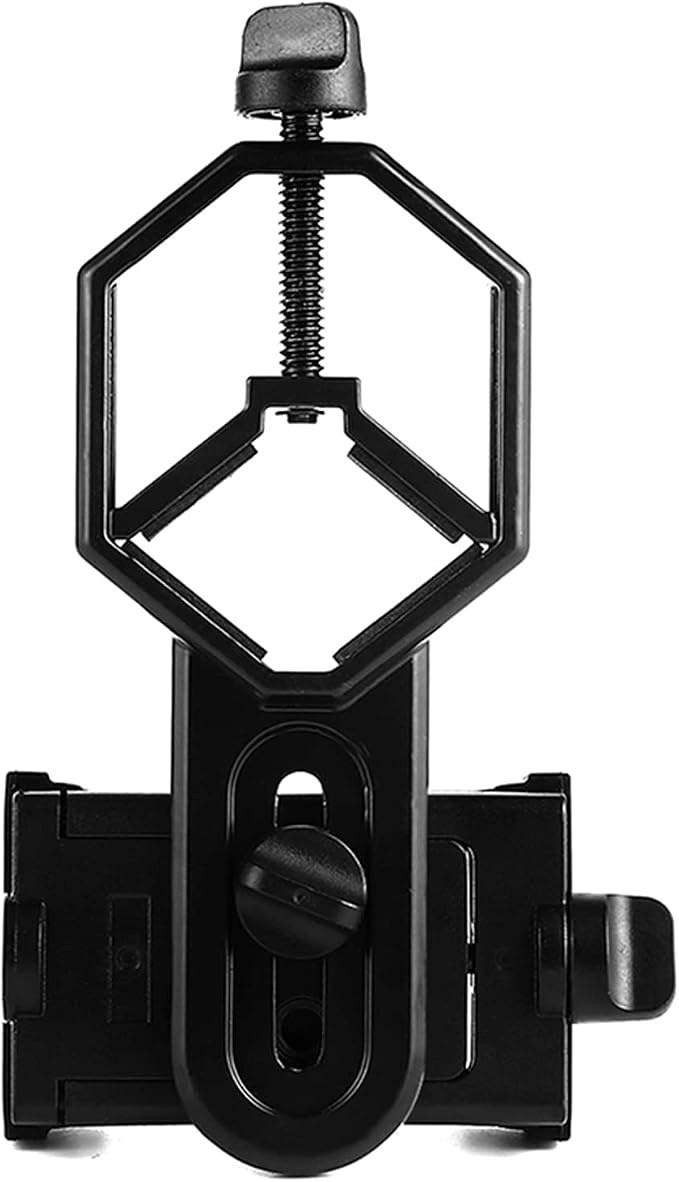
Optional add-on: SVBONY Universal Cell Phone Adapter, Telescope Phone Mount Diameter 25-48mm
 Visit on Amazon →
This one is not a monitor mount, and I want to be clear about that before anything else. It is a phone clamp built for telescopes and spotting scopes, designed to grip a cylindrical tube between 25mm and 48mm in diameter. The reason it belongs in a pole article is that many monitor stand poles fall inside that range, which turns the shaft into a phone perch.
What do you do with a phone on a monitor pole? Three things show up again and again in desk setups: a document camera for receipts and sketches, a reference screen for chat and email while the main monitor stays on real work, and a phone-as-webcam rig when the laptop camera is unusable. It keeps the phone off the desk, which is the whole point.
Flaws but not dealbreakers: Measure your pole diameter before you buy. If the shaft is outside that 25-48mm window, the clamp will not close on it, and no amount of cleverness fixes a diameter mismatch. It is also a phone holder, not a load-bearing mount, so do not hang anything heavier than a phone on it.
Anyone who wants a phone at eye level without adding a second arm will get real use out of this.
The setup, step by step
Step one: inventory the hardware before you touch the desk. Lay everything out and count it. Most pole kits ship with bolts, washers, and at least one Allen wrench. Missing hardware is the number one reason a 30-minute install turns into a two-day wait.
Step two: assemble the base first. The base is the foundation, and it needs to be square before anything goes on top. Set it on the desk where it will live, not on the floor, so you can confirm the footprint clears your keyboard and your mouse arc.
Step three: join the two sections. This is the joint that decides whether the pole leans in month four. Thread the sections together, then tighten firmly with the supplied wrench. Snug is not enough here. You want it tight enough that the seam does not flex when you push the top of the pole sideways with one finger.
Step four: attach the mounting plate to the monitor. Do this with the monitor face down on a towel, not standing up. Four screws, tightened in a cross pattern so the plate seats evenly. If your monitor uses 75x75mm holes, confirm the plate supports that pattern before you start.
Step five: hang the monitor and set the height. Get the monitor on the head, then sit down and set the height with your body, not your eye. Top of the screen at or just below eye level, about arm's length away, with no more than a slight downward gaze.
Step six: set the tilt. Adjust tilt before you tighten anything else. The goal is a monitor that stays where you put it without needing a wrench every time you nudge it. If the joint needs a hex key to change, you will set it once and live with it, so set it right the first time.
Step seven: route the cables. Run display and power cables down the back of the shaft and secure them. Loose cables pull on the monitor and add a sway that feels like wobble but is actually cable tension.
Step eight: level it and let it settle. Check level with a phone app or a small bubble level, then leave the setup alone for a day before you judge it. New joints seat themselves after a few hours under load.
The wobble checklist
If the monitor moves when you type, work through this in order:
- The section joint. Nine times out of ten, the wobble is a loose joint on a two-section pole. Tighten it before you blame anything else.
- The base position. A base sitting half on a mouse pad and half on the desk will rock. Everything under the base should be flat and rigid.
- Monitor weight against the pole. A pole rated for a light monitor will flex under a heavy one. Check the rating against your actual panel weight, not the weight you remember from the spec sheet.
- The desk itself. Put a hand on the desk and push. If the desk moves, the monitor will move.
- Cable tension. Cables routed too tight act like a spring and pull the head out of level.
- The tilt joint. A tilt joint set too loose lets the panel nod forward with every keystroke.
Cable management on a pole
A floating monitor with dangling cables looks broken, and on a pole setup you have more cable to hide because the run is longer. Three rules.
Run cables down the back of the shaft, never the front. Use hook-and-loop ties rather than zip ties, so you can redo the run when you add a device. Leave a service loop of a few inches behind the monitor so you can pull the screen forward without unplugging anything.
If your pole has no built-in channel, a simple sleeve or a strip of adhesive clips along the back of the shaft does the job. The goal is a single clean line from the monitor to the desk, with no cable crossing the base.
What this costs over five years
The pole and the phone adapter are one-time purchases, and that is the right way to think about them. Check current Amazon price for both, then do the math against the alternative: a clamp arm that sags in month eight and gets replaced, or a stack of books that never quite holds the height you want. A steel pole that survives five years of daily use costs less per day than almost anything else on the desk.
The real saving is the desk itself. If your current desk has no clampable edge, the pole lets you keep the desk instead of buying furniture to satisfy a mount.
The bottom line
A tall monitor stand pole is the answer when the desk edge is not available and the height is not negotiable. Measure the height, the surface, the monitor, and the cable path before you order. Assemble the base first, tighten the section joint like you mean it, set the height with your body in the chair, and route the cables down the back. Then leave it alone for a day and check for wobble with the list above.
Do that, and the monitor floats. That is the whole job.