Most people install a dual monitor arm backwards. They buy the arm, clamp it to the desk edge, hang two screens on it, and then spend the next month wondering why the whole thing droops by dinner. A dual monitor arm setup is not really a mounting job. It is a measurement job that happens to end with a drill.
I have spent 13 years as an IT infrastructure engineer in Raleigh and the last five running a side business building home offices. That is more than 200 desks assembled, cable-managed, and monitor-armed for clients who mostly wanted two screens and a clear desktop. The pattern never changes. The arm is rarely the problem. The desk, the clamp, and the tension settings are the problem.
So here is the order I work in: measure the desk, choose the arm, mount the base, hang the screens, then tune tension and tilt with the monitors already on. Get that order wrong and you will be back under the desk at 11 p.m. with a flashlight in your teeth.
Why you should trust me
I install monitor arms the way my clients actually use them, which means a 90-day daily-use trial before I call anything good. Every arm gets the same treatment: a 27-inch monitor pushed to full extension and watched for droop, a tilt joint adjusted by hand to see whether it needs a tool, a cable management audit, and a wobble check with the desk bumped the way a real person bumps a desk.
I keep a torque wrench in my desk drawer for arm bolts that claim to be finger tight, because most of them are not. I have also watched a $40 arm fail in month three and a $150 arm sit level for years, and the difference was never the paint. It was the gas spring. That is the lens I use for everything below.
What I check before I recommend an arm
Four things, in this order.
Gas spring quality. This is the whole game. The spring is what holds your screens up at full extension. A weak spring means you tighten the joint, and tightening the joint means the arm fights you every time you move a screen. If the arm is rated comfortably above your monitor weight, the spring has headroom to work with. Headroom is the point.
Tool-free tilt and height adjustment. If changing the tilt requires a hex key, you will never change the tilt again. Your neck will pay for that in about six months. I want a hand knob or a lever, something I can reach while sitting in the chair.
Clamp and grommet options. A desk clamp is a desk-thickness problem, not a style choice. Some desks have a lip that a clamp cannot grab. Some have a grommet hole already drilled, which is the cleanest mount of all. You want an arm that can do both, because desks change.
Cable channels. A floating monitor with cables hanging off the back looks broken. Channels along the arm are not a luxury feature.
Measure these three things before you buy anything
Do this with a tape measure and a piece of paper. It takes four minutes and it prevents the most common return.
One: desk thickness at the edge. Clamps have a range, usually somewhere between about half an inch and two inches. Measure the actual edge where the clamp will sit, not the middle of the desk. If your desk is thicker than the clamp range, the clamp simply will not close.
Two: the flat lip under the front edge. Many modern desks have a beveled or rounded front edge, or a metal frame rail running under it. A clamp needs flat material to bite. If the underside is curved, you either move the clamp inward to a flat spot or you go through a grommet instead.
Three: wall clearance and reach. Measure from the clamp position to the wall behind the desk. Then measure how far forward you want the screens to sit. A dual arm needs room to fold back when you push the monitors away, and it needs enough reach to bring them forward when you pull them in. If the desk sits flush against a wall, plan for the arms to swing sideways rather than backward.
While you have the tape out, check the back of both monitors. You want a 100x100mm or 75x75mm VESA pattern. No VESA holes, no arm. Most monitors from the last decade have them, but small all-in-ones and a few budget panels do not.
One more thing: add up the weight of both monitors and both VESA plates before you shop. Then buy an arm rated above that total. Not equal to it. Above it.
The arm I start most dual setups with
For a single clamp holding two screens, the priority shifts. You are asking one base and one desk edge to carry twice the load, so the base plate and the clamp matter as much as the arms.
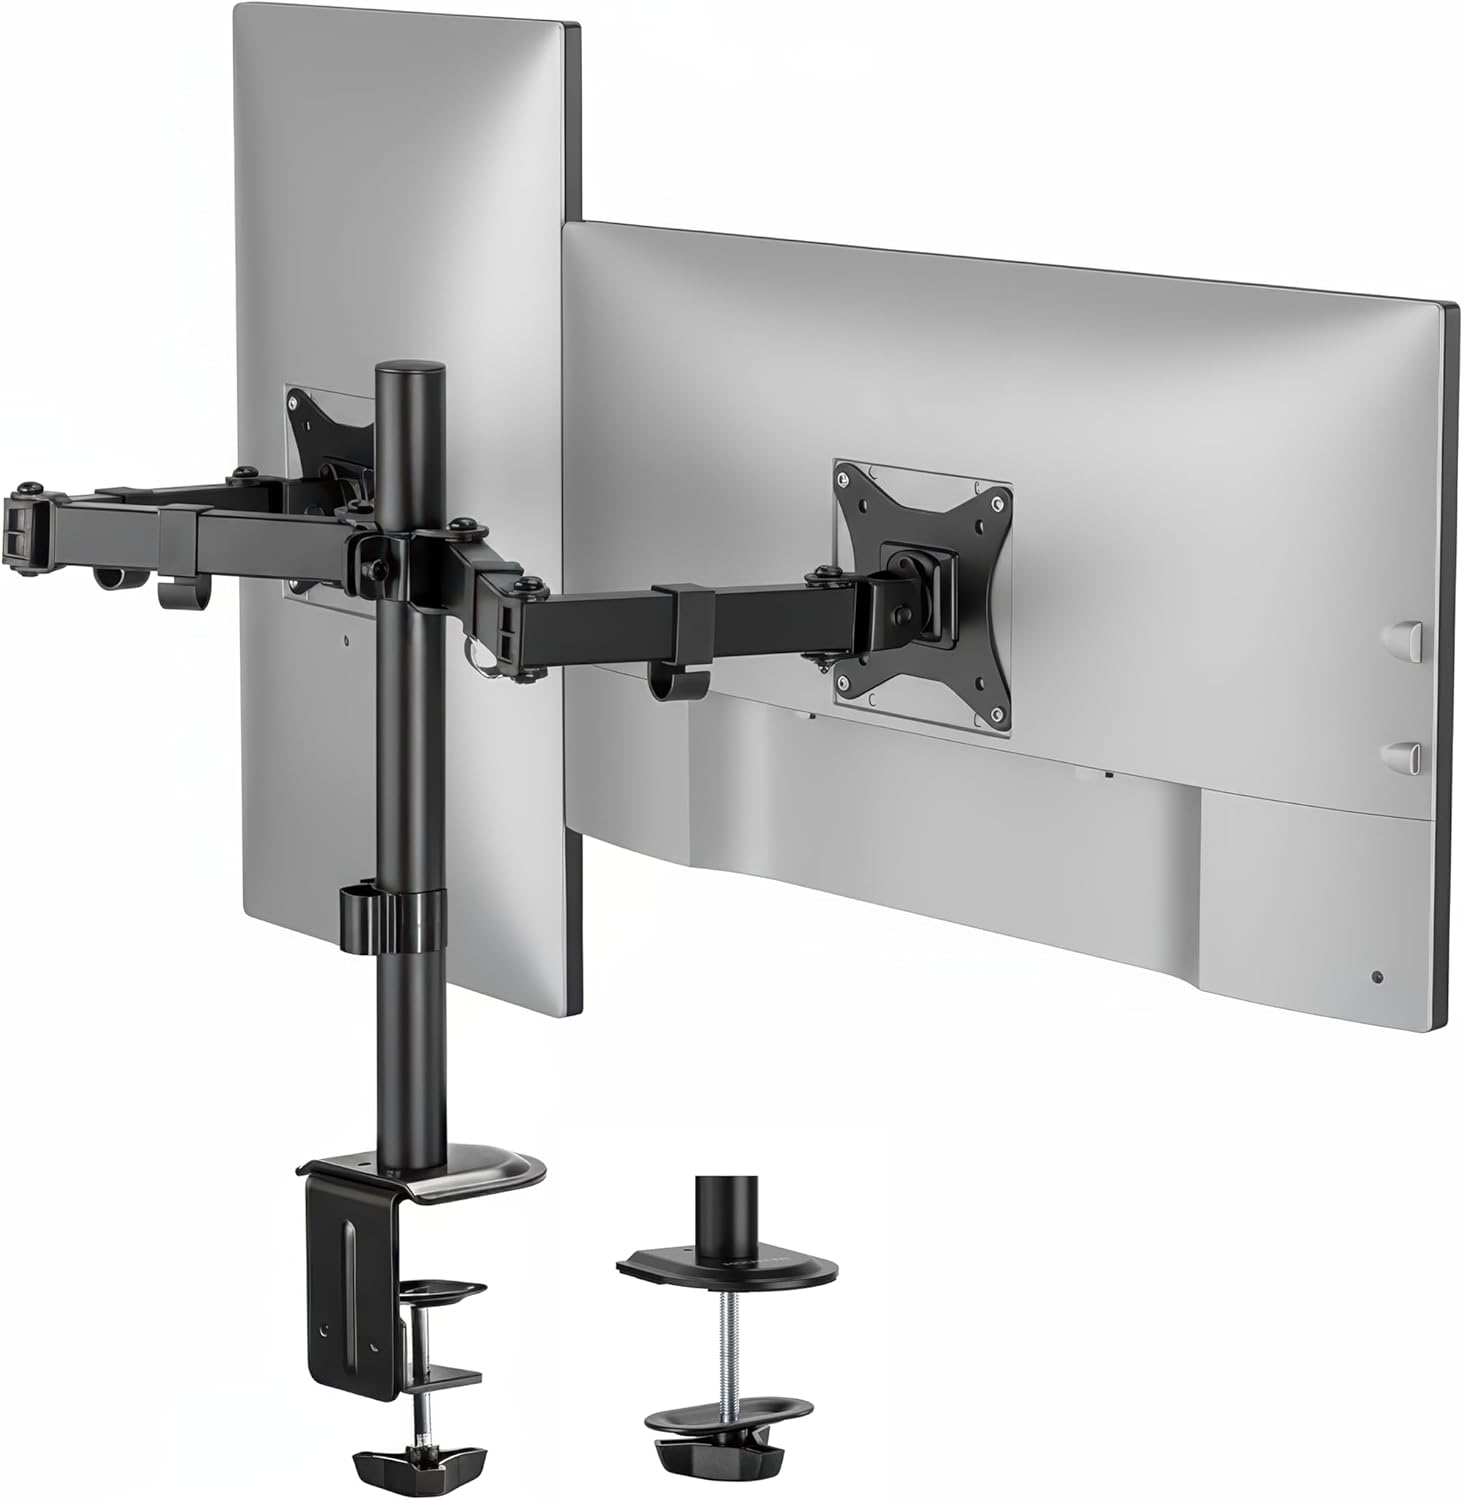
Our pick: Mount-It Dual Monitor Arm, Heavy Duty Desk Mount for 2 Screens 13-32 in
 Visit on Amazon →
This is the one I reach for when a client wants two screens on one clamp and does not want to think about it again. It covers screens from 13 to 32 inches, which spans the 24-inch and 27-inch pairs that most desks actually run, and it is built as a heavy duty desk mount, so the base and the clamp are sized for the load of two panels rather than one.
Check current Amazon price on the listing, since these move around.
The reason I like a single-clamp dual arm over two separate arms is desk real estate. One clamp means one point of contact, one cable route, and one place where the desk edge has to be flat. Two clamps means two measurements, two torques, and twice the chance that one of them lands on a beveled edge.
Flaws but not dealbreakers: With two screens on one base, the desk edge does all the work. On a hollow-core desk, spread the load with a block of hardwood under the clamp plate, or move the clamp to a spot above a leg. Also budget an extra few minutes for leveling, because getting two arms to agree on a height takes a pass or two.
If you run a pair of 24-inch or 27-inch monitors and your desk edge is flat and solid, start here.
The install, step by step
This is the sequence I use. It works on any dual arm, and it is ordered so you never have to hold a monitor in one hand while turning a bolt with the other.
Step one: clear the desk edge. Pull everything off the desk. You need access to the underside of the front edge and you need room to lay the monitors face down on a towel.
Step two: assemble the base and clamp off the desk. Thread the clamp, attach the base plate, and set the pole or the base column in place before it goes anywhere near the desk. Doing this on a table is ten times easier than doing it upside down.
Step three: mount the VESA plates to the monitors first. Lay each monitor face down on a soft towel, line up the plate with the 100x100 or 75x75 holes, and use the screws that match your monitor's thread depth. This is the step where people strip threads by using the wrong length screw, so test the fit by hand before you tighten anything.
Step four: clamp the base and torque it down. Slide the clamp over the desk edge, confirm it is biting flat material, and tighten it by hand until it stops, then a quarter turn more. If you have a torque wrench and a spec, use it. If not, firm plus a quarter turn is the rule. Overtightening crushes particleboard and cracks the laminate.
Step five: hang the lighter monitor first. With the arms folded close to the base, slide the lighter screen onto its plate. Keep it close in, where the leverage is lowest. Then hang the second screen the same way.
Step six: set height and reach before you touch tension. Decide where you want the screens: top of the bezel roughly at eye level, about an arm's length away, angled slightly toward your face. Move the arms into that position by hand. You are looking for the geometry first, and the tension settings second.
Step seven: tune the gas spring with the monitors on. Now adjust the spring tension, one arm at a time, with the screen mounted. Loosen or tighten in small increments, then push the monitor down and let go. It should hold where you put it. If it drifts down, add tension. If it springs up, back it off.
Step eight: level the pair and lock the tilt. Bring both screens to the same height and the same angle. Tighten the tilt joint so the monitors stay where you point them, but not so tight that you need two hands to nudge them.
Tension and tilt: the part everyone skips
Here is why so many dual monitor arm setups sag in month three. The gas spring settles with use, and the joint that felt perfect on install day loosens up. That is not a defect. It is a break-in period.
Plan on a five-minute adjustment after the first week and another one after the first month. Both are small turns on the tension screw, nothing more. After that, a well-built arm tends to hold for years.
Two rules I give every client:
Do not solve droop with the tilt bolt. If the screen sinks, the gas spring needs tension, not the tilt joint. Crank the tilt instead and you will strip the joint and still have a sinking monitor.
Test at full extension. A monitor that holds close to the base tells you nothing. Push it out to the far end of the arm, the way you would when you swing a screen toward a client or a second person at the desk, and check it there. If it holds at full extension, it holds everywhere.
The wobble test is the other half. Type on the desk with the monitors at full extension and watch the screens. A little movement is normal on any arm. If the screens bob for two seconds after every keystroke, either the clamp is loose, the desk is flexing, or the arm is undersized for the monitors. Check the clamp first, then the tension, then the weight rating.
Cable management that does not look broken
The floating monitor look only works if the cables disappear. Three passes and you are done.
Pass one: the monitor to the arm. Leave a small service loop at the VESA plate, enough to tilt the screen without pulling, then run the display cable and the power cable along the underside of the arm through its channels. Velcro, not zip ties, so you can redo it later.
Pass two: the arm to the base. Route both cables down the pole or the base column. If your arm has a channel there, use it. If it does not, a wrap of velcro every few inches looks intentional and keeps the cables from swinging when the arm moves.
Pass three: the base to the desk. Run the cables to the back edge and drop them behind the desk, not across the front. If you have a standing desk, leave a loop long enough to cover the full travel range, then anchor it so it does not catch on the frame.
The test: sit down and move both monitors through their full range. If a cable pulls tight, snags, or drags across the desk, fix it now. Cables that get yanked are cables that get replaced.
The other mount: getting bikes to the trailhead after work
Not every mount in my life is on a desk. Half the clients I build offices for are the same people who finish a workday and want to be on a trail twenty minutes later, and that means a rack on the hitch, not another clamp on a desk.
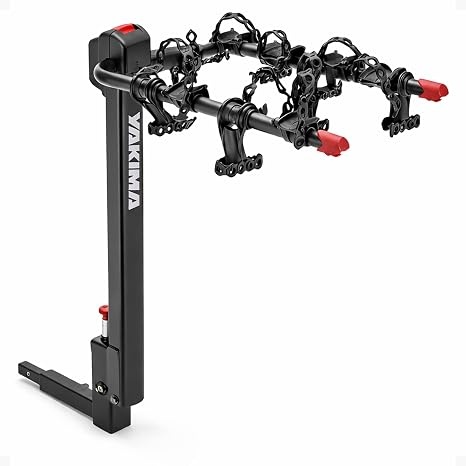
The garage-side pick: Yakima DoubleDown 4 Hitch Mount Bike Rack for Car, SUV & Truck
 Visit on Amazon →
This is a hitch mount rack that carries four bikes, which is the size most families and riding groups actually need once a second rider joins. It goes on a car, SUV, or truck hitch, and it is the kind of gear that lives in the garage and only comes out when it is time to drive somewhere worth riding.
Check current Amazon price on the listing for the current number.
The reason it belongs in a conversation about desk gear is simpler than it sounds. Both of these products are mounts, and both of them fail for the same reason: someone skipped the measurement. A hitch has a size and a class. A desk edge has a thickness and a lip. Measure before you buy, in both cases.
Flaws but not dealbreakers: A four-bike rack is a commitment in garage space and in hitch capacity, so confirm your hitch setup before you commit. If you only ever carry one or two bikes, a smaller rack will be easier to live with.
If your weekend plans involve four bikes and a highway, this is the rack I would look at first.
What this all costs and what to skip
I am not going to quote prices here, because they move week to week and the links above always show the live number. What I will tell you is where the money actually goes.
The arm is a long-term purchase. A dual arm that holds its tension is furniture. It will outlive two desks and three monitors, and the cost per day over five years is trivial. Buying a cheap arm twice costs more than buying a good one once, and you spend the difference in evenings spent re-tightening joints.
What to skip: single-monitor arms bought in pairs to fake a dual setup. Two clamps, two bases, twice the desk edge risk, and no shared height reference. If you are going to run two screens, buy one dual arm and be done.
What not to skip: the four minutes of measuring, the hardwood block under the clamp on a hollow desk, and the two follow-up tension adjustments in the first month. That is the entire difference between a setup that looks like a showroom and one that sags by dinner.
Do the measuring first. Then mount, hang, tune, and adjust once more after a month. That is the whole job, and it takes an afternoon.