Most monitor arms do not fail because they are cheap. They fail because the person installing them skipped the first ten minutes. A clamp that does not fit the desk, a VESA plate that does not match the screen, and a gas spring set to the wrong tension will turn any arm into a drooping, wobbling mess, and no amount of re-tightening fixes it later.
I have installed enough of these to know the pattern. Good monitor arm installation is a measurement job first and a hardware job second. Get the order right and the arm disappears, your screen floats, and you never think about it again. Get it wrong and you spend three months pushing your monitor back up with one finger.
Here is the exact sequence I run, and the one arm I would put on a desk that has to hold something heavy.
Why you should trust me
I am an IT infrastructure engineer, 13 years in, and I have run a home office setup side business for the last five. That is over 200 desks assembled, cable-managed, and monitor-armed for paying clients, plus every arm I recommend sitting on my own bench for a 90-day daily-use trial before it gets a mention.
Every arm I touch gets a wobble test with a 27-inch monitor fully extended on the longest arm segment, a real-monitor weight check instead of a spec-sheet check, and a cable management audit. I keep a torque wrench in my desk drawer for arm bolts that claim to be finger tight, because most of them are not.
How I picked and how I tested
This is not a list of arms ranked by price. It is the workflow I use on client desks, plus the hardware I would actually buy for the two scenarios that come up most: a big screen that needs real support, and a desk you do not fully control.
Every arm in my notes went through the same four checks. First, desk clamp fit on three top thicknesses: three quarters of an inch, an inch and a half, and two inches, because a clamp rated for two inches will not always close on a beveled edge. Second, weight headroom, meaning I want the arm rated well above the monitor I am hanging on it, since the rating assumes a bare panel and not the panel plus a webcam plus a heavy cable bundle. Third, tilt tension adjustment, timed with a stopwatch. If tilt needs a hex key, it fails, because nobody ever digs out the key again. Fourth, cable routing, because a floating monitor with dangling cables looks broken even when it is not.
The arm I keep coming back to for heavy screens is below, and I will be straight with you about the second pick: it is not a monitor arm. It is the thing I recommend for the desks where the arm is not the risk.
The arm and the hardware to start with
You cannot tune a screen that is sinking because the gas spring is undersized. Pick the arm first, mount it correctly, then dial in the ergonomics.
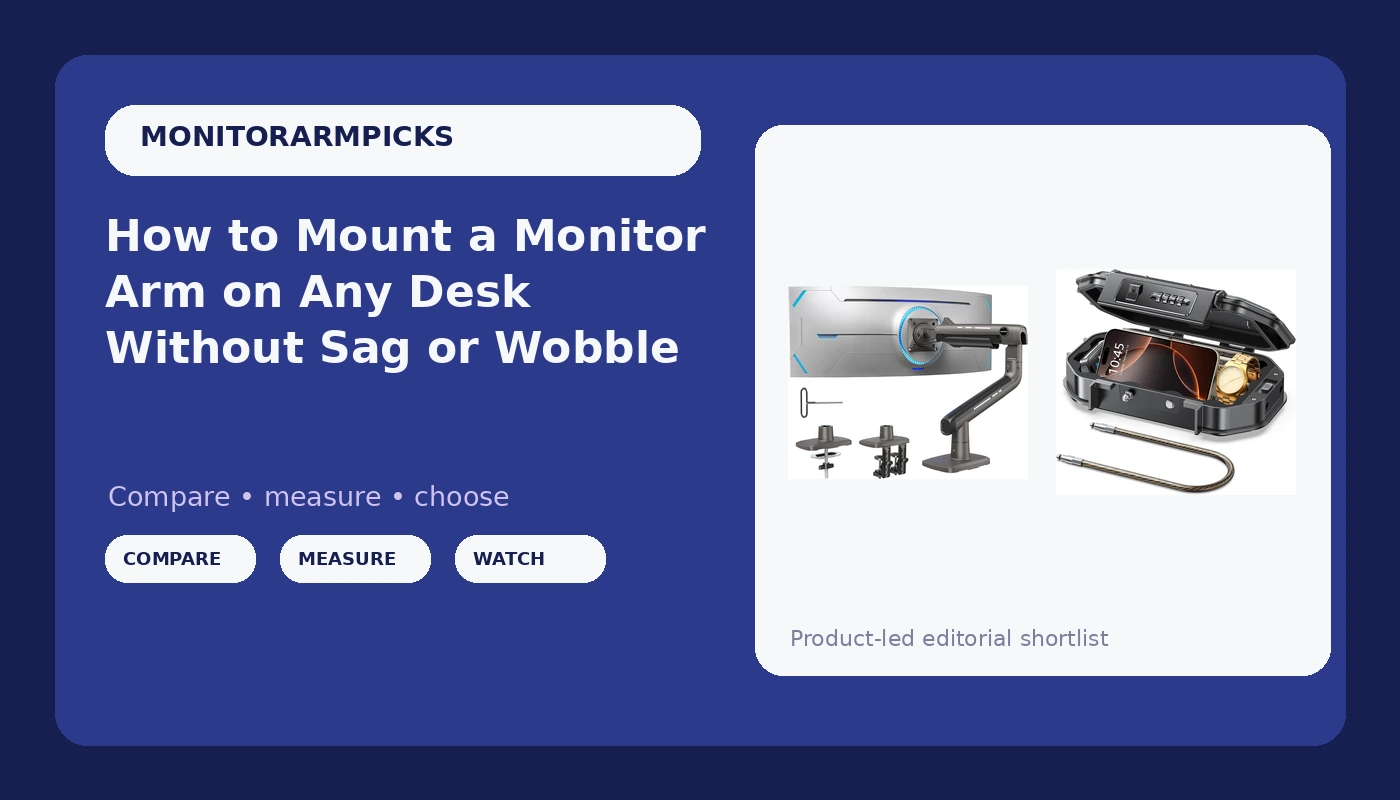
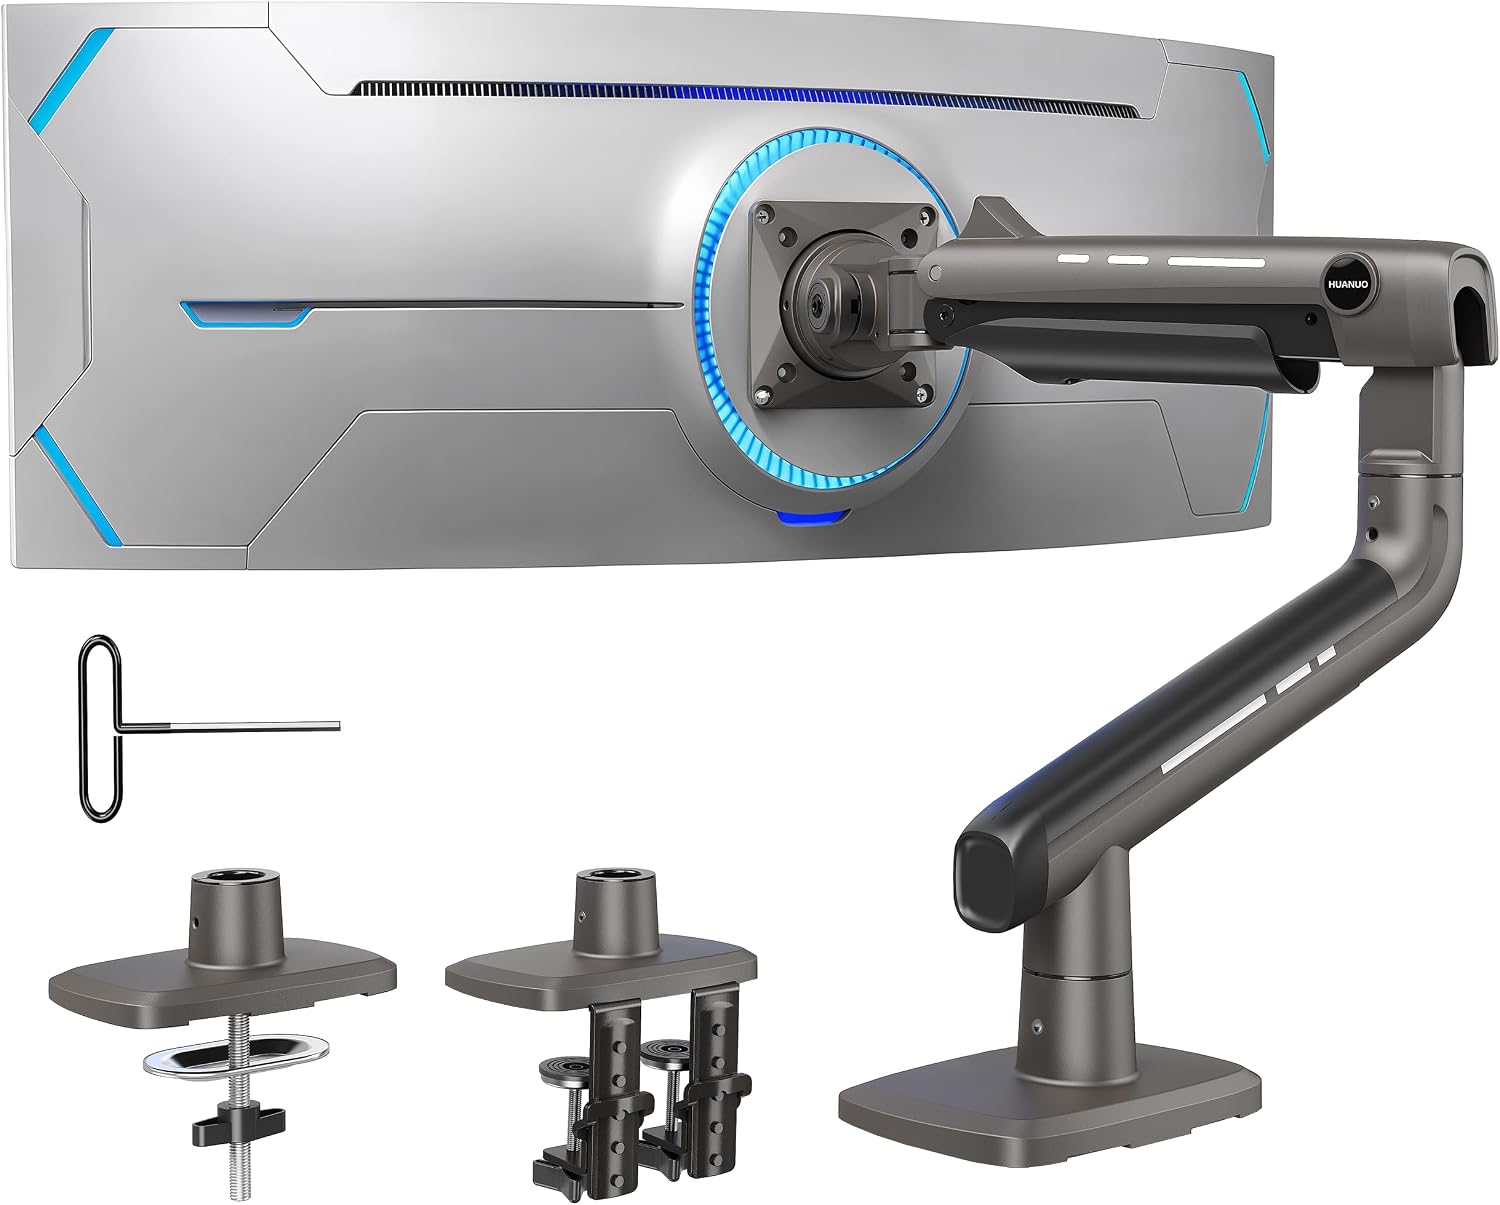
Our pick: HUANUO TitanLift Heavy Duty Monitor Arm for Screens up to 49", Holds 44 lbs, Aluminum Ultrawide Screen Monitor Mount, Fully Adjustable Single Gaming Desk Mount with Dual C-Clamp, Max VESA 100x100mm
 Visit on Amazon →
This is the arm I reach for when the screen is big and the desk is real furniture. The aluminum construction is the first thing you notice in hand, and the 44-pound rating is the second. That rating is the headroom I want. A 34-inch ultrawide plus a webcam plus a thick DisplayPort cable is nowhere near the ceiling, which means the gas spring is doing easy work instead of straining work. Arms that run at their limit are the ones that sag in month three.
The dual C-clamp is the part that matters most for installation. Two clamp points spread the load across a wider strip of the desk edge than a single clamp, and that is what keeps a heavy screen from digging a dent into a laminate top over a year of daily use. The VESA pattern is the standard 100x100mm, which covers essentially every modern monitor worth mounting.
Flaws but not dealbreakers: The dual clamp needs real clearance under the desk edge, and it does not like a metal frame bar running along the lip. Measure before you buy, not after. Also, a heavy screen means you will spend a few minutes finding the right gas spring tension, and the first attempt will be wrong. That is normal.
Anyone running a 32-inch or larger screen, or any ultrawide, on a desk they plan to keep for years should start here.
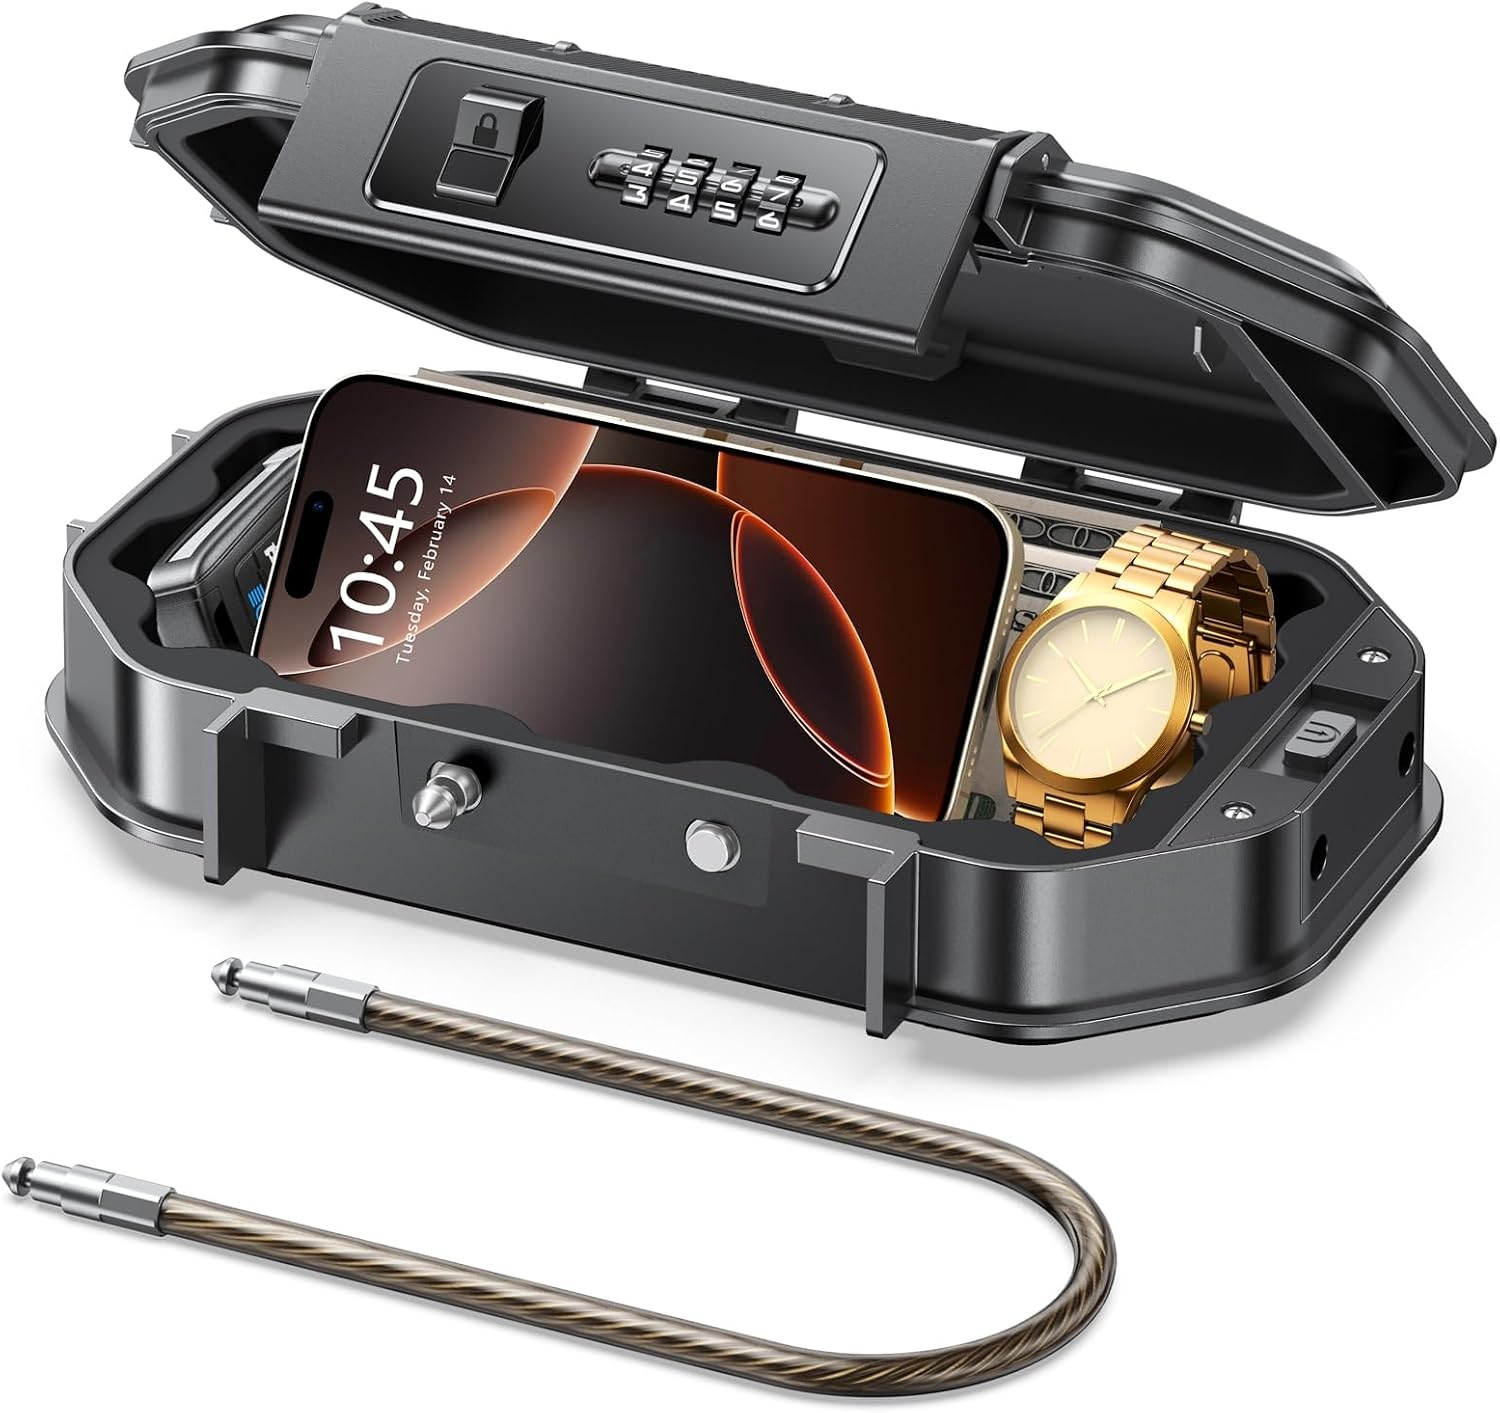
Optional add-on: Portable Travel Safe Lock Box Waterproof & Durable, 4-Digit Combination Anti-Theft Personal Beach Safe with Removable Steel Cable, Small Security Case Lock Box for Beach/Travel/Hotel/Dorm
 Visit on Amazon →
This is not a monitor arm and I am not going to pretend it is. It shows up in this guide because of a specific desk situation: the shared one. Coworking desks, dorm desks, hotel workstations, and any setup where you clamp an arm to a surface you do not own and then walk away from it.
When I set up a hot-desking station, the arm is bolted to the furniture and nobody is stealing that. The small stuff is what walks: the dongle, the SSD with the client files, the spare keys, the little tool kit you used to install the arm in the first place. This case takes a four-digit combination and a removable steel cable, so you can loop it around the arm column or a desk leg and lock the whole thing to the furniture. Waterproof construction is a bonus if your "desk" is a table near a pool, which happens more than you would think in the travel-work crowd.
Flaws but not dealbreakers: It is a deterrent, not a vault. The cable stops an opportunist, not a bolt cutter. Do not put anything in it that you cannot afford to lose.
Anyone working from shared or temporary desks who wants the small gear tethered to something immovable will get real use out of it.
The actual installation workflow
This works on any arm from any brand. Read it once before you open the box, because the order saves you a disassembly.
Step one: Measure the desk, not the monitor. Two numbers matter. The top thickness at the exact point where the clamp will land, and the clearance from the underside of the top to whatever is below it, including a drawer, a crossbar, or a power brick. If the clamp cannot close on the thickness or the bolt cannot spin in the clearance, the arm is wrong for the desk and no adapter fixes that.
Step two: Check the VESA pattern and the weight. Look at the back of your monitor. Four screw holes in a square, 100mm apart, is 100x100mm, which is the standard. Some smaller screens use 75x75mm and most arms include both plates. Then check the panel weight against the arm rating and leave yourself room. If the monitor is within five pounds of the rating, the gas spring will live at its limit and that is where sag starts.
Step three: Assemble the arm on the desk before you clamp anything. Bolt the base, the lower segment, the upper segment, and the VESA head together loosely on the desk surface. It is much easier to thread a bolt into an arm lying flat than to fight it while it hangs off the back of your desk. Snug, not gorilla tight.
Step four: Clamp with a backer if the top is thin. Tighten the clamp until the arm base will not rotate when you push it side to side. If the desk top is hollow core, particle board, or anything under an inch thick, cut a piece of plywood slightly larger than the clamp plate and put it on the underside to spread the load. This is the single cheapest insurance against a cracked desk top.
Step five: Mount the VESA plate to the monitor first. Lay the monitor face down on a towel. Bolt the plate to the back of the panel, then lift the whole assembly onto the arm head. Some arms use a quick-release plate that clicks in after mounting, which is easier. Either way, get a second pair of hands for anything over 20 pounds. Not optional.
Step six: Set gas spring tension with the monitor attached. This is the step everyone gets wrong. The tension screw, usually on the lower segment or the joint, controls how hard the spring pushes up. With the monitor on the arm, adjust until the screen stays exactly where you put it with no drift. If it sinks slowly, add tension. If it rises on its own, back it off. Move it through the full range of motion after each adjustment, because tension that works at one height can fail at another.
Step seven: Set tilt tension, then never touch it again. Tilt is what holds the screen angle. Adjust it with the monitor mounted, since tilt joints behave differently under load. If your arm needs a hex key for tilt, adjust it now, while the key is still out, and accept that you will never do it again. Better arms have a hand knob here, and that is worth paying for.
Step eight: Route the cables through the channels. Every arm has them and most people ignore them. Run the video cable and the power cable along the arm segments, leaving a service loop at both ends so the connectors are not under tension when the arm extends. A floating monitor with two cables hanging straight down to the floor looks like an unfinished install, because it is one.
Step nine: Run the wobble test. Extend the arm to its farthest reach, put the screen at eye level, and tap the desk edge firmly with your palm. If the monitor bounces for more than a second, something is loose, the clamp is not tight, or the arm is beyond its weight class. Fix it now, not in three months when it has gotten worse.
Where cheap arms actually fail
The gas spring is the whole game. It is the difference between a $40 arm and a $150 arm, not the paint and not the plastic covers. A cheap spring loses pressure over time, and when it goes, your monitor sinks like a souffle and there is nothing to tighten that brings it back.
The tilt joint is the second failure point. Joints that need a hex key get set once and then never adjusted, which means you live with the angle you picked on day one. Joints with plastic internals wear out faster under a heavy ultrawide, and the wear shows up right after the return window closes.
Weight ratings are the third trap. A rating assumes a bare panel. Add a webcam, a light bar, and a heavy cable bundle and you are asking more of the spring than the number on the box suggests. Headroom is not a luxury, it is the reason the arm still holds its position in year three.
What this costs you
I am not going to quote prices here, because they move and the math that matters does not. What matters is the shape of the cost.
You can buy an arm twice, or you can buy one arm once. The first path costs you the cheap arm, then the replacement, then an afternoon of disassembly and reinstallation that you will not enjoy, plus however many months you spent pushing a drooping monitor back up. The second path costs one purchase and about an hour of careful work.
Set against a desk you keep for five years, the difference is small enough that the only real question is whether you measured your desk before you ordered. Measure, mount, tension, route, test. That is the whole job, and it takes less time than reading this article did.
Your monitor was designed to float. Let it.