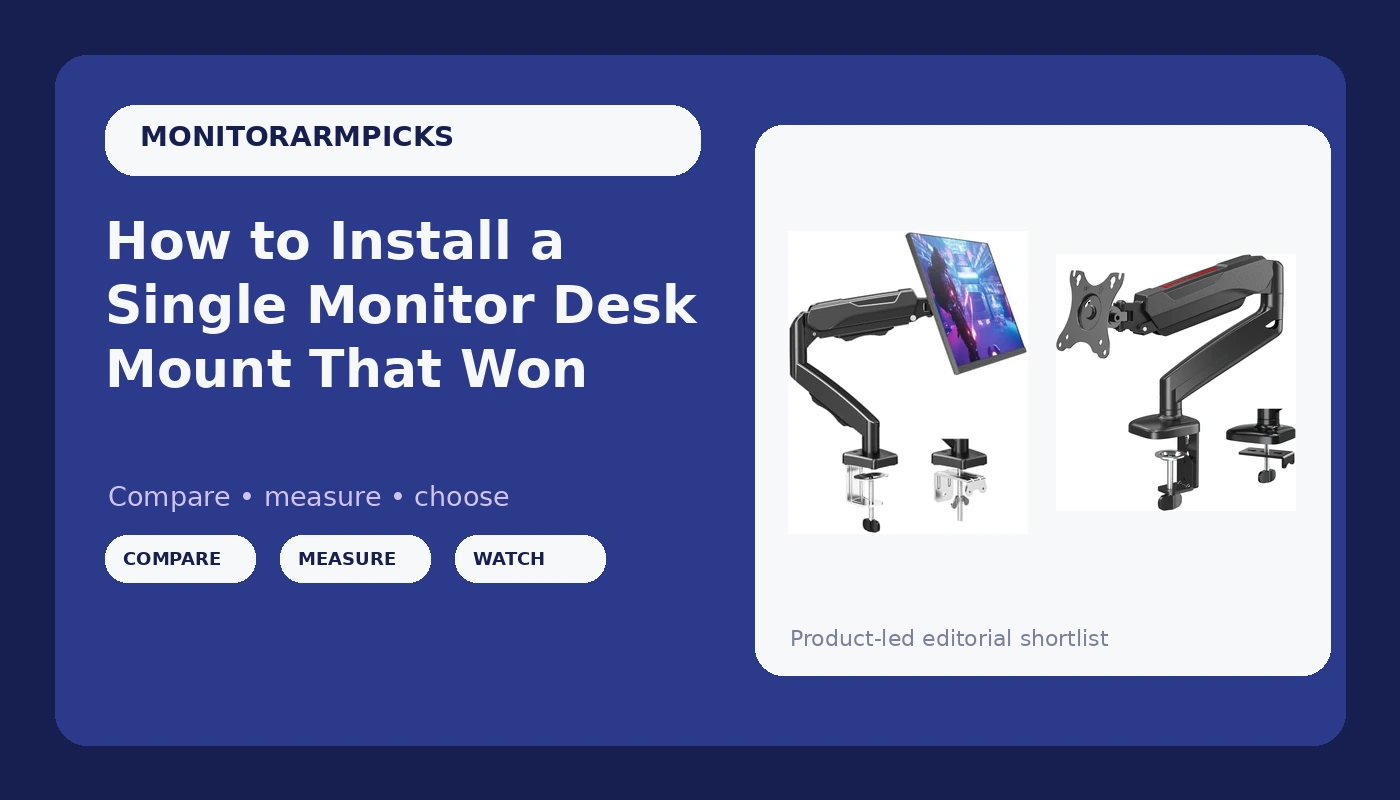
Most people install a single monitor desk mount in the wrong order. They clamp the arm down, hang the monitor, and then spend a week fighting a gas spring and a tilt joint that were never set up in the first place. By the end of that week they have decided the arm is junk, when the real problem was that nobody measured the desk or touched the tension before the monitor went on.
I have set up more than 200 desks over five years of running a home office side business, on top of 13 years as an IT infrastructure engineer. Every arm I install gets the same routine: measure the desk, confirm the VESA pattern, set the gas spring, torque the joints last. That order is not a preference. It is the entire job.
This guide covers two single monitor desk mounts that bracket the budget and mid-range ends of the market, plus a step-by-step install that works on either one.
Why you should trust me
I am Dev, an IT infrastructure engineer in Raleigh, North Carolina. I have spent 13 years racking servers and the last five building home offices on the side, which adds up to 200-plus desks assembled, cable-managed, and monitor-armed. A lot of those were rentals where I could not drill anything, and a few were solid walnut tops where a clamp had to be sized to the millimeter.
Every arm I recommend gets a 90-day daily-use trial, a wobble test with a 27-inch panel pushed to full extension, and a cable management audit. I keep a torque wrench in my desk drawer, because "finger tight" is a claim and not a measurement. If an arm sags in month three, I want to find out before you do.
How I picked and how I tested
Weight rating comes first. A monitor arm is a lever, and the farther the panel sits from the clamp, the more torque that lever applies to every joint between them. A 15-pound monitor on an arm rated for 17.6 pounds leaves you headroom. The same monitor on an arm rated for 9 pounds is a countdown.
After weight, I check four things:
- VESA pattern. 75x75mm and 100x100mm cover nearly every monitor built in the last decade. If your panel has no VESA holes, stop here and look for a different monitor.
- Clamp and grommet bases. Both matter, and they solve different problems. A C clamp grabs the desk edge and needs a solid lip. A grommet base drops through a hole and needs clearance from the back edge.
- Gas spring adjustment. The tension has to be adjustable with the monitor already mounted, and ideally with a hand knob rather than a hex key. If you need a tool to adjust tilt, you will never adjust it again.
- Cable management. An arm with nowhere to route the display cable and the power cable leaves you with a floating monitor and a loop of black wire hanging behind it, which looks broken even when it works perfectly.
The two arms below passed those checks. One is the budget pick I hand to clients who are setting up a first home office, and one is the pick I would put on a paying client's desk without a second thought.
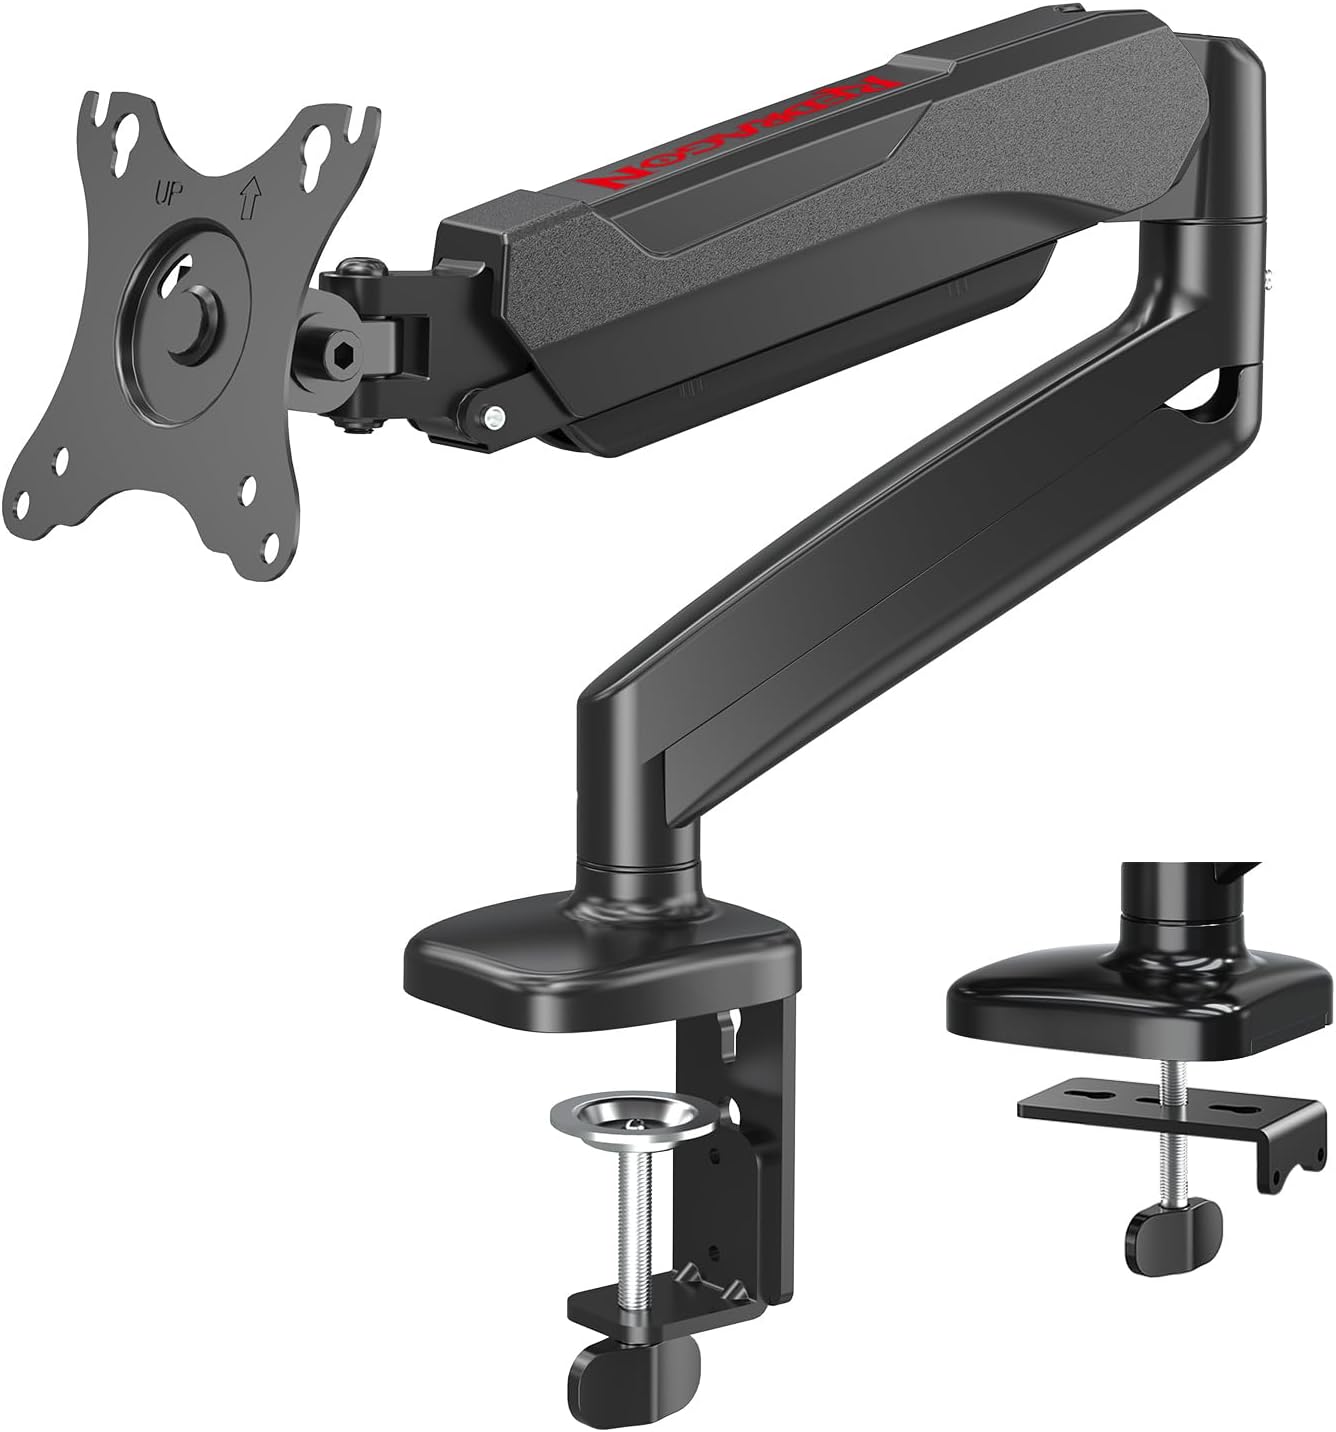
Budget pick: Redragon GMK914 Single Monitor Mount Stand - Gas Spring Adjustable Arms with VESA 75/100mm, 13-32 Inch Screen Compatibility, C Clamp & Grommet Base, Cable Management, 17.6lbs Load Capacity
 Visit on Amazon →
The published numbers are the ones to weigh here: 17.6 pounds of load capacity, 13 to 32 inches of screen size, and both VESA 75 and 100 mounting patterns. That load figure is the headroom I want on a budget arm. A 24-inch panel usually lands somewhere around 7 to 9 pounds with the stand removed, and a 27-inch runs roughly 10 to 13, so the spring has room to hold the panel at full extension instead of maxing out on day one.
It also ships with both a C clamp and a grommet base, which is the detail that saves a return. If your desk edge is too thick or too rounded for the clamp, you can drop the grommet base through a hole instead of sending the whole thing back. The arm includes a cable management channel, so the display cable runs along the arm instead of hanging in a loop.
Flaws but not dealbreakers: Gas springs in the budget tier are less precise than the ones on premium arms, and the tension screw may need a small re-adjustment after the first week as the spring beds in. Budget clamps also run out of throat on thick butcher block tops and on desks with a metal frame rail underneath, so measure before you commit.
Anyone setting up a first desk with a 24 to 27-inch panel, or a lightweight 32-inch screen, will get the most out of this one.
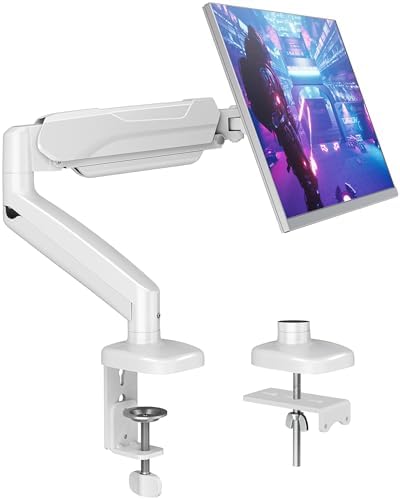
Our pick: MOUNTUP Single Monitor Desk Mount Holds Screen up to 32 inch, Height Adjustable Monitor Arm, Full Motion Computer Monitors Stand with Clamp/Grommet Base, VESA Mounts Fit 4.4-19.8lbs Computer, Black
 Visit on Amazon →
The load range is the headline: 4.4 to 19.8 pounds, which is a wider span than the budget pick and covers heavier 32-inch panels as well as lighter 24-inch screens. That low end matters more than people expect. An arm with a 15-pound minimum will not hold a 6-pound panel properly no matter how far you back the spring off, because the gas cylinder is still pushing up harder than the monitor pushes down.
This one is height adjustable, full motion, and ships with both clamp and grommet bases, so it covers the two mounting situations you are likely to run into. Full motion means the panel tilts, swivels, and rotates, which is the part that lets you go from a landscape spreadsheet to a portrait document without touching the desk.
Flaws but not dealbreakers: A wider weight range means a longer adjustment window, and that means you should budget a few minutes to dial in tension properly rather than accepting whatever it arrives at. Full motion also means more joints, and every joint is a place where a loose bolt turns into a drooping monitor, so check them after the first week.
Anyone running a heavier 32-inch panel, or anyone who wants one arm that will survive the next monitor upgrade, should look here first.
Measure your desk before you clamp anything
Four numbers decide whether your install takes 20 minutes or ends in a return label.
- Desk thickness at the edge. Most C clamps open to somewhere between 1.5 and 2.5 inches. Measure at the point where you plan to clamp, not in the middle of the desk, because a lot of tops are thinner at the front lip.
- Under-desk clearance. Look for a crossbar, a drawer housing, or a cable tray within 2 inches of the edge. A clamp needs a clear throat, and a steel frame rail is a hard stop.
- Grommet hole diameter. If you plan to use the grommet base, measure the hole. Too small and the post will not pass through; too large and the base plate will not cover it.
- Monitor weight and VESA pattern. Take the monitor off its stand and look at the back. The VESA holes are the four threaded holes in a square. If they are 75mm apart, you need a 75x75 arm; 100mm apart means 100x100. Almost every arm in this price range does both.
Write those numbers down before you order. Half the "bad arm" reviews I read describe an arm that was fine and a desk that was never measured.
The install, step by step
Step one: Clear the desk. Unplug the monitor, take it off its factory stand, and set it face down on a towel. Put the screws from the factory stand in a bag. You will want them if you ever move.
Step two: Attach the VESA plate to the monitor. Bolt the plate to the back of the panel with the screws that match your monitor's thread pitch. Most panels use M4 screws, some 32-inch units use M6. The arm usually includes both. Snug them, do not crank them. You are threading into plastic-backed inserts on some monitors and you do not want to strip them.
Step three: Mount the base. Choose clamp or grommet. For the clamp, slide it over the edge, add the protective pad if one is included, and tighten the screw until the base will not twist by hand. For the grommet, drop the post through the hole, add the plate underneath, and tighten from below.
Step four: Seat the arm in the base. Slide the lower arm into the base post and tighten the collar. At this point the arm should hold its own weight with nothing on it. If it flops down, the base collar is loose, not the gas spring.
Step five: Set gas spring tension with no monitor on it. Turn the tension screw toward the minus end so the spring is at its weakest. You are going to load the monitor and then add tension, not the other way around.
Step six: Hang the monitor. Two people is easier, one person is doable. Slide the VESA plate onto the arm head until it clicks or until the safety screw lines up, then install the safety screw. Never skip the safety screw. It is the only thing between your panel and the floor.
Step seven: Add tension until the monitor floats. Turn the tension screw toward the plus end a quarter turn at a time. Push the monitor down gently after each turn. When it stays where you let go, stop. Over-tensioning is how people crack a gas spring housing.
Step eight: Set tilt last. This is the step everyone does first and it is the one that causes drooping. With the arm holding the monitor, adjust the tilt joint until the panel holds its angle with a light push, then check it again the next morning.
Tilt and swivel: the 90-day check
Gas springs settle. The first week is when a new arm shows you what it is going to be, so check the tension screw and the base collar at day three and again at day 30.
The sag test is simple: push the monitor to full extension, the farthest point from the clamp, and let go. It should hold. If it drifts down an inch over an hour at full extension, add a quarter turn of spring tension. If it drifts again by the end of the week, the spring is losing pressure and you are inside the return window. That is exactly when you want to find out.
Tilt is the other half. A tilt joint that needs a hex key will never get adjusted, and a monitor you never tilt is a monitor you will eventually hate. Set it once with the tool if you have to, then decide whether the arm you bought is one you would buy again.
Cable management that does not look broken
A floating monitor with a dangling cable looks worse than a monitor on a stand. Run the display cable and the power cable along the underside of the arm, into the channel if the arm has one, and secure them with the clips or hook-and-loop straps that came in the box. Leave a service loop at the monitor end, about 4 inches of slack, so you can tilt and swivel without pulling the connector out of the panel.
Leave slack at the desk end too. A cable pulled tight from the arm to the floor is a cable that will fail at the connector in about a year.
The competition and why it lost
Dual monitor arms and ultrawide-specific arms are their own category. A dual arm splits one base into two heads, which means the weight rating is shared and the geometry gets complicated fast. If you are running two panels side by side, that is a different guide with different math.
Full-motion TV mounts and projector ceiling mounts also show up in the same shopping aisle, and they are built for a fixed load hanging from a wall or a joist. They do not clamp to a desk and they do not adjust by hand. Wrong tool.
Wall-mounted monitor brackets are the other common detour. They solve the same problem, but only if your desk faces a wall you are allowed to drill into, and they give up the height adjustment that makes an arm worth owning in the first place.
For one monitor on one desk, a single arm with a clamp base is the answer.
What this all costs
Neither arm in this guide is a luxury purchase and neither is a throwaway. Both sit in the range where the gas spring is a real gas spring instead of a friction hinge wearing a costume, and both come with the two base styles so you are not locked into one desk.
The install costs you an evening, a Phillips screwdriver, and a tape measure. The upgrade costs you nothing after that, because the arm stays on the desk when the monitor gets replaced, and it stays on the desk when the desk gets replaced, since a clamp fits almost anything with an edge.
That is the point of a monitor arm. You buy it once, you set the tension once, and then you stop thinking about your neck, your desk space, and the loop of cable that used to live behind your screen. Measure the desk, hang the panel, tension the spring, tilt last. That is the whole job.