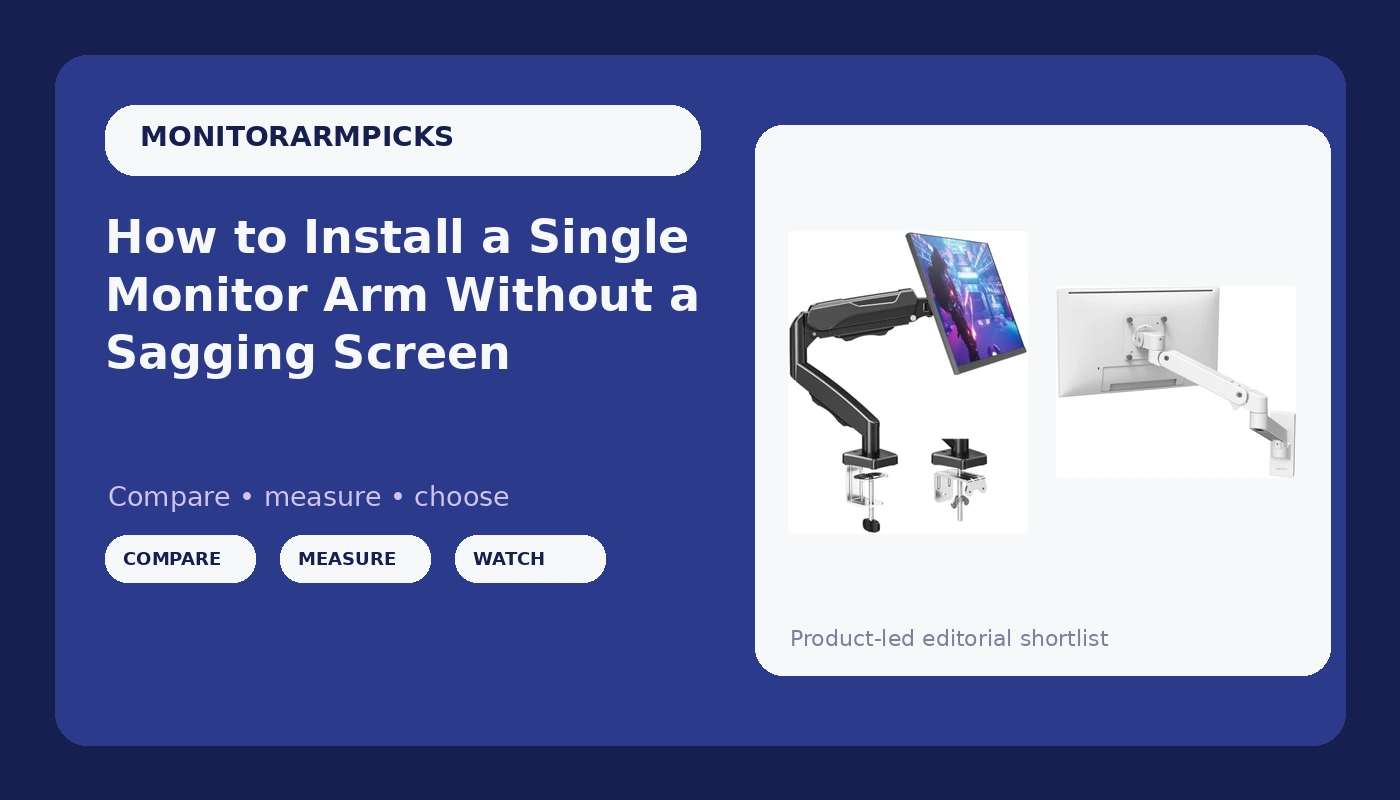
Most people install a monitor arm in the wrong order. They clamp the base first, then find out the desk edge is three quarters of an inch thick with an apron behind it, and the clamp will not close. Or they bolt a VESA plate to the monitor, hang it, and only then discover the tilt joint needs a hex key to adjust, which means they will never adjust it again.
Single monitor arm installation is not a hard job. It is an unforgiving one. There are about six decisions in the whole process, and every single one of them gets harder once the monitor is floating in the air.
I have installed these arms on a $90 particle board desk in a college apartment and on a solid walnut standing desk in a home office, and the sequence below is the one I use on paying jobs. It has not changed in five years because nothing about a gas spring has changed in five years.
Why you should trust me
I am Dev, an IT infrastructure engineer in Raleigh, North Carolina. I have been building and rebuilding desks for 13 years, and for the last five I have run a side business setting up home offices. That is over 200 desks assembled, cable managed, and monitor armed.
Every arm that comes through my shop gets the same treatment: 90 days of daily use at full extension, a wobble test with a 27-inch monitor hung out as far as the arm will reach, and a cable management audit. I keep a torque wrench in my desk drawer because a lot of arms claim their bolts are finger tight, and finger tight is how you end up with a monitor that drifts two degrees a week until you notice your neck hurts.
The two arms below are the ones I actually hand people. One is a budget arm that punches well above its price. The other is the arm on my own desk and the one I install when a client says they never want to think about this again.
Measure these three things before you buy
Skip this section and you will be returning something. I have watched it happen on a Tuesday afternoon with a client standing behind me.
Desk thickness at the clamp point. A desk clamp is a C-clamp. It needs a solid lip, and it needs enough of it. Measure the actual thickness where the clamp will land, not the middle of the desk, because plenty of desks taper or have a rounded front edge that gives the clamp nothing to bite. Then measure the clearance underneath. A drawer box, a cable tray, or a welded apron will block the clamp plate even if the top edge is perfect.
Your monitor's VESA pattern. VESA is the mounting hole pattern on the back of the monitor. Nearly everything made in the last decade is 100x100mm, and some 24-inch panels are 75x75mm. Both arms here cover the common patterns, but check your panel before you order. No VESA holes means no arm, and an adapter bracket is a separate purchase.
Monitor weight, with cables. A weight rating is a ceiling, not a target. If your panel is 12 pounds and the arm is rated to 19.8, that headroom is exactly what keeps the monitor where you put it. The reverse is the failure mode: an arm loaded to the top of its rating will sag, and it will sag right after the return window closes.
One more measurement if you plan to use the grommet instead of the clamp: the diameter of the hole in your desktop, and how much room you have below it. A grommet mount looks cleaner than a clamp, but it is a permanent hole and it needs clear space underneath.
The two arms I would hand you first
Both of these are single monitor arms, both do the same job, and the difference between them is the gas spring and the joints.
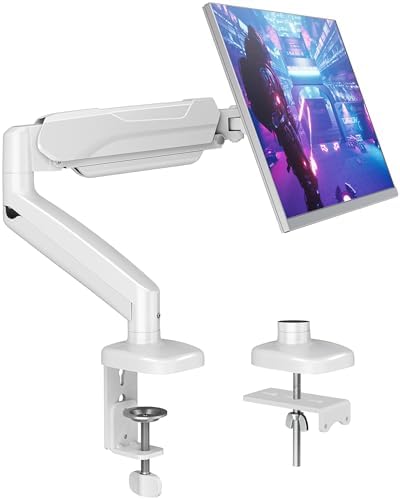
Budget pick: MOUNTUP Single Monitor Desk Mount Holds Screen up to 32 inch, Height Adjustable Monitor Arm, Full Motion Computer Monitors Stand with Clamp/Grommet Base, VESA Mounts Fit 4.4-19.8lbs Computer, Black
 Visit on Amazon →
This is the arm I put on client desks when the budget is real and the monitor is under about 20 pounds. It ships with both a clamp base and a grommet base in the box, which matters more than people realize, because you do not always know which one your desk wants until you are under it. Full motion means the arm does height, extension, tilt, and swivel, and the VESA plate covers the standard patterns.
The rating on this one is the part I care about. It holds screens up to 32 inches and 4.4 to 19.8 pounds, and the lower bound is worth reading twice. A very light monitor on an arm built for heavier panels can be just as annoying as an overloaded one, because the gas spring has nothing to push against. If your panel is a 24-inch that weighs six pounds, you will be near the bottom of that range and you should expect to spend a little time on the spring adjustment.
Flaws but not dealbreakers: The plastic covers on the joints are cosmetic and they pop off if you are rough with them. The cable clips are small, so plan on one or two zip ties as backup. And like every arm in this class, the tilt joint will need a hex key at least once during setup. Set it before the monitor goes up, not after.
Anyone with a 27-inch or 32-inch panel under 20 pounds, a desk with a clampable edge, and no interest in paying premium money should start here.
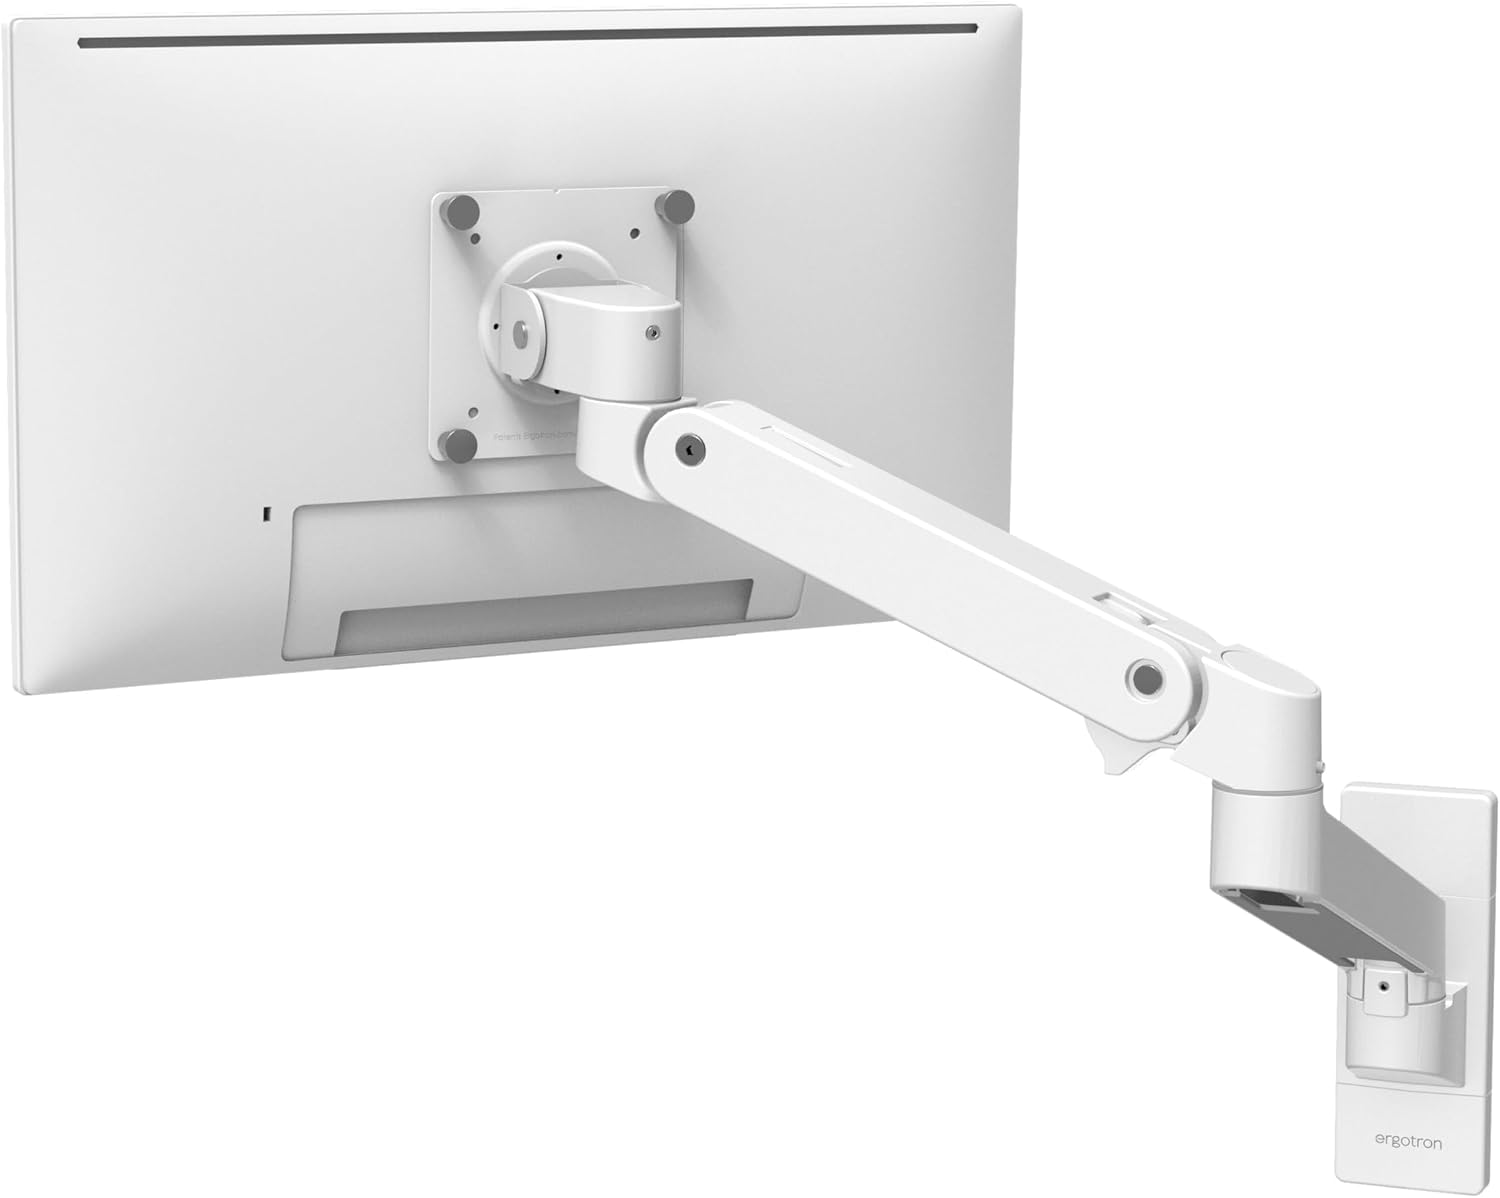
Upgrade pick: Ergotron, Upgraded LX Pro Premium Single Monitor Arm, VESA Wall Mount, for Monitors Up to 34 Inches, 4 to 22 lbs, White
 Visit on Amazon →
The Ergotron LX is the benchmark for a reason, and the LX Pro is the version I install when a client wants one arm and then never wants to talk about arms again. The gas spring is the entire point. It holds a 27-inch at full extension without the slow droop that cheaper arms develop, and the joints feel like they were machined rather than stamped.
The rated range is 4 to 22 pounds and up to 34 inches, which is a wider and more useful window than most budget arms offer. That lower number is the tell: this arm is designed to work with a light monitor, not just survive one. It also mounts as a VESA wall mount, so it works in setups where there is no desk edge to clamp at all, which comes up more often than you would think in shared offices and studio apartments.
Flaws but not dealbreakers: It costs multiples of the budget arm, and it is white, which will look wrong next to a black monitor if you care about that. It is also heavier, so if you are installing it on a hollow-core door desk, use a backer plate.
Anyone running a 32-inch or 34-inch panel, or anyone who has already replaced a cheap arm once and does not want to do it a third time, should look here.
The actual installation workflow
Now the part you came for. This works on both arms above and on almost any clamp-mounted single arm.
Step one: pick the clamp spot. Find a flat, solid section of desk edge, ideally within a few inches of where the monitor will sit. Check that the clamp's top plate sits fully on the desk surface and the bottom plate clears any drawer or apron. Slide a piece of cardboard under the top plate if you are worried about scuffing the finish.
Step two: install the base before the arm. Tighten the clamp by hand first, then finish it with a screwdriver or the supplied wrench. You want it snug enough that you cannot rotate the base by pushing on it, and not so tight that you are denting the underside of a hollow desk. This is the single most common place people stop too early, and it is the reason a monitor drifts left over a month.
Step three: mount the VESA plate to the monitor, on the desk. Lay the monitor face down on a towel with the stand removed. Bolt the VESA plate to the back using the screws that match your monitor's hole depth. Most monitors use M4 screws and most arms ship with a few lengths. If a screw bottoms out before it tightens, you have the wrong length and you can crack the panel housing.
Step four: set the spring tension before you load it. This is the step nobody does. Before the monitor goes on, find the tension adjustment on the arm's main joint. If your monitor is on the heavy end of the rating, increase tension. If it is on the light end, decrease it. You are trying to get the arm to roughly hold its own weight in the air, so that when the monitor goes on, it needs only a small correction instead of a fight.
Step five: hang the monitor. With the arm positioned so the VESA head is low and close, lift the monitor and slot the plate onto the head. Most arms have a safety tab or a screw that locks the plate in place. Use it. Do not skip it because it is fiddly. It is the only thing standing between your monitor and the floor.
Step six: dial in the tilt. Loosen the tilt joint, position the panel so the top edge tips very slightly toward you, then tighten. You want enough resistance that a firm push moves the screen and a light bump does not. Do this once and then leave it.
Step seven: route the cables. Power and video go up the underside of the arm and into the channel or clips. Leave a service loop at the VESA head so the monitor can still tilt and swivel without pulling the connectors, and leave slack at the base so the arm can swing. Zip ties or the included clips, your call, but do it now. Cables routed later never get routed.
Step eight: re-check the clamp. After a week of moving the arm, the clamp will have settled. Give it another quarter turn. Do the same at the thirty-day mark. That is the whole maintenance schedule.
Tilt tension is the setting that decides whether you like the arm
Everything else about a monitor arm is structural. Tilt tension is the part you feel every day. A tilt joint that is too loose means your monitor slowly nods forward over an afternoon, and you push it back up with one finger twenty times a day. Too tight means you need two hands to change your viewing angle, so you stop changing it, and your neck pays for it.
The rule I use: set tilt with the monitor in the air, using the tension screw, and stop at the point where the panel holds position when you let go and still moves with one firm push at the top corner. If your arm needs a hex key for this, do it during installation while you can still reach the back of the monitor easily.
Cable management is not optional
A monitor arm without cable management looks broken. The whole point of the arm is that the desk underneath becomes usable space, and dangling power and DisplayPort cables undo that in about four seconds.
Run both cables along the arm's underside, bundle them with the clips the arm ships with, and add a velcro strap at the base if the bundle is thick. Keep the service loop at the head. Then, at the desk end, drop the cables straight down to a tray or a clip under the desk edge rather than letting them swing in the open. If you are running a standing desk, leave enough slack for the full travel height, or the first time you raise the desk you will unplug your monitor the hard way.
Mistakes that cost you a monitor
Clamping to a glass desktop. It will crack, and the arm will land on your foot.
Using screws that are too long in the VESA holes. This is how people kill panels.
Loading an arm to the top of its weight rating and expecting no sag. Buy headroom, not a perfect match.
Skipping the safety tab on the VESA head. It exists because someone dropped a monitor.
Adjusting tilt with a hex key every time. If the joint needs a tool to move, you will never move it, and the arm becomes a very expensive fixed stand.
What this all costs
Check current Amazon price on both arms, because they sit in different tiers and the gap is not small. The budget MOUNTUP is the arm for a light-to-mid panel on a normal desk, and it is the one I recommend to most people. The Ergotron LX Pro is the arm for a heavier or larger panel, a wall-mounted setup, or anyone who has already thrown away one cheap arm.
Whichever you pick, the install is free and it takes under an hour. Measure your desk edge, check your VESA pattern, set the spring tension before the monitor goes on, and tighten the clamp again after a week.
That is the whole job. Do it in that order and the monitor will still be exactly where you left it in three years.