Monitor arm installation is mostly a measuring job wearing a mechanical costume. The clamping and bolting takes about ten minutes. The part that decides whether you still like the setup in six months is the five minutes you spend with a tape measure before anything comes out of the box.
Most people do it backwards. They buy the arm, wrestle it onto the desk, and then find out the clamp will not clear the drawer housing, or the monitor has a recessed VESA pattern that needs standoffs, or the tilt joint needs a hex key so they will never adjust it again. Then the arm lives on a shelf and the monitor goes back on its factory stand.
This is the order I work in: verify VESA, measure the desk, mount the clamp, hang the screen, set the tension, route the cables. Two arms carry the examples below, one for a single screen on a pole and one for a side-by-side dual setup. Everything else is process.
Why you should trust me
Thirteen years in IT infrastructure, five of them running a side business building home offices. I have put arms on standing desks, on solid-core doors turned into desktops, on particleboard I had to back with a plywood plate, and on one desk where the clamp had to go through a grommet because the front edge was a waterfall profile with nothing to grab. There is a torque wrench in my desk drawer because "finger tight" is not a specification.
The rules I work by: a monitor arm is furniture, not a gadget. Desk clamp versus grommet mount is a desk-thickness question, not a style choice. And an arm rated above your monitor's weight is the point, not overkill, because headroom is what keeps the screen where you left it.
Measure these three things first
Do this before you order anything. It takes five minutes and it prevents every return I have ever processed.
VESA pattern. Look at the four holes on the back of the monitor. Measure the distance between them in millimeters. You will find 75x75mm or 100x100mm on almost everything in the 13 to 32 inch class. No VESA holes means no arm, full stop, unless you buy an adapter bracket. While you are back there, note whether the holes sit in a recess or on a curved back. A recessed pattern needs longer screws or standoffs, and a curved back needs spacers so the plate does not rock.
Desk thickness and lip. The clamp needs a solid, flat lip to bite. Measure the thickness at the exact spot you plan to clamp. Then look under the desk at that spot for a steel frame rail, a drawer housing, a crossbar, or a cable tray. A clamp with a two inch throat does not care how thick your desk is if a frame rail is sitting in the way.
Monitor weight, with the stand off. Manufacturer specs list the panel weight, and sometimes that number includes the stand. Pull the weight of the bare monitor and compare it to the arm's rating. If the arm is rated for 19.8 lbs and your screen is 15 lbs, you are in good shape. If your screen is 18.5 lbs, you are at the edge of the range where a tired gas spring starts to sag by month four.
One more thing worth checking: tilt adjustment. If the tilt joint needs a hex key to loosen, you will set it once and never touch it again, and your neck will pay for it.
The two arms I would hand you for this job
Both of these are single-cable-channel, VESA-standard arms in the same price neighborhood, and they solve different problems. One screen, or two.
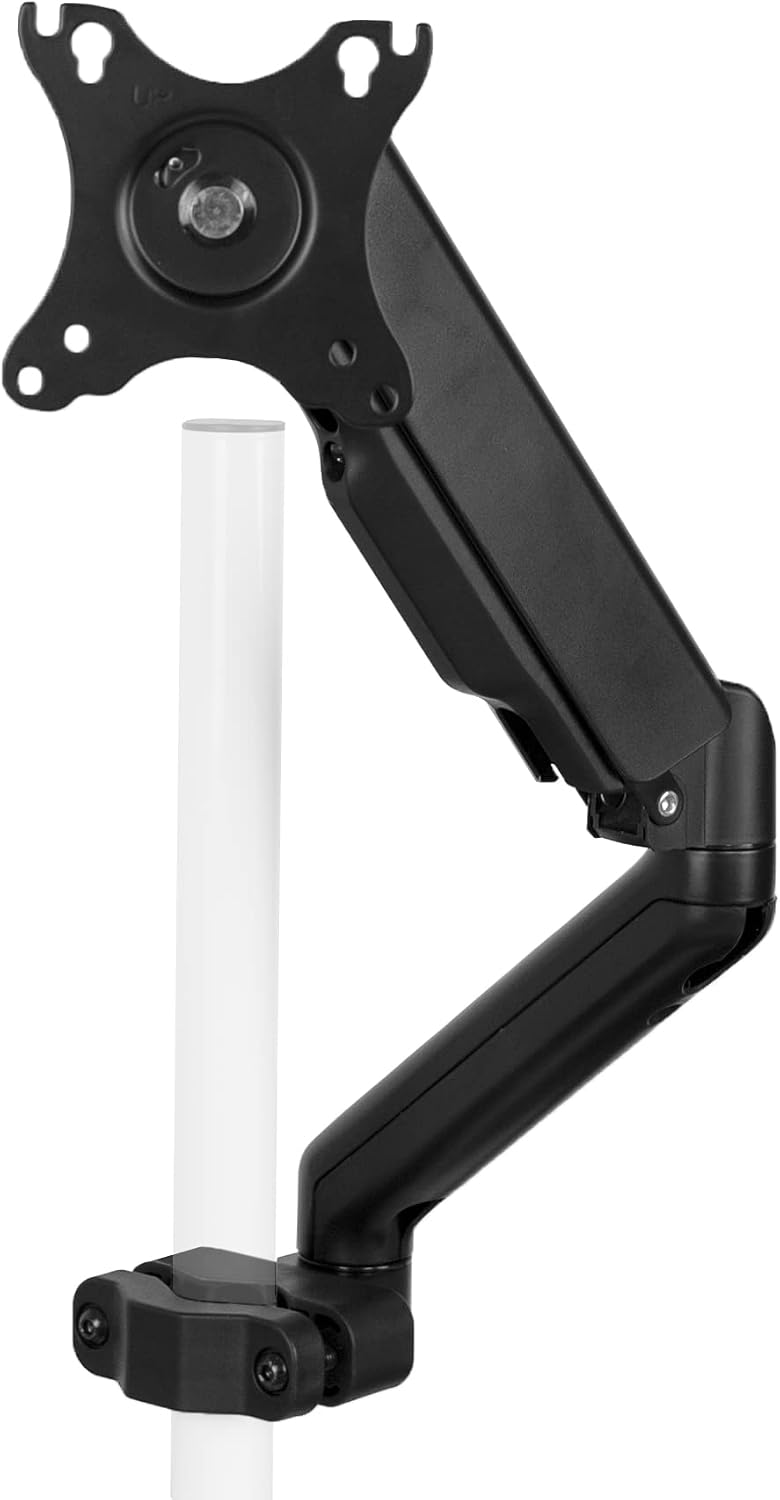
Single screen pick: VIVO Black Pole Mounted Monitor Arm, 17-32 in Screens, MOUNT-POLE05O
 Visit on Amazon →
This is a pole design, which means the vertical pole carries the arm and the height adjustment happens by moving the collar up and down the pole rather than by fighting a gas spring joint. For a single screen in the 17 to 32 inch range, that is a simpler mechanism with fewer things to wear out, and it makes the arm easy to swing out of the way when you need the desk surface back.
The pole format is also the honest answer for desks where you want the screen to sit higher than a standard clamp arm reaches. You are not chasing a gas spring's range, you are sliding a collar. If your desk edge is clean and flat and you only run one monitor, this is the shape of arm I would start with.
Flaws but not dealbreakers: A pole takes up a footprint on the desk surface that a low-profile clamp arm does not, and the pole's height is fixed once it is clamped. Measure your sightline before you commit, because a pole that is too short is not adjustable after the fact.
Anyone running a single 24 to 32 inch monitor on a standard desk with a clean edge will be happy here.
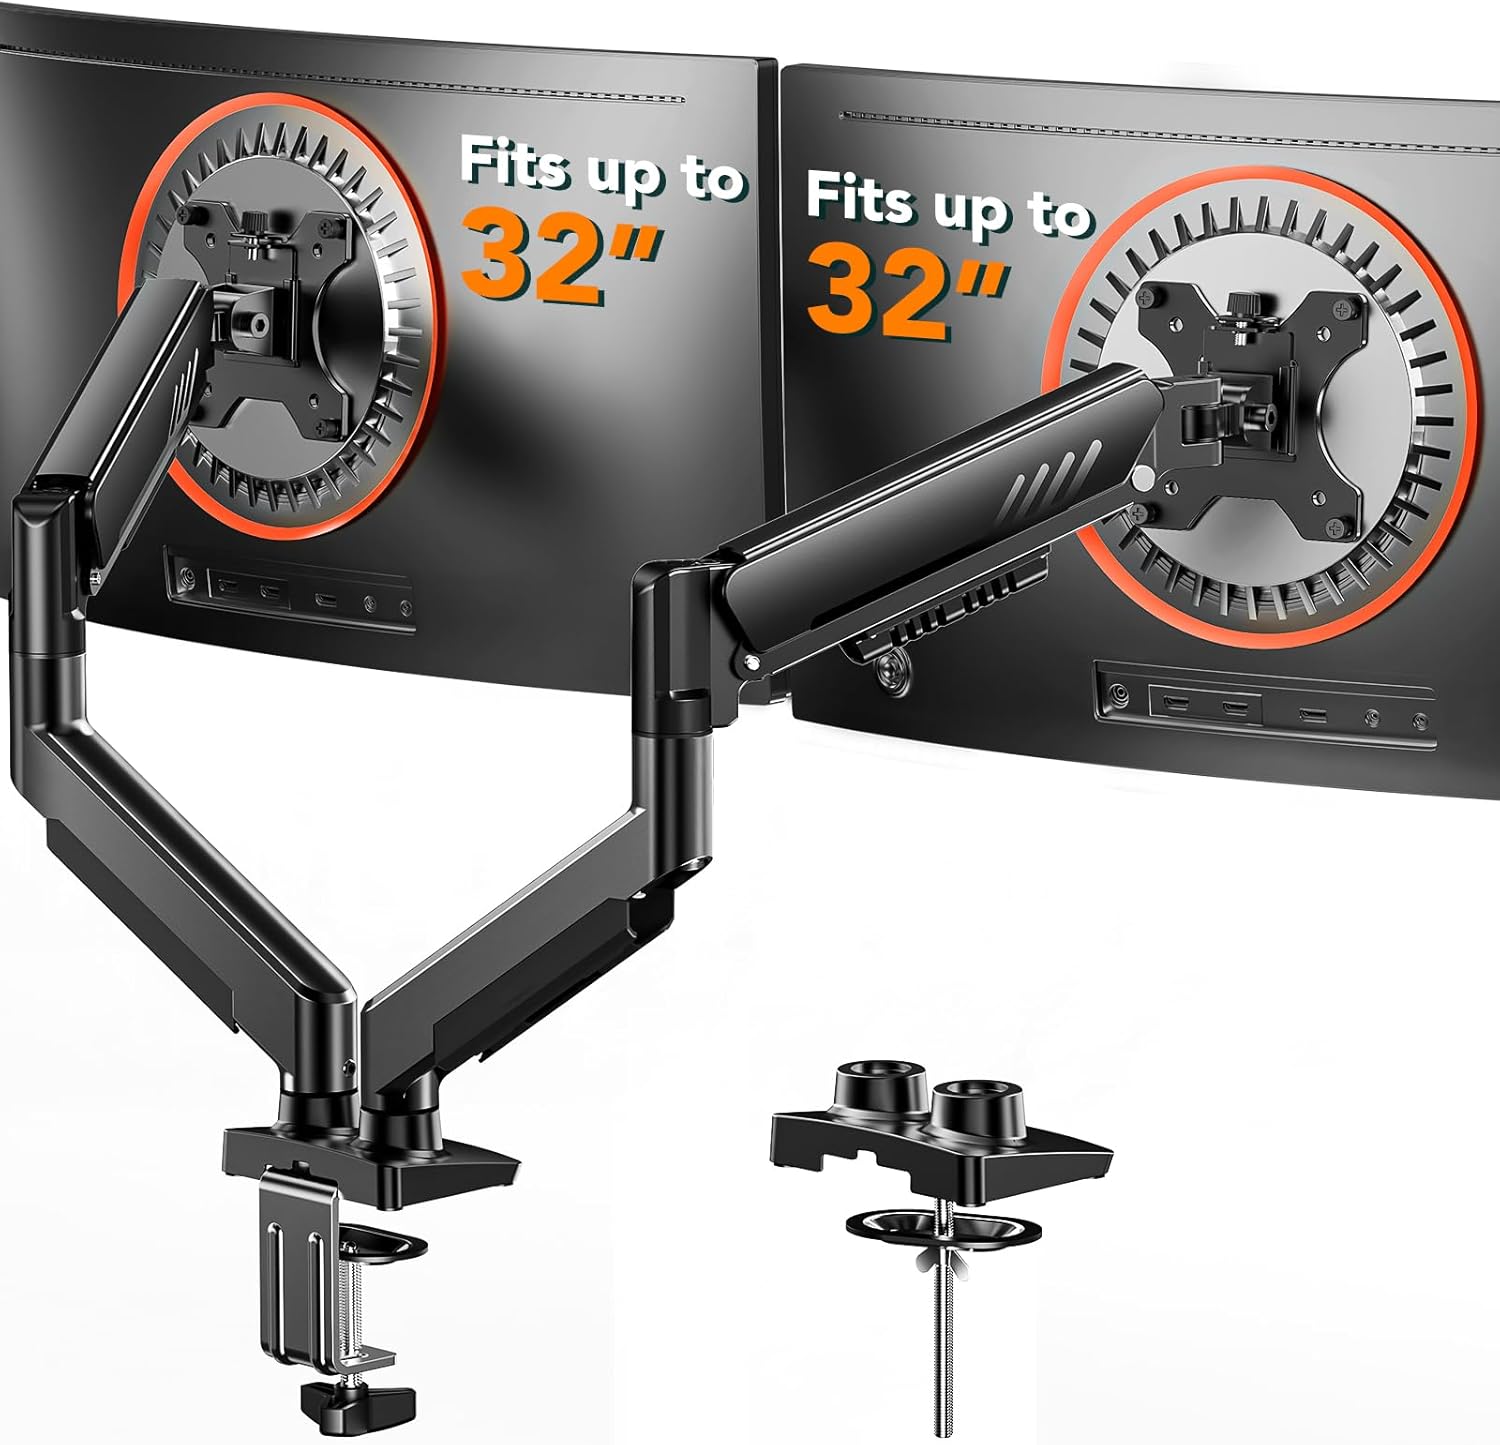
Dual screen pick: ErGear Dual Monitor Arm, Full Adjustable Monitor Mount for 13-32″ Screens, Fast Install Computer Monitor Stand with Tool-Free VESA Mount, Max Load 19.8 lbs, Max VESA 100x100mm
 Visit on Amazon →
Two screens on one clamp is the setup most people actually want, and this is the arm I point at when someone is building a side-by-side pair. The listed range covers 13 to 32 inch screens, the max load is 19.8 lbs, and the max VESA is 100x100mm, so it handles the common panel sizes without an adapter. The tool-free VESA mount is the detail that matters most on a dual arm, because you are attaching and detaching two plates instead of one, and a tool-free plate means you can do it without hunting for the right Allen key every time.
The 19.8 lb figure is the number to check against your heaviest monitor, not your lightest. A dual arm is only as stable as the screen hanging off its weaker side, so put the heavier panel on the joint with the most travel and keep both screens inside the weight rating.
Flaws but not dealbreakers: Dual arms need more desk depth behind the screens than a single arm, because both joints swing back toward the wall when you push the monitors away. If your desk sits tight against a wall, plan the clamp position so the elbows have somewhere to go.
Anyone who wants two screens at matching heights on a single clamp, with a monitor in the 13 to 32 inch range, should start here.
The actual installation, step by step
Now the part you came for. This order works on a clamp mount or a pole mount.
Step one: Clear the desk and photograph the back of the monitor. Take a picture of the VESA area with your phone before you remove anything. You will want it when you are holding a plate and four screws and cannot remember which way the recess faced.
Step two: Remove the monitor stand and set the panel face down on a towel. Keep the four stand screws in a cup. On most monitors those same screws are the ones the VESA plate needs, and losing them means a trip to the hardware store for M4 screws.
Step three: Dry fit the clamp before you tighten anything. Slide the clamp onto the desk edge, thread the plate underneath, and check clearance against the frame, the drawer, and any cable tray. Hand tighten only until you are sure the geometry works. If the clamp cannot sit flat because the edge is beveled or rounded, stop and switch to a grommet mount rather than cranking it down and hoping.
Step four: Assemble the arm on the desk, not on the monitor. Bolt the arm sections together and attach the VESA plate to the arm while everything is lying on the desk surface. Attaching a plate to a floating monitor and then trying to seat it on an arm is how people drop panels.
Step five: Tighten the clamp and test for wobble. Get it firm, then press down on the desk edge with your palm. If the clamp shifts, tighten more. If the desk surface itself flexes, you need a backer plate, a piece of plywood or steel wide enough to spread the load, on the underside. Particleboard desks flex more than people expect, and a clamp that dents the underside will loosen over time.
Step six: Hang the monitor. Two people is easier, one person is doable if the monitor is under about 15 lbs. Slide the plate onto the arm until it clicks or the screws seat, then tighten the plate screws.
Step seven: Set the tension in the right order. Weight tension first, then tilt tension. Raise the arm to full extension and let go. If the monitor sinks, increase the spring tension. If it rises on its own, back it off. Then set tilt: loose enough to move with one hand, tight enough that it does not droop when you let go. This is the step where a tool-free tilt joint pays for itself, because you will come back and tweak it a week later once you know how you actually sit.
Step eight: Level the screen and lock everything down. Use the monitor's own bezel against a bubble level or just your eye at eye height. Then go back and check every bolt once more. Arms loosen in the first week, not the first hour.
Cable management that stays done
A floating monitor with dangling cables looks broken, and it also pulls on the ports. Route the display cable and the power cable through the arm's channels before you finish leveling, not after. Leave a service loop at the monitor end, about six inches of slack, so you can pull the screen forward without stressing the connector. At the clamp end, leave slack for the same reason. Zip ties inside the channel, velcro wraps at the ends, and never bundle the power cable tight against the display cable if you can avoid it.
Do this once, properly, and you will never think about it again. Skip it and you will redo it every time you move the screen.
Mistakes I see over and over
Clamping onto a beveled or rounded edge and overtightening to compensate. Ignoring a steel frame rail that stops the clamp plate from seating flat. Buying an arm rated for exactly the weight of the monitor, with zero headroom, then wondering why it sags. Setting tilt tension with a hex key, then never adjusting it again. And the big one: mounting a heavy ultrawide on an arm whose rating was written for a 24 inch panel, then discovering the joint cannot hold the off-center weight.
What this all costs
The two arms above sit in the same price band, and you can see the current numbers on the product pages rather than trusting a figure in an article. The real budget line is time: about an hour for a clean single monitor install, ninety minutes for a dual setup with cable management done properly. Do the measuring first and that hour is the only hour you spend on it.
The order is the whole trick. VESA, desk thickness, clamp clearance, then the arm. Get those four right and the monitor floats where you want it and stays there.