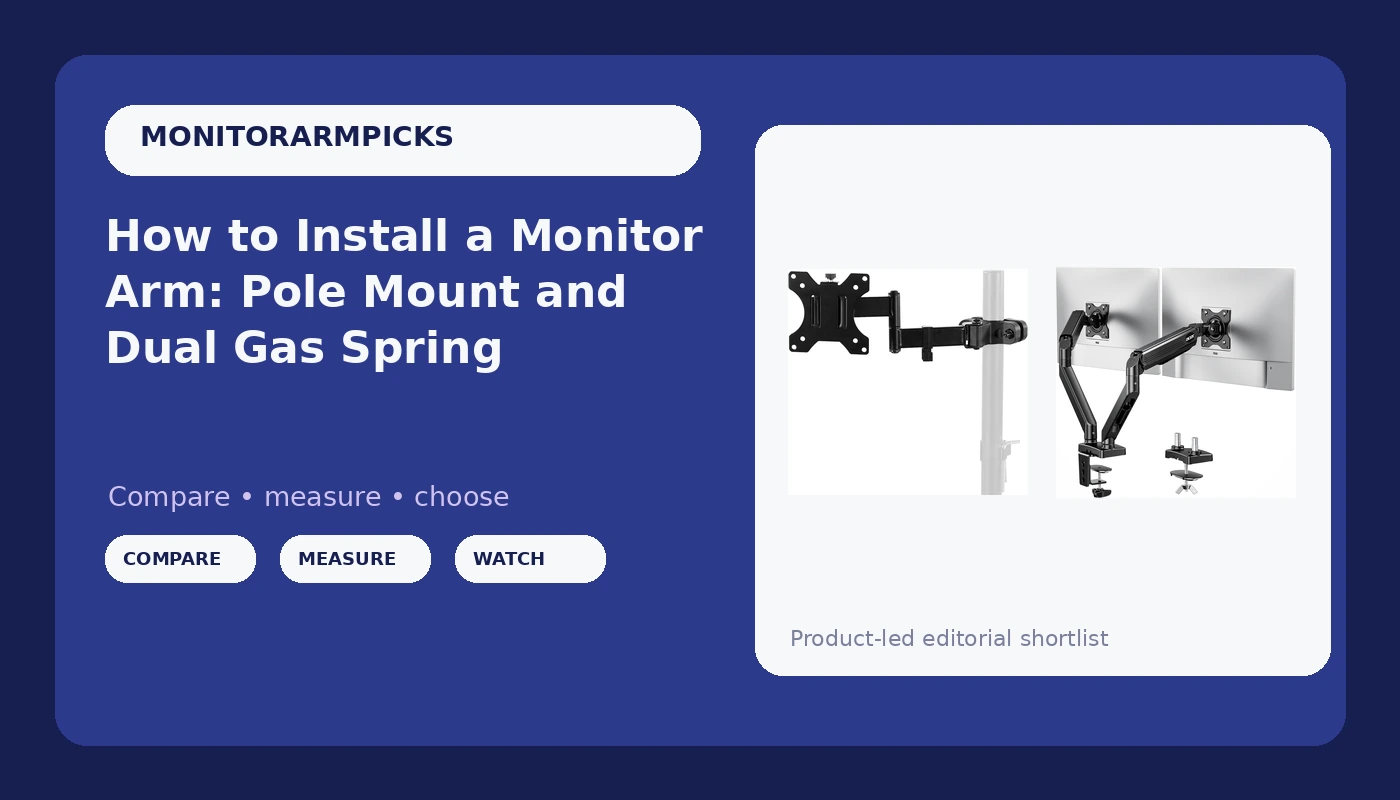
Most monitor arm installation failures are not arm failures. They are measurement failures. The clamp hits a drawer, the desk lip turns out to be a bevel, the monitor is two pounds heavier than the arm was rated for, or the VESA plate will not sit flat against a recessed mounting pattern.
I have clamped arms to standing desks, to particle board desks from a big box store, to a solid oak desk that belonged to a client's grandfather, and I have refused to touch one glass desktop. The installs that hold up for years all start the same way: with a tape measure and a kitchen scale, not with a hex key.
This guide walks through monitor arm installation the way I do it on a client's desk. Two arms carry the whole article, a pole mount for a single screen and a dual gas spring arm for a side by side setup. Pick the one that matches your desk, measure, then follow the steps.
Why you should trust me
I'm Dev, an IT infrastructure engineer in Raleigh, North Carolina. I have been building home office desks for 13 years, the last five of them as a side business, and that is more than 200 desks assembled, cable managed, and monitor armed. Plenty of them sat on rental desks where I could not drill a single hole in a wall.
My rules are simple. I do not recommend an arm I have not lived with for 90 days at full extension. I do not trust a weight rating until a real monitor has hung on it. I do not believe the words "tool free" until I have timed the install with a stopwatch. There is a torque wrench in my desk drawer because "finger tight" is a suggestion, not a specification.
The four measurements that decide everything
Before you buy or install anything, get these four numbers.
Desk thickness at the edge. A clamp needs a lip it can bite. Measure the desktop right where the clamp will sit, not in the middle of the desk. A clamp built for a thin top will not close on thick butcher block, and a clamp built for a thick top will bottom out on a hollow core door desk.
Clearance under the desk. This is the one people forget. A clamp needs vertical room below the desktop for the bolt and the knob. If a drawer, a crossbar, or a power strip is screwed to the underside, the clamp will not fit. Measure from the underside of the desktop to the first obstruction.
VESA pattern. Almost every monitor from the last decade has four threaded holes in a 100 by 100 millimeter or 75 by 75 millimeter square, and many have both. Some recess those holes inside a curve, which matters because the VESA plate has to sit flat. If your monitor has no VESA holes, no arm on this page or any other will work, and an adapter bracket is a separate project.
Monitor weight, without the stand. Put the panel on a kitchen scale if you have to. The stand comes off, so the number that matters is the panel alone, plus the VESA plate, plus the cables you plan to hang on the arm.
The two arms in this guide
One is a pole mount for a single monitor, one is a gas spring dual arm. They solve different problems, and both install cleanly if you do the measuring first.
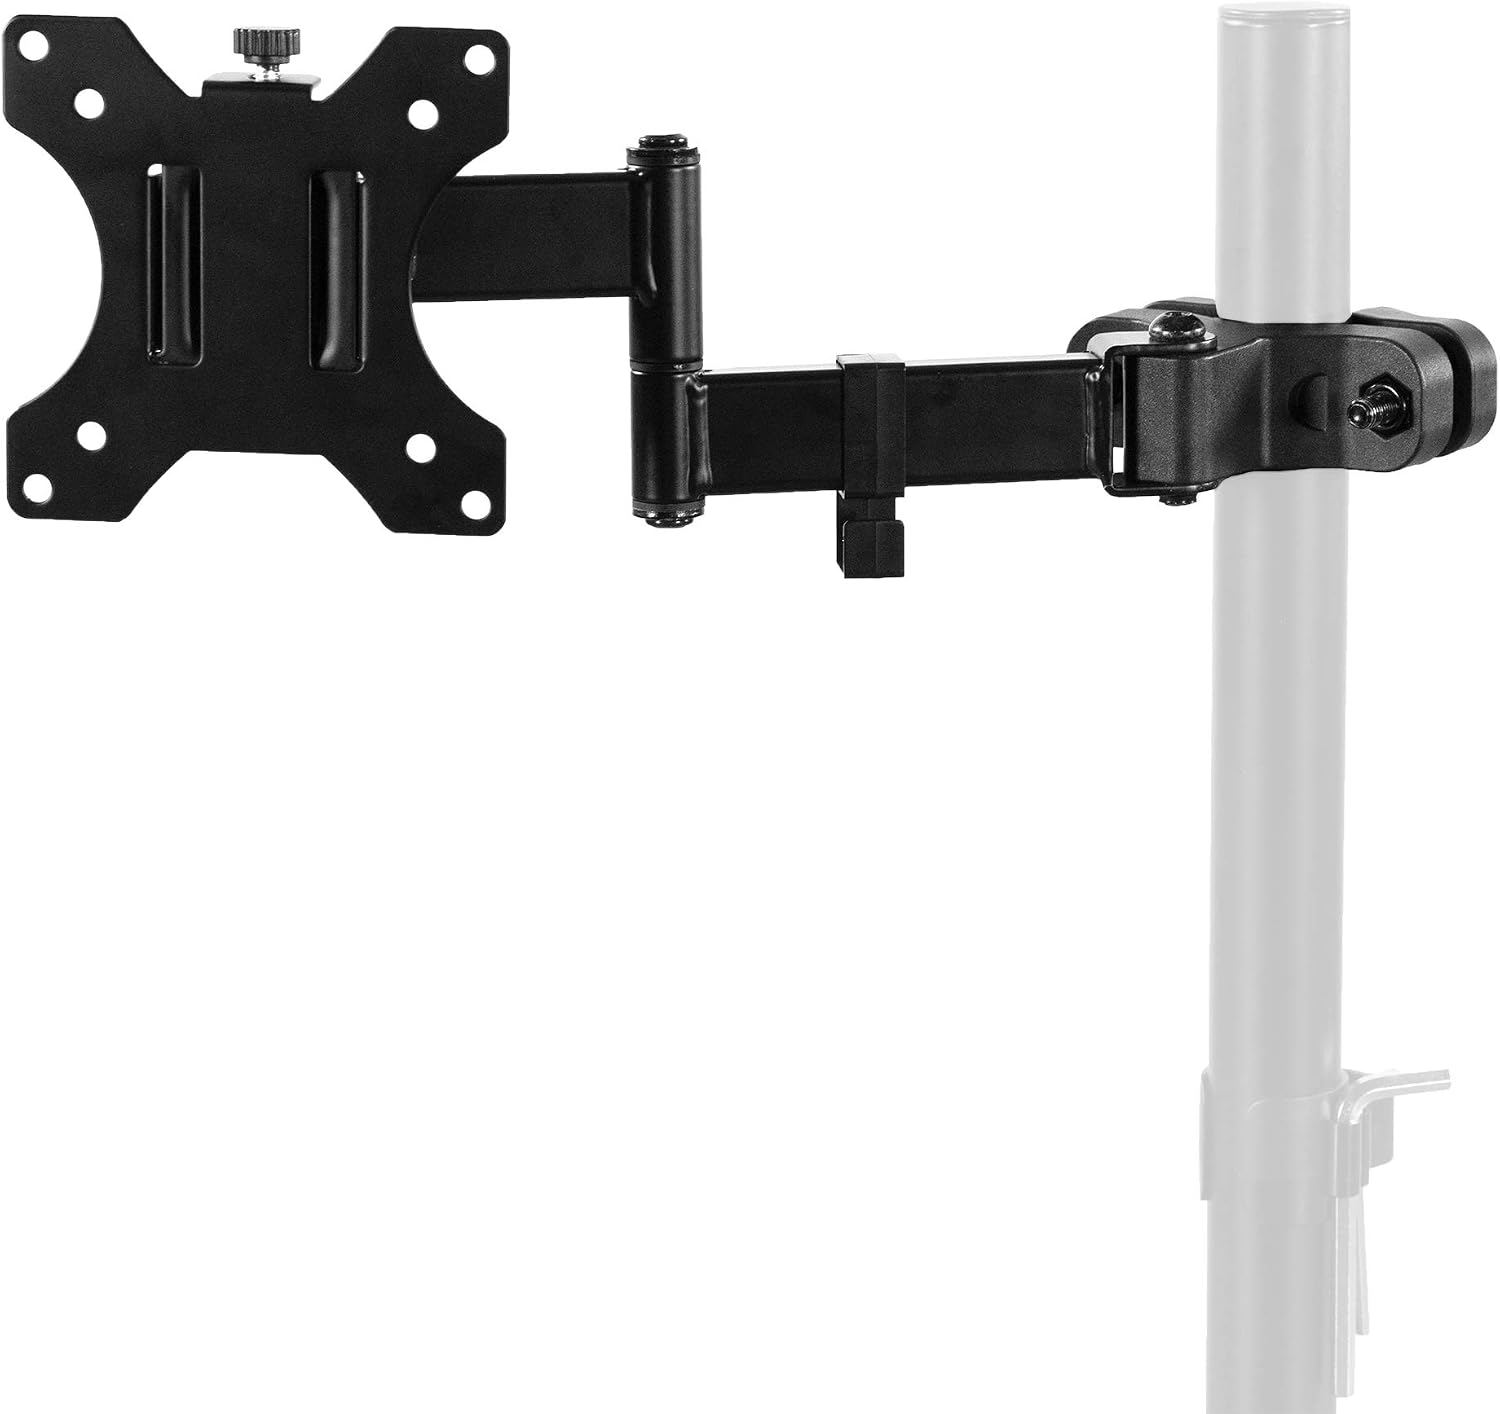
Budget pick: VIVO Black Pole Mount Monitor Arm for 17 to 32 in Screen, MOUNT-POLE01A
 Visit on Amazon →
A pole mount is the honest version of a monitor arm. There is no gas spring to wear out, no preload to dial in, and no mystery about why the screen drifts. The vertical pole carries the weight, the collar clamps onto the pole at whatever height you choose, and gravity does the rest. For a single 17 to 32 inch screen, that is a design with very little to fail.
The tradeoff is adjustability. You set the height once by sliding the collar, then you get tilt and swivel at the head. If you want to push the monitor around the desk every day, a gas spring arm is the better tool. If you want a screen parked in one spot for years, the pole wins on simplicity. Check current Amazon price before you order, and confirm your desk edge is thick enough for the clamp.
Flaws but not dealbreakers: A pole mount is not the arm for a sit stand desk you raise and lower all day, because you will be resetting the collar height by hand. The pole also needs vertical clearance, so a low shelf or a hutch above the desk is a problem.
Anyone mounting a single monitor on a fixed height desk, a workbench, or a counter will get years out of this.
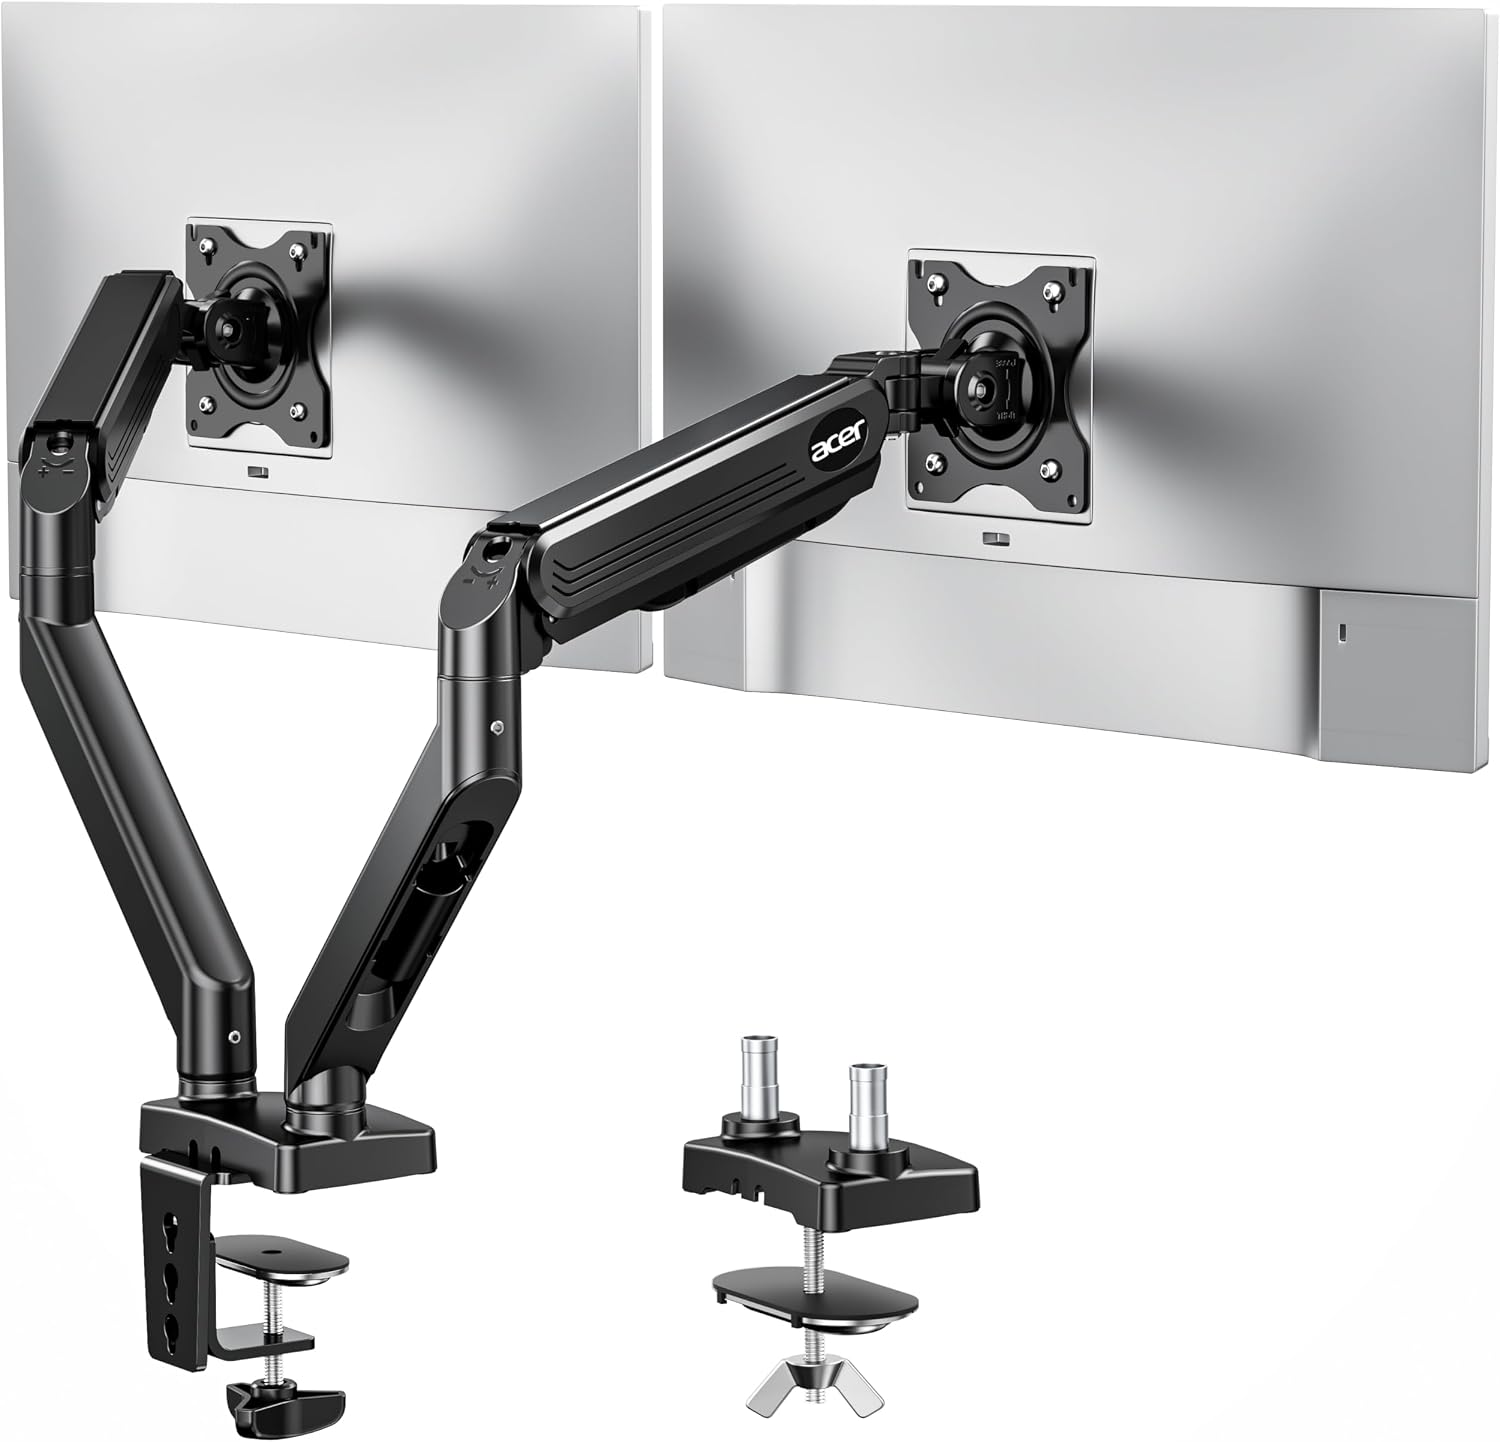
Dual-monitor pick: Acer Dual Monitor Arm, Gas Spring VESA Mount Stand for 17-32" Screens
 Visit on Amazon →
Two monitors on one clamp is the setup most people actually want, and it is the setup where gas springs earn their money. A gas spring holds the panel at the height you set, and it lets you swing a screen forward for a video call and back out of the way afterward without touching a bolt.
This Acer arm is built for 17 to 32 inch screens in a dual configuration, which covers the common pairings: two 24s, two 27s, or a 27 with a vertical 24 beside it. If you are running a 34 inch ultrawide next to something else, weigh both panels and read the rating honestly rather than assuming. Check current Amazon price, and remember that a dual arm concentrates both monitors' weight on a single clamp, so the desk edge matters twice as much.
Flaws but not dealbreakers: Two panels on one clamp means both screens share a single mount point. If a center drawer or a support leg sits exactly where you want the clamp, the dual arm is the wrong shape for that desk. A dual gas spring setup also takes more patience to level than a single pole mount, because you are balancing one head against the other.
Anyone running side by side screens on a solid desk edge will find this is the point where a dual setup stops being a compromise.
Step by step: how to install a monitor arm
Step one: clear the desk and lay out the hardware
Take everything off the desk, including the monitor stand, and put the arm's parts on a towel so the bolts do not roll. Count the hardware against the manual before you start. Almost every arm ships with a small bag of screws in several lengths plus a couple of spacers, and the longest screws are the ones that matter for a recessed VESA mount.
Step two: fit the clamp or grommet mount before anything else
Do this first, while the arm is still light. Slide the clamp over the desk edge, check that the plate sits flat on top and the bolt clears everything underneath, then tighten it by hand until it will not shift when you push the desk sideways. If you have a grommet hole and the arm supports a grommet mount, that is the more stable option, but only if the hole is in the right place. A clamp you can move by hand is a clamp that will creep.
Step three: attach the VESA plate to the monitor
Lay the monitor face down on a towel with the stand removed. Line the plate up with the four holes and start all four screws by hand before you tighten any of them. If the mounting holes are recessed, use the spacers so the plate sits flat instead of bridging the curve. Cross thread one screw here and the whole install gets ugly.
Step four: set the gas spring preload before you hang the screen
On a gas spring arm, find the preload adjustment, usually a bolt at the back of the joint, and set it near the middle of its range before the monitor goes on. A spring set for a heavy panel will fight you when you try to raise a light one, and a spring set too light will let the screen sink the moment you let go. Dialing it in on the bench is far easier than doing it with a panel hanging in the air.
Step five: hang the monitor and set the tilt tension
Slide the plate onto the arm's head until it clicks or the bolt seats. Then set the tilt. This is where cheap arms lose me: if the tilt joint needs a hex key to adjust, you will set it once and never touch it again, and your neck pays for that. Set tilt so the panel holds its angle with a light push, then check it again after a day of use, because new joints settle.
Step six: route the cables through the channels
Run the display cable and the power cable along the arm and into the channels before you call it done. Leave a service loop at the monitor end so you can still swing the screen forward, and leave slack at the desk end so the cable is not under tension at full extension. A floating monitor with cables hanging straight down looks broken, and it also puts load on the connectors.
Step seven: level the screens and check for sag
Level the monitor, then push the arm to full extension and let go. Watch for a slow drop. A small settle in the first day is normal as the joints seat. A steady sink over an hour is a preload problem, and the fix is the adjustment bolt, not a warranty claim.
Step eight: give it 24 hours, then re torque
After a day of use, check the clamp bolt, the VESA screws, and the head bolt. Everything that was hand tight will have loosened slightly. Snug them down and you are done. This is the step that separates an arm that lasts five years from an arm that sags in month three.
Where monitor arm installs go wrong
A clamp on a beveled or rounded desk edge. Many desktops have a chamfered or rounded front edge. A clamp needs a flat surface to bite, and on a rounded edge it will slide. The fix is a small wood block under the clamp plate, or a grommet mount instead.
Weight ratings measured with nothing on the arm. The rating on the box is for the panel. Add the VESA plate, the cables, and anything you hang off the arm, and you are closer to the limit than the number suggests. Leave headroom, because headroom is the point.
Tilt joints that need a tool. If adjusting tilt means finding an Allen wrench, the tilt will never get adjusted. Buy an arm you can tune with your hands, or accept that your viewing angle is permanent.
Cable channels skipped. A monitor arm is a cable management system as much as a mounting system. If the arm has channels, use them. If it does not, add Velcro straps. Dangling cables defeat the entire reason you floated the monitor in the first place.
A dual arm on a hollow core door desk. Two monitors on one clamp is a lot of leverage on a thin top. If the desktop flexes when you push on it, the arm will amplify that flex. A grommet mount through a solid section, or a different desk, is the answer.
What this costs over time
I am not going to quote prices, because they move and today's number is not the one that matters anyway. Check current Amazon price for each arm and do the division yourself.
The math that counts is cost per day of use. A monitor arm is furniture, not a gadget. Spread over three years of daily work, even a mid range arm costs less per day than the coffee you drink while sitting in front of it. The cheap arm that sags in month three and gets replaced in month four is the expensive one. That is the whole argument, and it is why I would rather spend the measuring time up front than buy the same category of product twice.
Measure the desk edge, weigh the monitor, check the VESA pattern, then clamp. That order is the job.